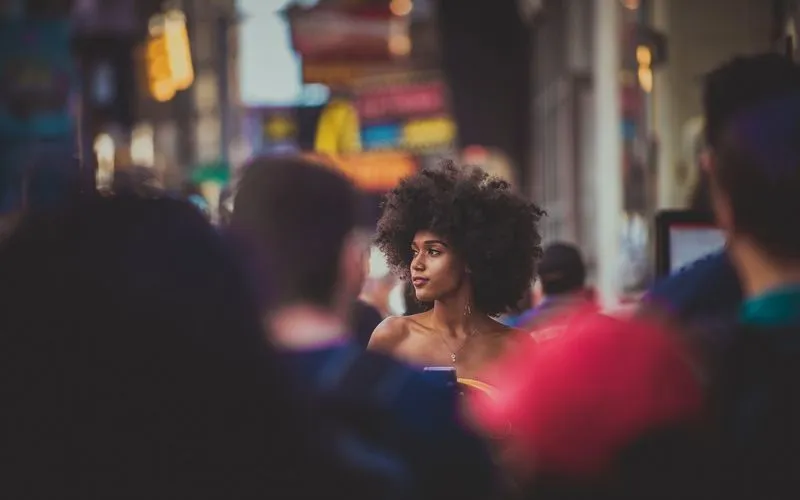
Layering in Photography: A Quick Definition
Layering is a composition technique that uses elements at different distances from the camera to create depth and visual interest. It typically involves three layers: foreground, midground, and background. This technique is particularly useful in street photography for creating more immersive and engaging images.
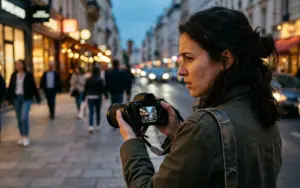
A street can be full of interesting moments, but capturing them in a photograph isn’t always easy. Even with a great subject, good light, and an interesting location, the image can still feel flat. This is where layering in photography comes in. You can add depth and make your photos feel more immersive by combining elements at different distances.
Street photography is especially well suited to this approach. Busy streets naturally offer people, vehicles, architecture, reflections, shadows, and other elements that can be combined to create layers. So, what is layering in photography, and how can you use it to create better street photos? Let’s find out.
Table of contents
What Is Layering in Photography?
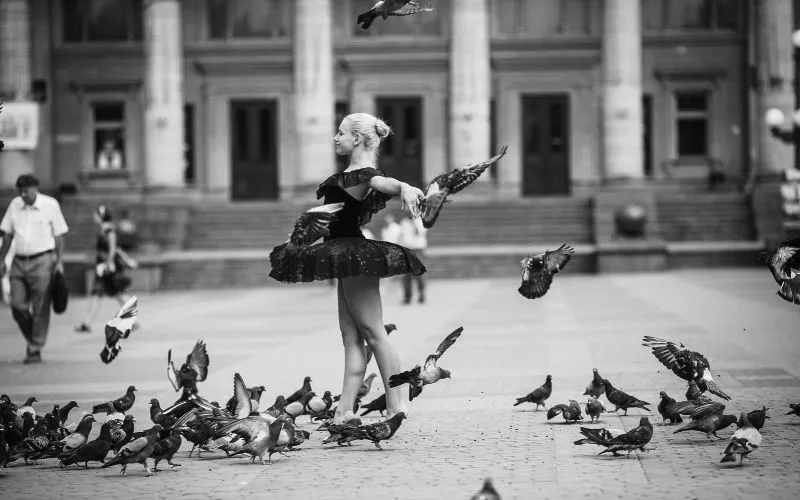
Layering in photography is a composition technique where you arrange or capture different elements at varying distances from the camera. These elements usually fall into three areas: the foreground, midground, and background.
Think of a street scene. You might have a person standing close to you, another person crossing the road a little farther away, and buildings in the distance. Each element occupies a different visual layer.
Together, these layers give the photograph more depth.
Layering does not mean that every photograph needs three clearly separated subjects. Sometimes a single object in the foreground and a strong background are enough. In other cases, several overlapping people and objects can create a much more complex composition.
The goal is to make the elements work together rather than simply filling the frame.
This is what makes photography layering so useful. It gives the viewer more to explore while helping you create a stronger sense of space.
Good composition starts with understanding where to place your subject in the frame, so explore the rule of thirds in photography
Why Is Layering Important in Photography?
It Creates a Sense of Depth
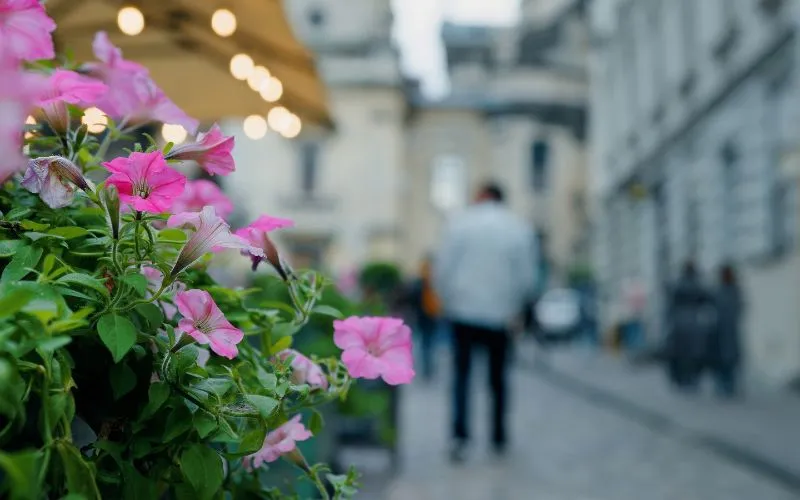
A photograph is a two-dimensional medium. Layering helps suggest the three-dimensional space that existed when you took the picture.
When objects appear at different distances, the viewer can better understzand the relationship between them. A close foreground object can make a distant building or person feel even farther away. This can make a flat-looking photograph feel much more immersive.
It Makes Photos More Engaging
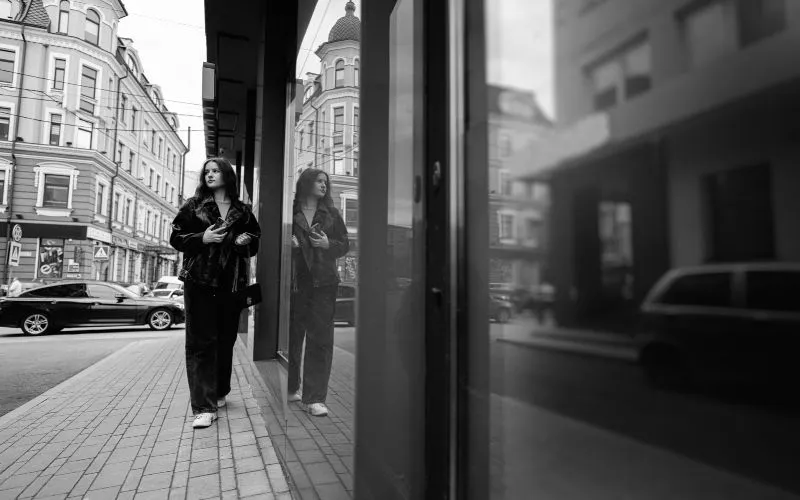
A photograph with several visual layers can give the viewer more reasons to look closely.
Perhaps there is someone walking through the foreground, an interesting interaction in the middle, and a small detail in the background. The viewer’s eye can move through the frame and discover something new each time.
Good layering creates visual interest without needing a complicated subject.
It Helps Tell a Story
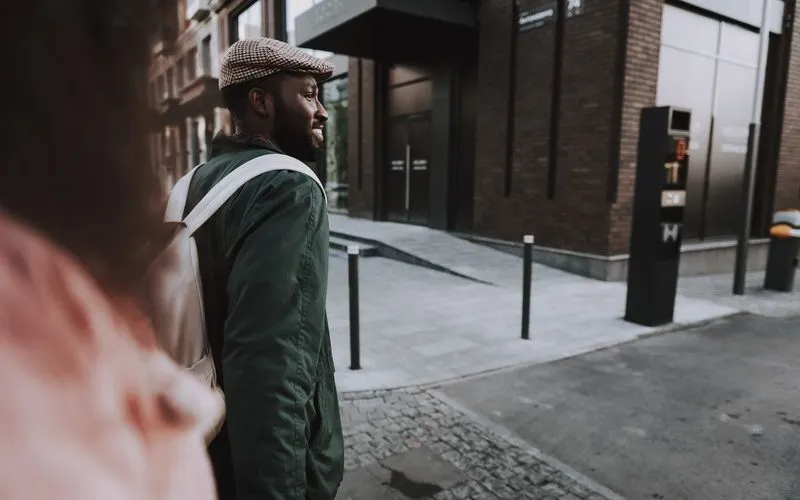
Layers can also add context to a photograph.
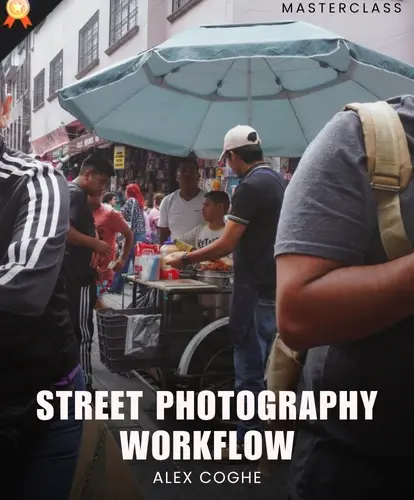
Imagine photographing a street vendor. The vendor could be your main subject in the midground, while customers appear in the foreground and the surrounding market fills the background.
Now the photograph tells you more than simply who the vendor is. It gives you a sense of the environment and what is happening around them.
This is one reason layering works particularly well in documentary and street photography.
It Guides the Viewer’s Eye
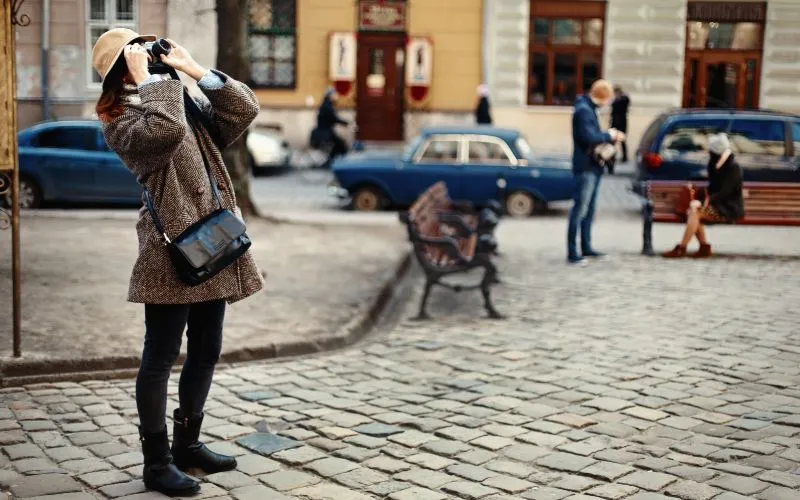
Different layers can help direct attention through the frame. A line of people, a road, a wall, a row of buildings, or even a shadow can lead the viewer from one part of the photograph to another.
The strongest layer does not always have to be the closest one. You can use the foreground to introduce the scene and then guide the viewer toward the main subject.
Understanding composition can help you make better use of these visual elements. Techniques such as framing, leading lines, and layering can work together to create a more balanced and engaging photograph.
If you want to explore these techniques further, check out our Street Photography Composition Guide for practical ways to improve your compositions.
Foreground, Midground, and Background Explained
Understanding the three basic layers is a good starting point for learning photography layering techniques. You do not need to treat them as strict rules. Instead, think of them as three visual zones that help you understand the depth of a scene.
Understanding the Foreground
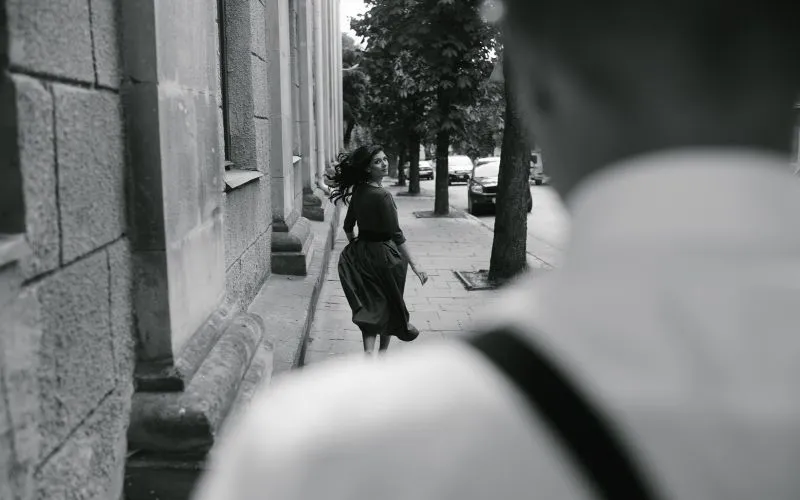
The foreground is the area closest to the camera.
It can include almost anything: a person, bicycle, car, wall, plant, doorway, or even a reflection.
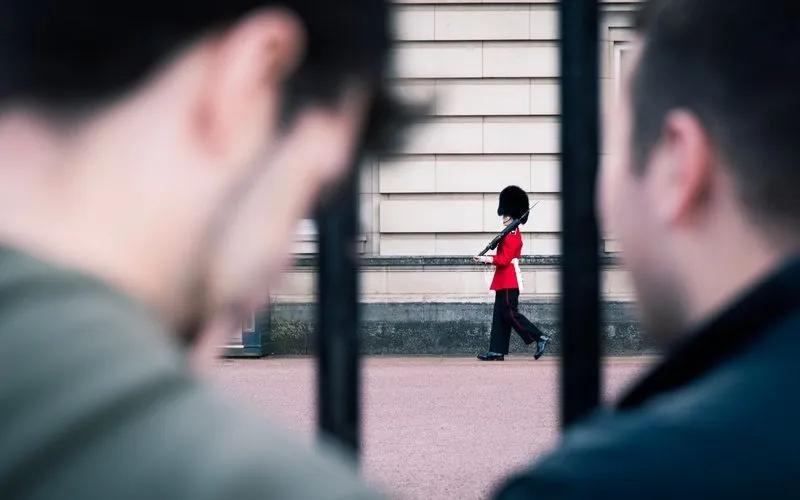
Foreground elements can be useful for framing the main subject or creating a stronger sense of depth. They can also partially overlap the subject without completely hiding it.
For example, you could photograph a street performer through a gap between two people. The people closest to you become part of the foreground, while the performer becomes the main subject.
The foreground does not always need to be sharp. Sometimes a slightly blurred foreground can help draw attention toward the subject behind it.
You might also like: What is Balance in Photography? Learn the Basics That Make Photos Work
Understanding the Midground

The midground usually contains the main subject or action.
This could be a person crossing the street, a cyclist, a street vendor, or two people having a conversation.
Think of the midground as the part of the photograph that you want the viewer to notice most.
The other layers should support it rather than compete with it.
For example, if your subject is a person walking through a busy market, people in front of them can add depth while the market in the background provides context.
Understanding the Background
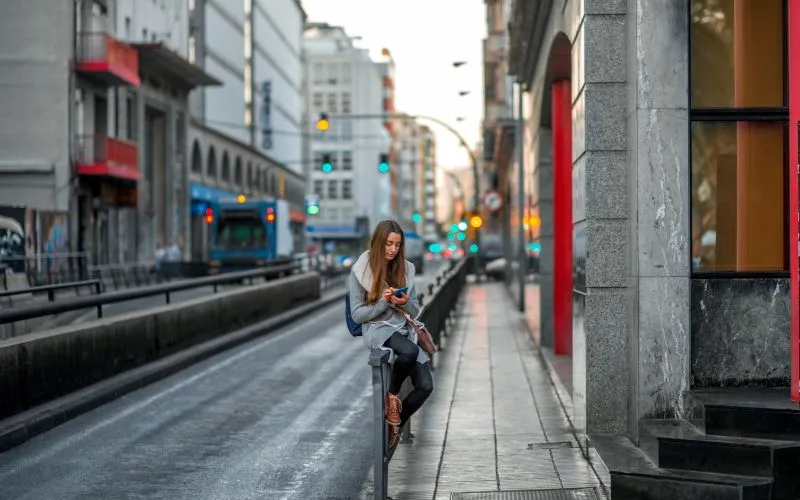
The background is the area farthest from the camera.
Buildings, signs, trees, distant people, vehicles, mountains, and other environmental details can all become part of the background.
A good background can tell the viewer where the photograph was taken and add context to the story.
However, be careful with distracting backgrounds. A bright sign or cluttered object directly behind your subject can pull attention away from the main point of the photograph.
You can experiment with creative photo edits by using digital backgrounds for composite photography.
How to Create Layers in Street Photography
Street photography gives you plenty of opportunities to experiment with layers. The key is to stop looking only for a single interesting subject.
Instead, look at the entire scene. Let’s understand this with some layering photography examples.
1. Start With an Interesting Foreground
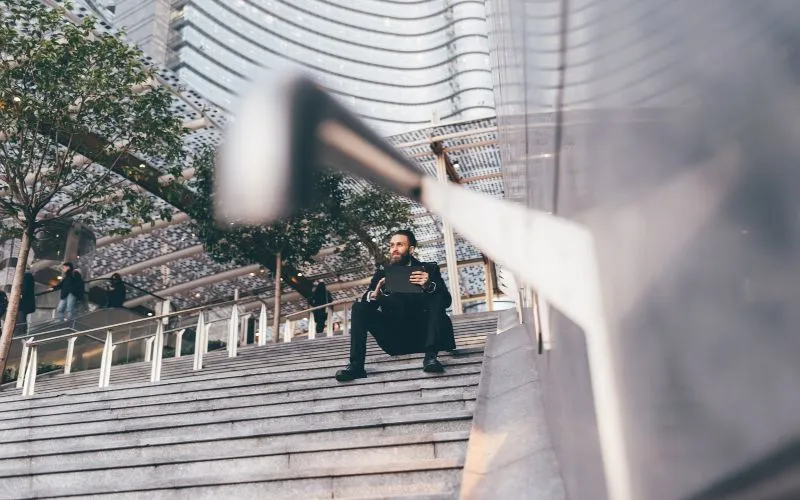
Seek an object or a subject nearby that can give your photographs perspective. This object may be a human walking nearby, a bike, a door’s opening, a parked car, or a building’s feature.
You can also use the foreground to catch the audience’s eyes by shooting through gaps, around corners, or behind the object. Do not fret that the foreground cuts into the frame because sometimes it makes the photo more exciting.
2. Find a Strong Middle Ground
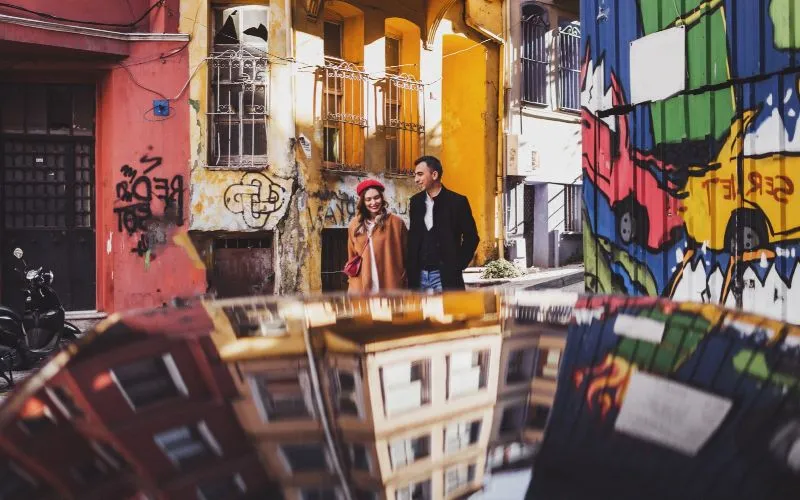
Once you have an interesting foreground, look beyond it.
What is happening in the middle of the scene?
This is where you can find your main subject or the moment you want to capture. Look for people interacting, someone walking through a patch of light, or an interesting activity happening on the street.
Take a moment to observe before pressing the shutter. You may already have a great background and foreground. You just need the right subject to enter the middle ground.
Also check out: How to Read Light in Photography: The Skill That Improves Every Photo
3. Look for a Background That Adds Context
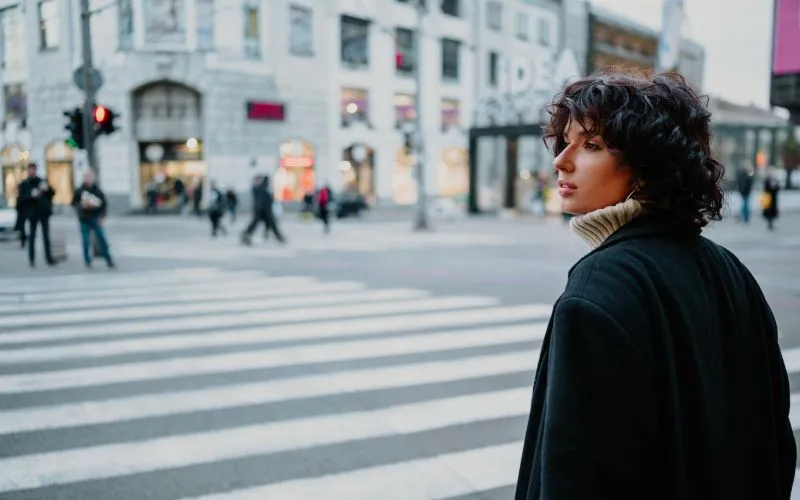
Finally, consider what is behind your subject.
A background can provide useful information about the location and atmosphere. A busy market, old building, colorful storefront, or crowded street can make the photograph feel more connected to its surroundings.
Try moving your position if the background is distracting. A small change in your angle can completely change how the layers interact.
7 Ways to Find Layers in Street Photography
1. Use People at Different Distances

People are one of the easiest ways to create layers.
Look for scenes where people are naturally positioned at different distances from you. A person walking close to the camera, another person in the middle of the street, and a group farther away can create a strong sense of depth.
You can also wait for people to move into the right positions.
Sometimes the difference between an average photograph and a great one is simply a few seconds of timing.
2. Photograph Through Doorways & Windows
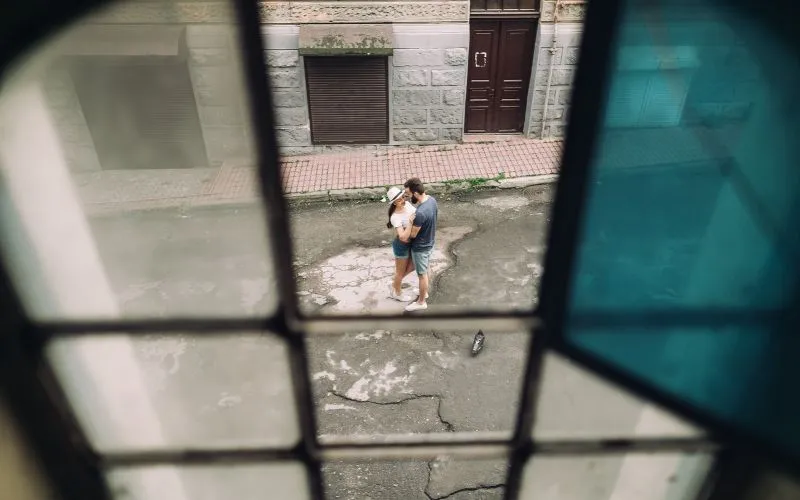
Doorways, windows, arches, and other openings can create natural frames.
They can form an interesting foreground while directing attention toward your subject.
For example, you might photograph a person standing inside a shop through the doorway. The doorway becomes one layer, the person becomes another, and the street or interior behind them adds another layer.
This is one of the simplest photography layering techniques to try.
Read Next: Shutter Speed In Photography: Meaning, Uses, Examples & More
3. Look for Reflections

Reflections can create an additional layer without requiring another physical subject.
Look at shop windows, mirrors, puddles, glass buildings, and other reflective surfaces.
A person reflected in a window can appear alongside people walking on the street. A puddle can show a building or passing person from a completely different perspective.
Reflections can make your compositions more complex and give viewers something unexpected to discover.
4. Use Shadows and Light
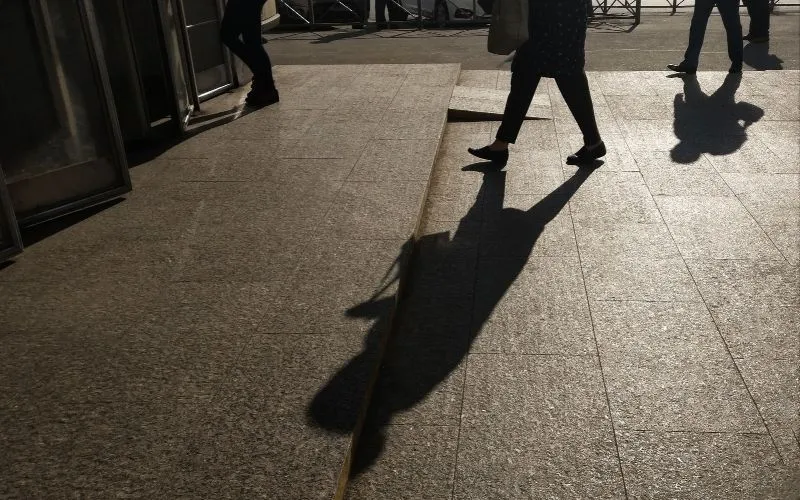
Lighting makes it possible to tell different parts of a story.
Be on the lookout for bright spots, long shadows, silhouettes, and contrasting areas. A person walking through a brightly lit area of a street can become the focal point against the dark background.
Shadows can also create layers and improve the overall composition.
5. Look for Crowds
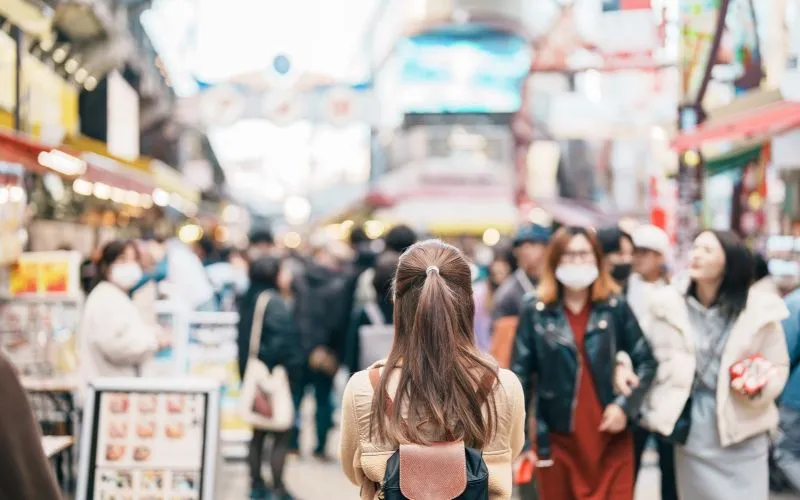
Busy streets are natural environments for layering.
Instead of trying to avoid the crowd, use it as part of your composition.
Look for people at different distances and watch how they overlap. You may find one person close to the camera, a small interaction in the middle, and a larger crowd in the background.
The challenge is to find a moment when these elements come together without making the photograph feel too chaotic.
6. Use Architechture
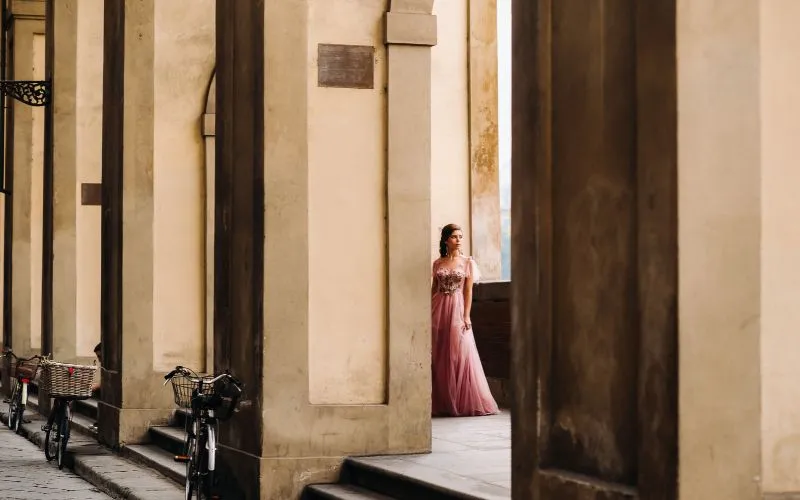
Buildings and other structures can provide strong visual layers.
Staircases, balconies, arches, windows, columns, streets, and narrow alleys can all create depth.
Architecture can also provide leading lines that connect one layer to another.
You can also change your position and perspective. If you move a few steps to the side, a wall, doorway, or street might line up differently with your subject.
Related Read: How To Use Unity In Photography – Explained With Examples
7. Wait for the Right Moment
Sometimes, the scene is already there. You just need to wait.
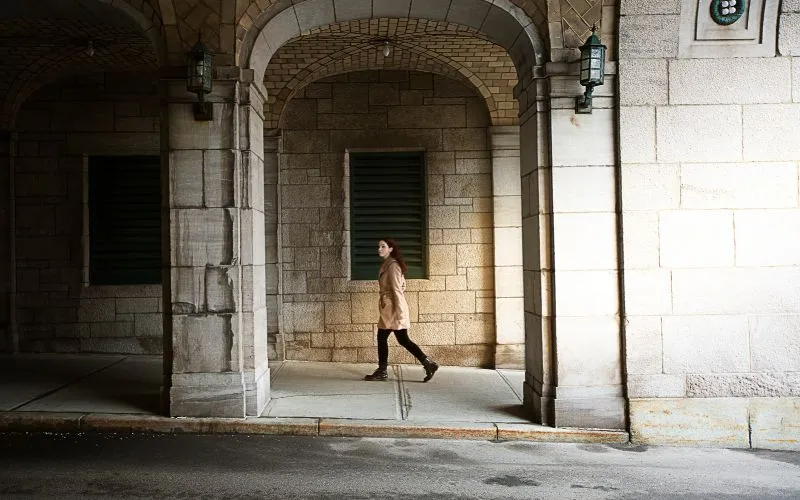
Imagine finding an interesting wall in the background and standing in the right position. Instead of taking the picture immediately, wait for someone to walk through the frame.
You might get a much stronger composition when the person reaches the right position.
Street photography often rewards patience. Look first, compose your frame, and then wait for the moment to happen.
Should Every Layer Be in Focus?
No. Every layer does not have to be in focus.
Whether you keep all the layers sharp or blur some of them depends on the effect you want.
Using a smaller aperture gives the photographer a greater depth of field thus ensuring that more parts of the scene are sharp. In addition, this can be a good technique when one wants to show the foreground, the subject, and the background clearly.
A wider aperture can create a shallower depth of field. This can help separate your main subject from the surrounding layers.
For example, you could have a slightly blurred person in the foreground, a sharp subject in the middle, and a softer background.
The important thing is to make the focus support the composition. Layering is about the relationship between elements, not simply keeping everything sharp.
Understanding aperture can help you control depth of field and keep different elements in your composition sharp, so learn more about how aperture works in photography.
Common Layering Mistakes to Avoid
- Too Many Competing Subjects: If every layer contains an equally strong subject, the viewer may not know where to look. Try to establish a clear main subject.
- A Distracting Foreground: A foreground element should support the photograph. If it completely blocks the subject or pulls too much attention, try changing your position.
- A Messy Background: Check what is happening behind your subject before taking the picture. Bright signs, poles, random objects, or other distracting details can weaken an otherwise strong composition.
- Forcing Layers Into a Scene: Not every photograph needs obvious foreground, middle ground, and background layers. If the scene does not work with three layers, don’t force it. A simple composition can often be stronger.
- Forgetting the Main Subject: The purpose of layering is not to make the frame as busy as possible. Every element should have a reason to be there. If a layer does not add depth, context, or visual interest, consider removing it from the composition.
Final Tips for Better Layered Street Photos
The best way to understand layering in photography is to practice looking at scenes differently. Instead of asking only, “What should I photograph?” try asking:
- What is happening close to me?
- What is happening behind my main subject?
- Can I find something that creates a natural frame?
- Are there people or objects at different distances?
- Does the background add context?
- Is there a moment I should wait for?
You don’t need an unusual location or expensive equipment to experiment with layering. A busy street, a doorway, a shop window, or a simple intersection can give you plenty of opportunities.
More Like This:
- A Beginner’s Guide to the Indispensable Exposure Triangle
- Lighting In Photography: Tips & Tricks for Perfect Shots
Frequently Asked Questions
Q.1 What does layering mean in simple terms?
Ans. Layering is the technique of using or capturing diverse elements at contrasting distances thus forming different layers in one picture. Those layers include background, midground, and foreground, thus making an image more appealing and dimensional.
Q.2 What are the three layers in photography?
Ans. In any photograph there are three main layers to any photograph – the foreground, midground, and background. The foreground is at the closest distance from the camera whereas the main topic or action often appears in the midground and the unaffected area is in the background being the farthest away from the camera.
Q.3 Do all three layers need to be in focus in a photograph?
Ans. No. You can keep all three layers sharp or use a shallow depth of field to make some layers softer. Your choice depends on the subject, lighting, and visual effect you want to create.
Q.4 How can you avoid clutter when using layering in photography?
Ans. Give your photograph a clear main subject and make sure the other layers support it. Watch for distracting objects, bright colors, or competing subjects. If a layer does not add meaning or depth, consider removing it from the frame.
Q.5 Can you use layering in photography without people?
Ans. Yes. People are not necessary for layering. You can use buildings, vehicles, trees, windows, shadows, reflections, signs, and other objects to create different visual layers.
Q.6 What is the difference between layering and framing in photography?
Ans. Layering uses elements at different distances to create depth and visual relationships within a scene. Framing uses an element around or near the subject to draw attention toward it. The two techniques can also be used together.
Q.7 Is layering in photography the same as depth of field?
Ans. No. Layering is a composition technique that uses different elements and distances within a scene. Depth of field describes how much of the image appears acceptably sharp. You can use depth of field to enhance the layers in a photograph, but they are not the same thing.