If we break the word ‘photography’, it can be further divided into two parts: ‘photos’ and ‘graphie’. Both these words are derived from Greek. The word ‘photos’ means light, and ‘graphic’ means drawing with light. Now, as you can see, light is in the word photography itself, which shows the importance of lighting in photography.

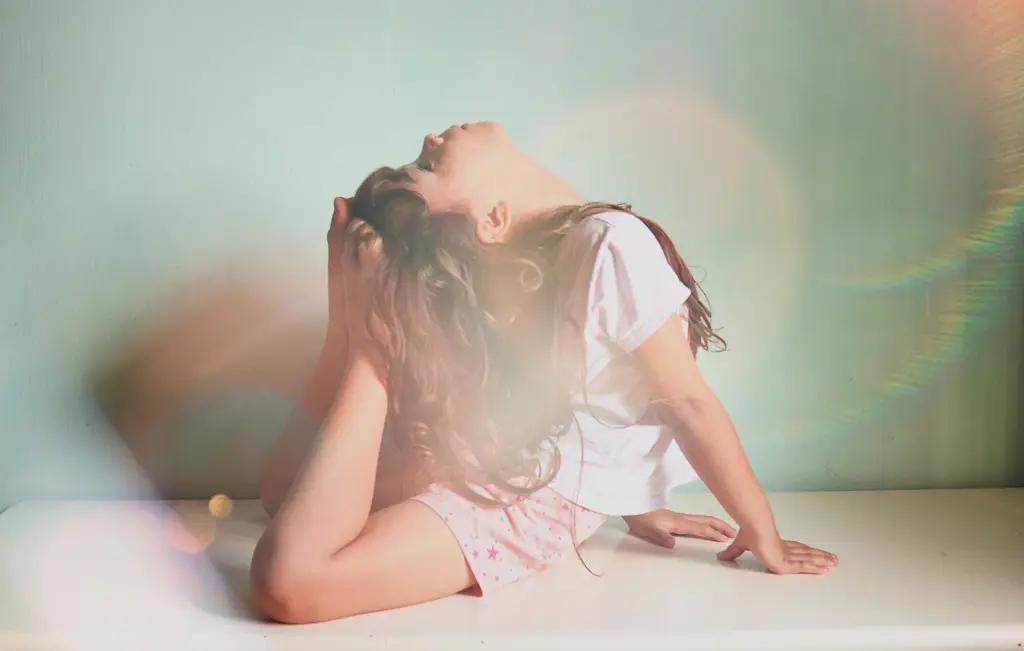
Light is considered one of the most crucial elements in photography. The mood of the photograph can completely change based on the presence, absence, quality, quantity, direction, and color of the light.
Lighting can completely change the photograph’s depth, mood, and meaning.
It can do so much for a photograph, such as provide texture and form and even add three-dimensionality to the subjects.
The conditions of lighting can define the aesthetic of the photograph. For example, soft, diffused lighting can give a calm feeling, whereas hard lighting can create a feeling of drama.
The color of the lighting has a similar effect on photographs. The warm golden color during the golden hour can provide a pleasing color palette, and the red color can give a sense of danger or drama.
Table of contents
- Photography Lighting Tips: A Guide to Lighting in Photography
- Understand Natural Light
- Use diffusers and reflectors
- Understand artificial lighting in photography
- Play with shadows
- Using multiple sources of lighting in photography
- Control the direction of light
- Use of color gels
- Three-point lighting setup
- Adjust white balance
- Bounce the light
- Avoid harsh shadows
- Experiment with low lighting in photography
- Check Out Popular Resources On Lighting In Photography
- FAQ(s) about the use of lighting in photography
- Conclusion
- Author Bio
Photography Lighting Tips: A Guide to Lighting in Photography
In short, we can say light can prove to be the canvas, the paint, and almost everything that gives life, depth, structure, texture, and even mood to a picture, and hence it can prove to be a driving force in a photograph.
Hence, it is very important to understand lighting and its effects on a photograph. Let us discuss some photo lighting tips and tricks to better understand lighting in photography.
Check Out: Glamor Photography Lighting: Light Of The Old Masters
Understand Natural Light
One of the main sources of light in photography is natural light, which originates from the sun and is a powerful tool for photographers.
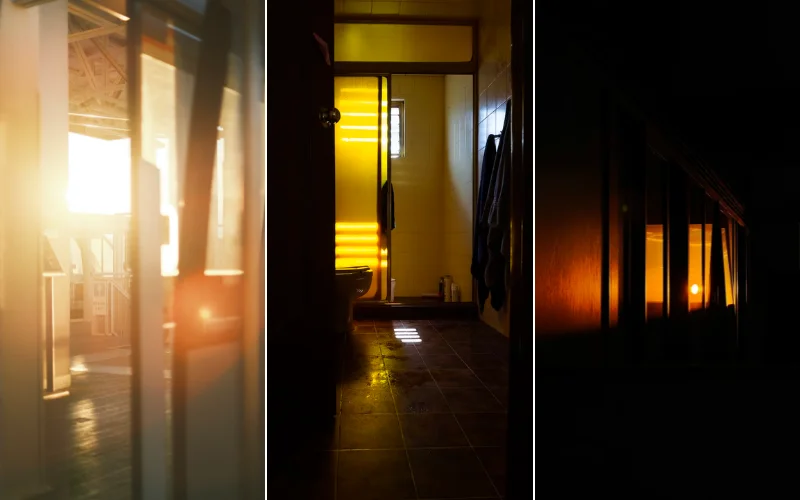
Its unique properties, such as direction, intensity, and color, vary throughout the day, providing photographers with a variety of unique opportunities to create striking pictures.
Hence, photographers have named different times of the day based on natural light.
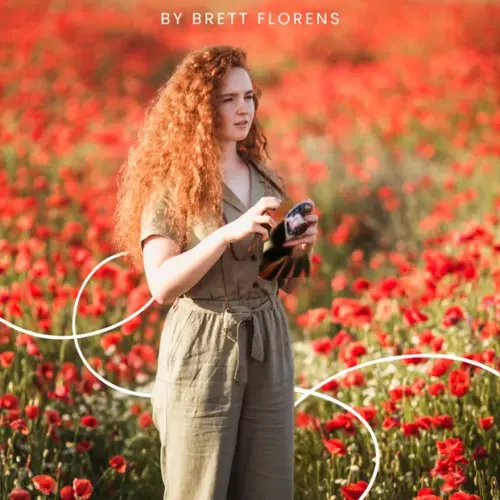
The first is the golden hour, after sunrise and before sunset. During this time, the light is soft and golden and casts long shadows, making it ideal for portraits and landscapes.
The next one is the blue hour. This is the time just before sunrise and just after sunset, during which the sky turns a deep blue. This is said to be the perfect time for cityscapes and serene landscapes. Lastly, we have the harsh midday sun. This time of the day is the best for strong shadows and overexposed highlights.
Hence, knowing natural light and understanding how to use it can help you get the best pictures possible.
Check Out: 3 eBooks Bundle On Landscape Photography
Use diffusers and reflectors
Using different tools to enhance, control, shape, and play with natural and artificial lights can help you take better photographs.
These tools can be valuable when the lighting conditions are too harsh, soft, or weak.
These tools include diffusers and reflectors. Diffusers’ particular function is to soften the light source and even reduce harsh shadows.
Diffusers can prove to be essential tools during sunny days or for strong artificial lights. Another tool that can be used is reflectors. Reflectors are known to bounce light back on the subjects. The reflector can fill in shadows and even act as a secondary light source.
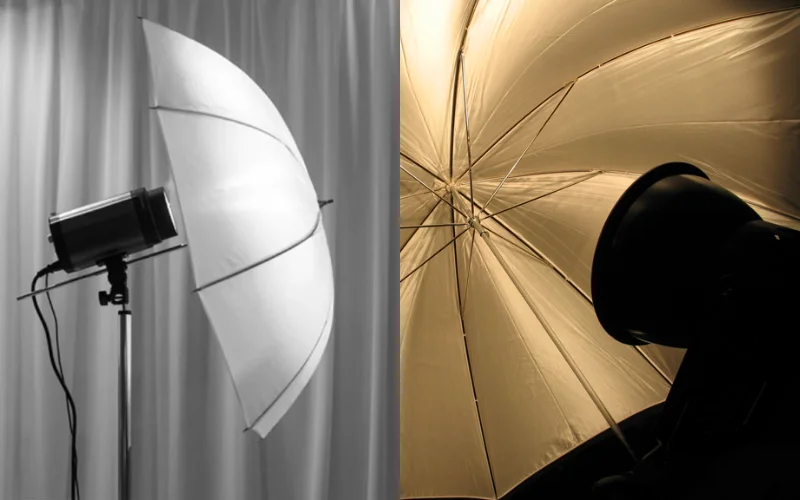
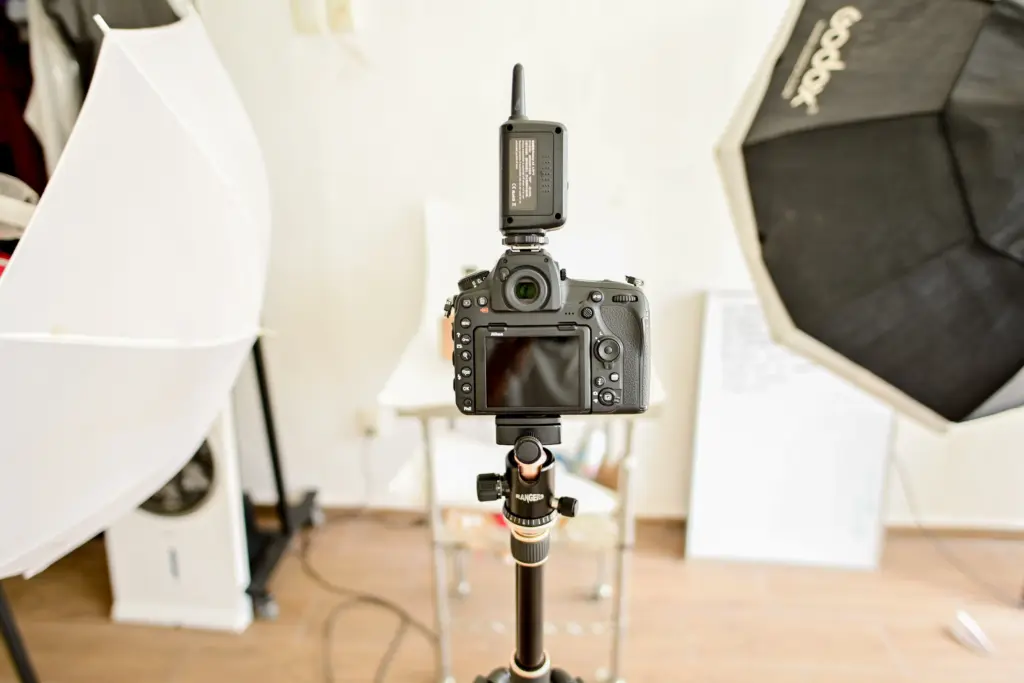
Understand artificial lighting in photography
Understanding artificial light is equally important as understanding natural light. Expertise in artificial light can broaden a photographer’s horizons.
By understanding artificial light, photographers can work consistently with controlled and specialized lighting.
There are various artificial lights available in the market, such as fluorescent lights, LED lights, flashes, and more.
The first one is flash. Flashes are not just for dark conditions, as people generally believe. They can be used to fill in the shadows, add a creative touch, and even freeze motion. There is also continuous lighting, which, unlike flashes, provides a continuous light source rather than short bursts of light.
Continuous lights can be the best for studio settings and give the effect of real-time lighting. Modifiers’ sole purpose is to change the shape, intensity, and even the colour of the light output from artificial light sources, allowing photographers to choose their light. These modifiers can include saltboxes, umbrellas, and grids to modify the output of the light.
Check Out: 110+ Dazzling Light Overlays
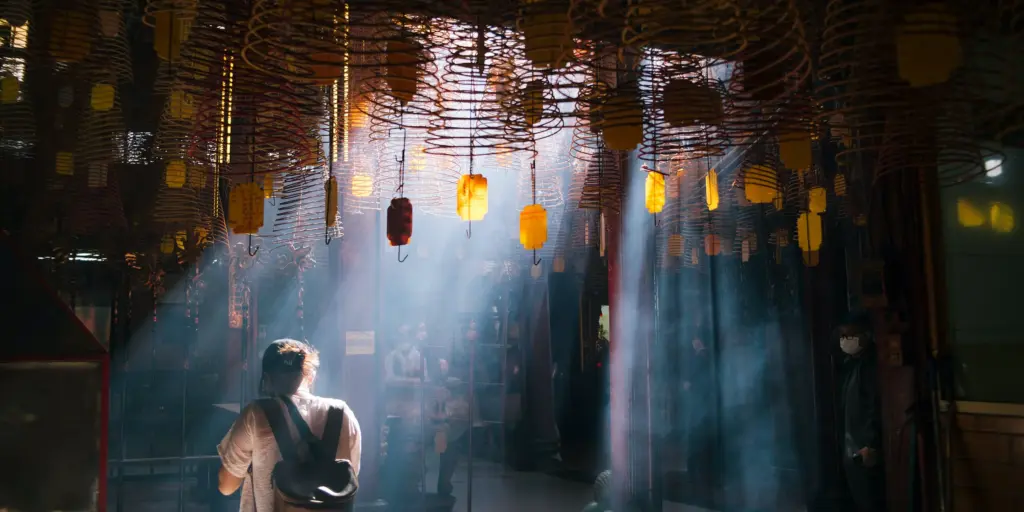
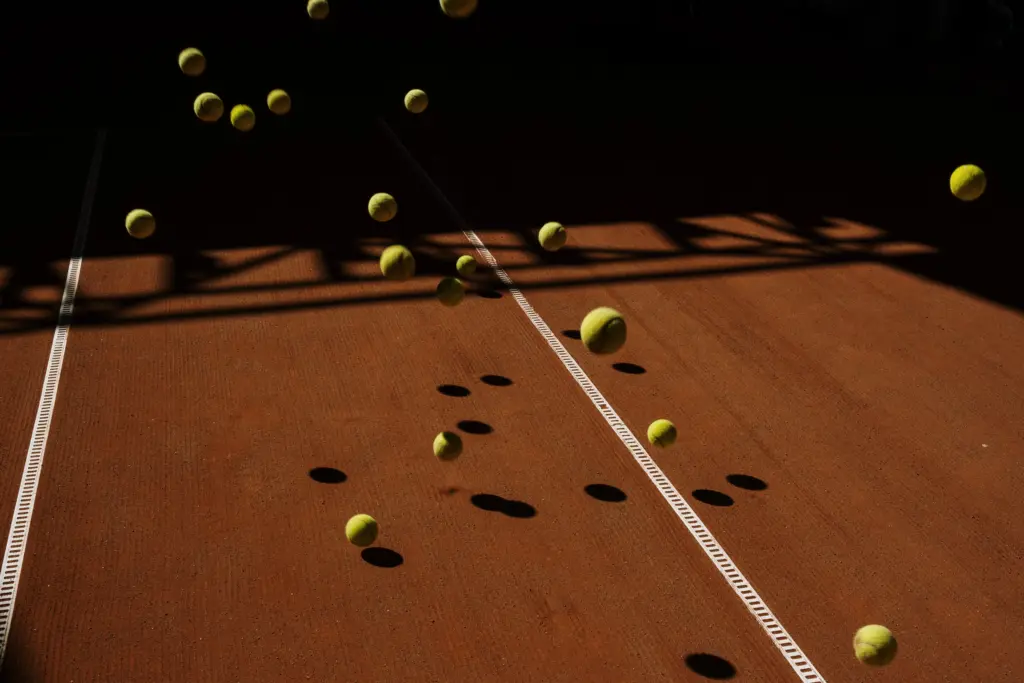
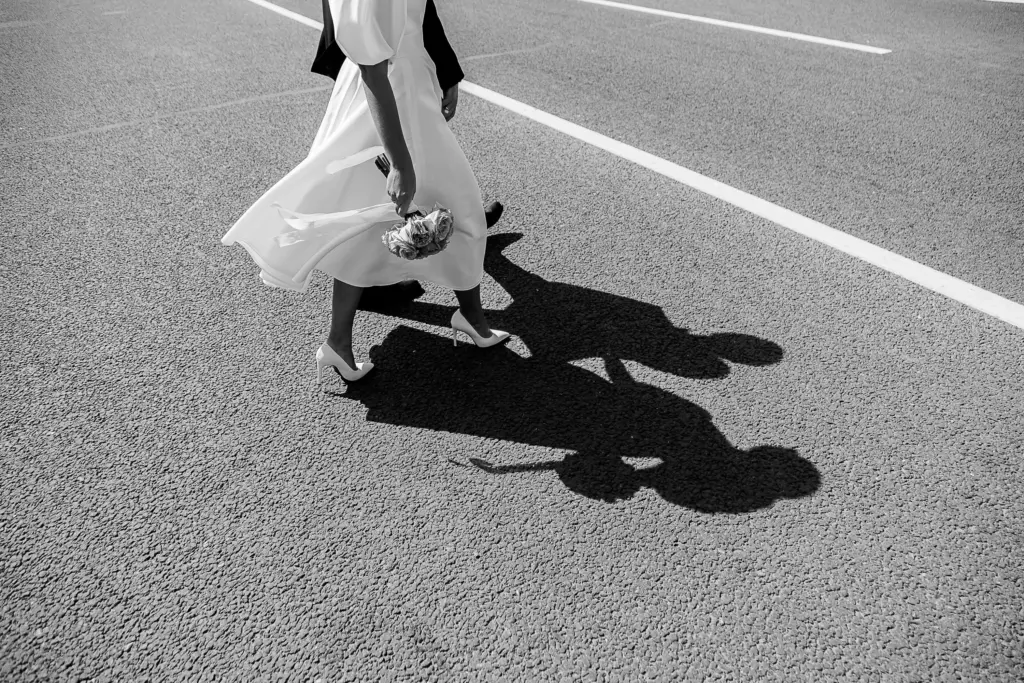
Play with shadows
Playing with shadows can be used in photography to add depth and emotion to the pictures. Shadows can also turn your work into a story and provide a narrative to the photographs.
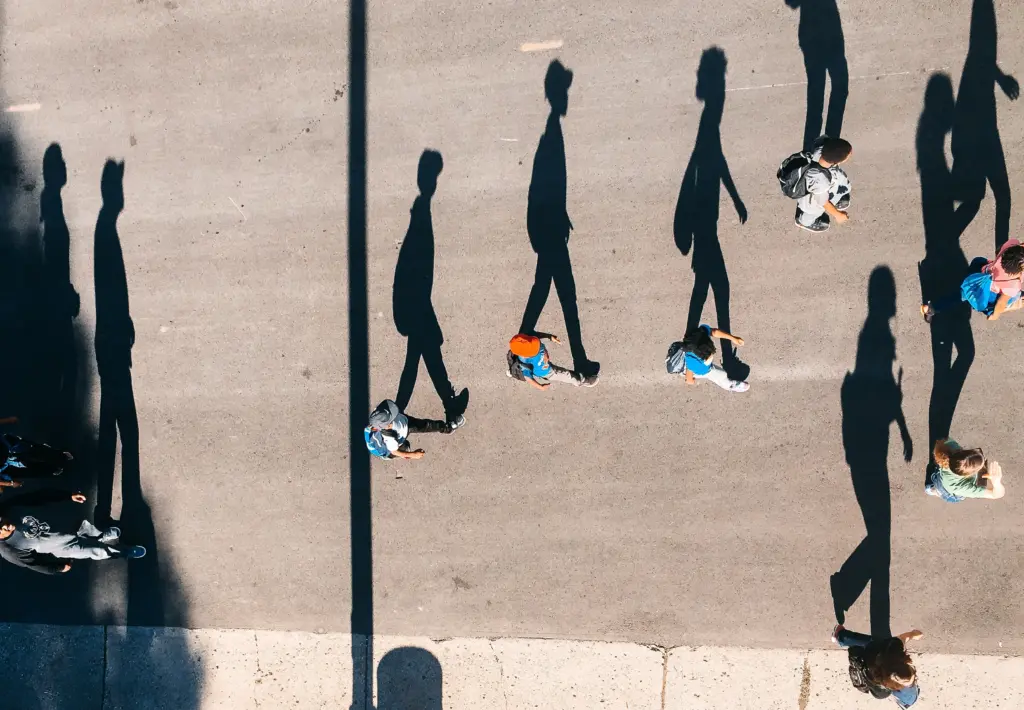
Shadows can allow you to change the entire mood of your photographs. A portrait with shadows can allow the photographs to be mysterious.
They can be more than the absence of light and add a certain narrative element to your work. Shadows can be used in silhouette photography, some portrait photography, and many other fields of photography.
Using multiple sources of lighting in photography
Using multiple light sources can give you the freedom to achieve a particular mood or look for your photographs.

You can use various light sources such as key lights, backlights, fill lights, and many others to create a well-rounded and the best focus on the subject.
You can experiment by making combinations to achieve a particular effect in your photographs.
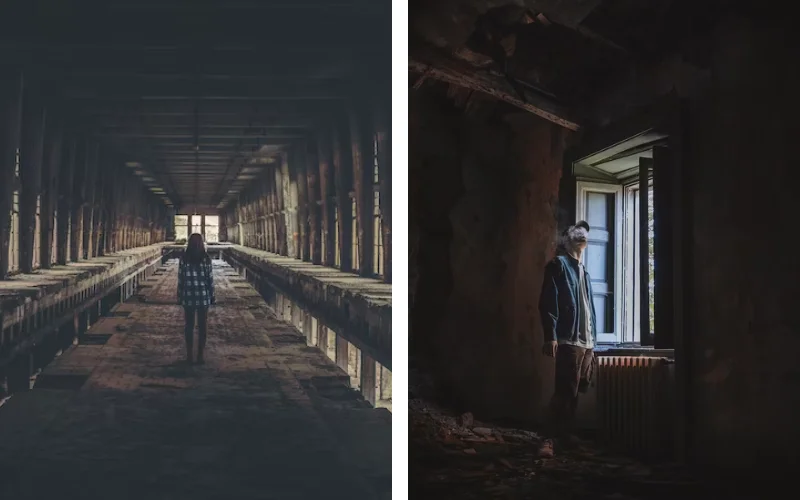
Control the direction of light
The direction of light can have a huge impact on the photograph. The angle and the position of the light source from your subject and the effect are relative to the camera’s perspective.
The direction can show visible changes in the appearance and aesthetic of the photograph. There are various directions from which the light can be focused on the subject and have different impacts on the photographs.
They can be listed as side, front, back, and top-down lighting. Each one has a different impact on the result.
Side lighting occurs when light comes from one side of the subject. It emphasises texture and depth and adds a three-dimensional effect to the photographs.
Front lighting is when the light is positioned directly in front of the subject. It can be used to flatten the subject and minimize shadows.
Backlighting is when the light is placed at the back of the subject. It is known for creating silhouettes or a halo effect around subjects.
Check Out: Photoshop Filters For Artistic Portraits
Use of color gels
The color gels can be used to change the color of the light by placing the color gels in front of the light source.
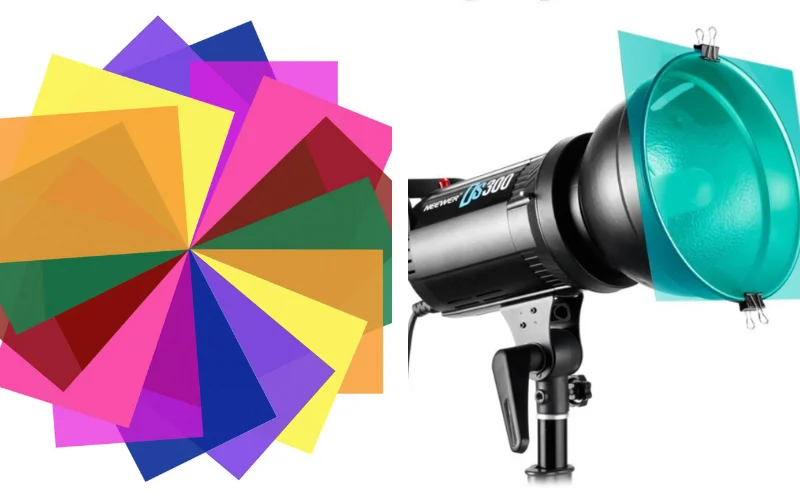
The color gels can help create special effects and change the mood in the photograph. The color gel in front of the light source can add color to the photograph.
Three-point lighting setup
Three-point lighting is one of the fundamental techniques in both photography and cinematography.
This setup uses three light sources strategically placed around the subject to illuminate depth, dimension, and visual interest.
The key light is the main light; the fill light softens the shadows caused by the key light, and the backlight separates the subjects from the background.
Adjust white balance
White balance is the filter that ensures that the colors are rendered by adjusting the light source’s colour temperature.
It doesn’t matter whether the light source is artificial or natural; you should ensure that the white balance setting matches the light source and that the colours render properly.
Bounce the light
As the name suggests, bouncing light simply means bouncing light off of ceilings, walls, or any other objects. By bouncing light, you can produce a softer and more diffused light that can give the same effect as soft light.
This method is mainly used when the light from the flash or any artificial source is harsh, creating deep shadows. To avoid this, we bounce off the light. It can even reduce the glares and some shiny surfaces in the photographs.
Avoid harsh shadows
This is one of the common considerations in the field of photography. Shadows can distract the main subject from the photograph. To get clear portraits, aesthetic shots, and clear shots, you must avoid harsh shadows.
There are many ways to avoid these harsh shadows, such as using diffused lights, bouncing the light, adjusting the camera settings, using the reflectors, and many more.
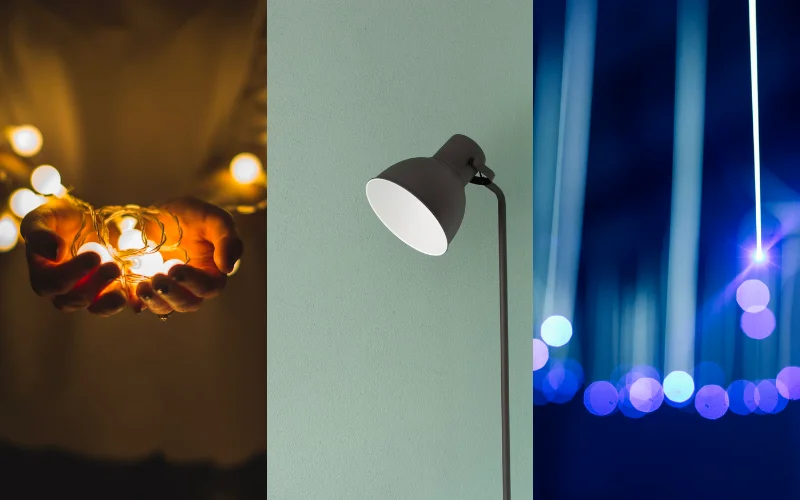
Experiment with low lighting in photography
Low light can lead to a captivating and moody effect in the photographs.
Experimenting with low light can be challenging as there is a risk of blur, underexposure, or noise.
The low-light atmosphere can create moody and dramatic photographs with mystery and intimacy.
Many scenes are captured in nature and are best captured in low light, such as sunsets, nightscapes, etc. Low-light photography can prove to be both a challenge and photography.
Check Out Popular Resources On Lighting In Photography
- 5 Spicy Lighting Setups from Dan Hostettler
- 4 Easy Ways To Get Studio-Quality Portraits Using Only Natural Light
- Looking for a Simple Guide to Portrait Lighting? Here’s a Free Cheat Sheet
- Caitlin Teal Price Interview: Mysterious Reflections Against Light and Shadow
FAQ(s) about the use of lighting in photography
Some of the frequently asked questions about the use of lighting in photography are answered below.
How do you decide between soft or hard light?
The choice completely depends on the purpose of the lighting you want to fulfil in the photographs. It also depends on the mood and the effect you want to capture in your work. Hard light can create sharp, more defined shadows and give a more dramatic effect.
Soft light produces less defined shadows and is considered more suitable for portraits.
How do you avoid red light in photos?
The red eye is generally caused by the camera flash reflecting off the retinas. The best way to avoid it is to increase the ambient lighting and suggest the subject look away from the lens.
You can use the external flash and the camera’s red-eye reduction mode.
Can artificial and natural light be mixed in the same picture?
Yes, mixing the light sources is quite common nowadays.
However, to achieve a more consistent look, you need to balance the color temperatures properly while using different light sources.
How important is the direction of light?
The direction of light can be an important factor in your photograph.
The direction in which the light hits your subject can completely change the photograph’s mood.
How can I improve photographs taken in the harsh midday sun?
To improve the photographs taken in the harsh midday sun, you can seek shade or use diffusers to soften the light.
Check Out: Luminar Neo Ultimate Editing Guide
Conclusion
Many factors can affect your photographs, lighting being one of them. Lightning can have significant power over your photographs. It can be said to affect the essence of your work directly.
The direction, intensity, color, and even shadows can completely change the photograph’s aesthetic. Mastering the use of lighting in photography certainly seems to pay off, and it shows in your work and makes it stand out.
Nowadays, there are advanced ways of editing lighting. This post-processing can even include artificial intelligence, which makes it seamless.
But the satisfaction of creating the image you have in your mind with the right lighting is quite different. The right use of lighting can bring a scene to life. You can learn a lot about lighting and implement it in your work with experimentation.
The above article mentions some tips and tricks for the right use of lighting. I hope you liked the article.
Looking to build a stronger foundation in studio photography? This photography lighting learning path provides practical lighting techniques you can apply immediately.
Author Bio
Hi, I’m Manthan. I’m a professional photographer and founder of photographywith.com. This site hosts my photography writing, such as blogs, reviews, editing, etc. I publish Whatever I learn on my blog with good and easy examples. Cheers, Manthan
To see more of our blog content, visit our BLOG PAGE!