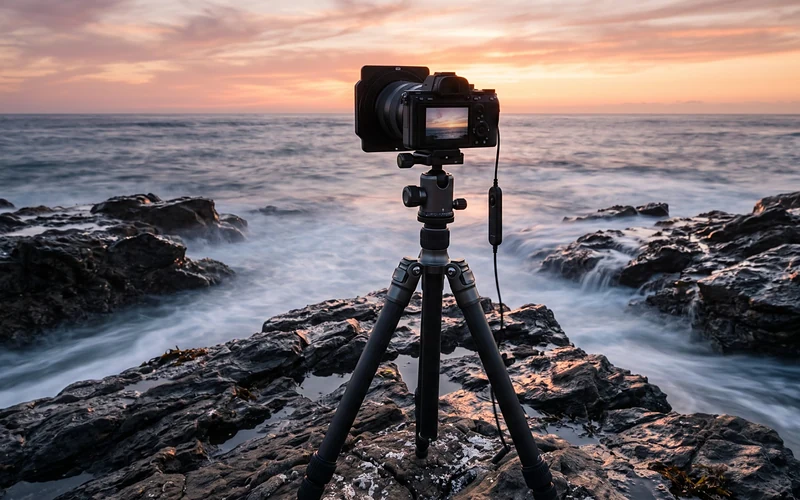
Water that looks like mist. Clouds pulled into soft streaks. Headlights turned into ribbons of red and white. If you’ve wondered how to do long exposure photography like that, the good part is that it’s mostly method, not magic. You need a steady camera, a slow shutter speed, and enough control over light to keep the shutter open without blowing out the image.
This guide covers the gear, the settings, a step-by-step workflow you can follow on location, and a simple ND filter chart to save on your phone. There are starting settings for five classic subjects too, so you’re not guessing in the field.
Quick Answer:
For long exposure photography, place your camera on a tripod. Then, switch to Manual mode, and set ISO 100 and an aperture around f/8 to f/11. Then, switch to manual focus so it doesn’t hunt. Make sure to use a shutter speed of one second or longer. Add an ND filter in daylight, and fire with a remote or 2-second timer.

Table of contents
What Is Long Exposure Photography?
Long exposure photography means keeping the shutter open long enough to record movement over time. Anything still, like rocks, buildings, or a tree, stays sharp. Anything moving, like water, clouds, cars, or people, blurs, smooths out, or vanishes completely.
There’s no official cut-off rule, but most photographers call it a long exposure when the shutter stays open for a second or more.
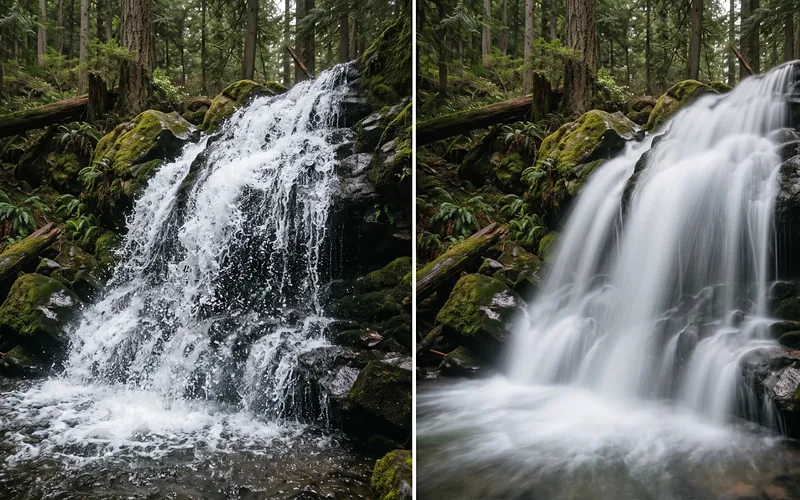
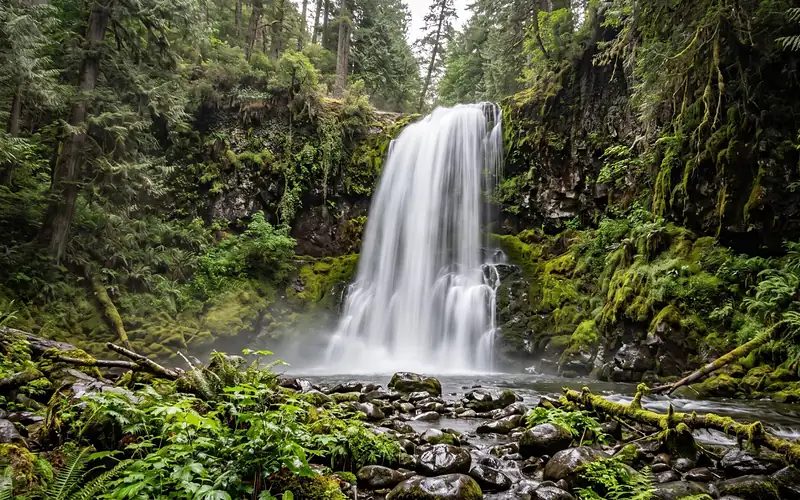
Even so, the effect starts earlier than that. A waterfall already looks softer at 1/4 of a second. At 2 seconds, it turns silky. At 30 seconds, a choppy sea can look almost like fog.
Gear You Need for Long Exposure Photography
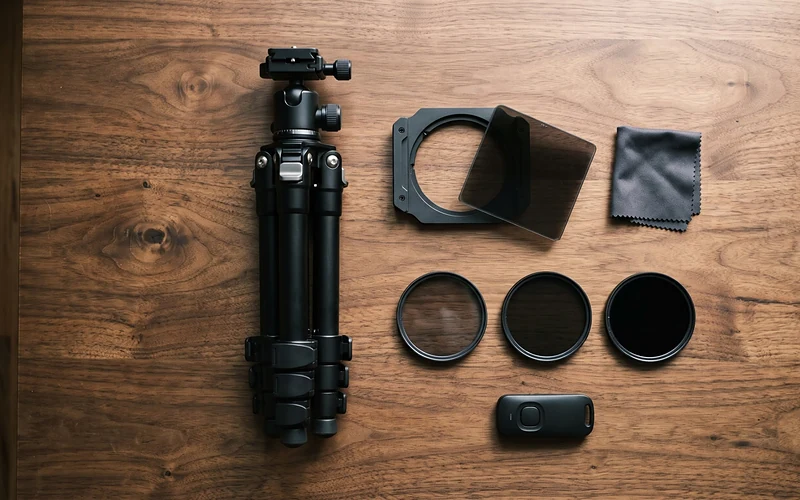
You don’t need much. But the three things below aren’t optional, because without them you’ll get either a shaky photo or a white one.
Tripod
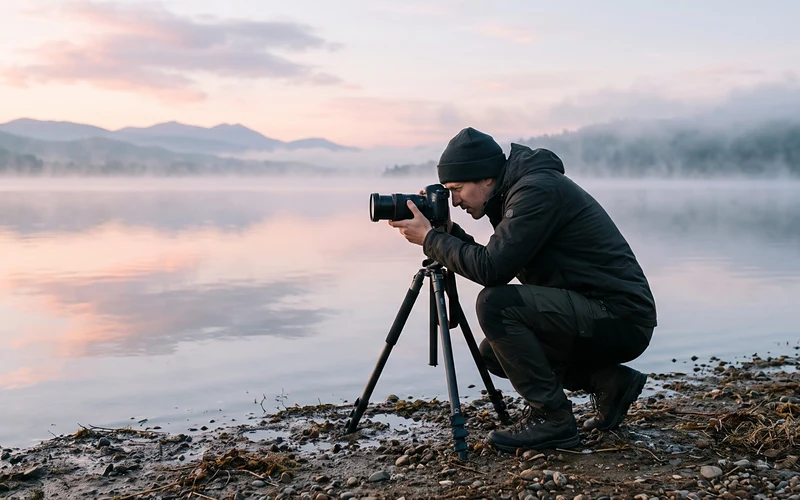
The camera can’t move at all while the shutter is open, so a tripod is the foundation. It doesn’t have to be expensive. It does have to be solid. Keep the center column down, spread the legs wide on uneven ground, and if it’s windy, hang your bag from the hook under the head so it adds weight. Just make sure the bag isn’t swinging.
Remote Release or Self-Timer
Pressing the shutter button with your finger shakes the camera, even on a tripod. In this case, a cable or wireless remote fixes that. If you don’t have one, the 2-second self-timer works just as well for exposures up to 30 seconds. For anything longer, you’ll need Bulb mode and a remote that can lock the shutter open. Some cameras also let you trigger them from a phone app.
ND Filters
At night, it’s dark enough to leave the shutter open for 20 seconds without any extra help. In daylight, it isn’t. Even at ISO 100 and f/16, a sunny scene might need 1/125s. Leave the shutter open for 10 seconds, and the photo comes out pure white.
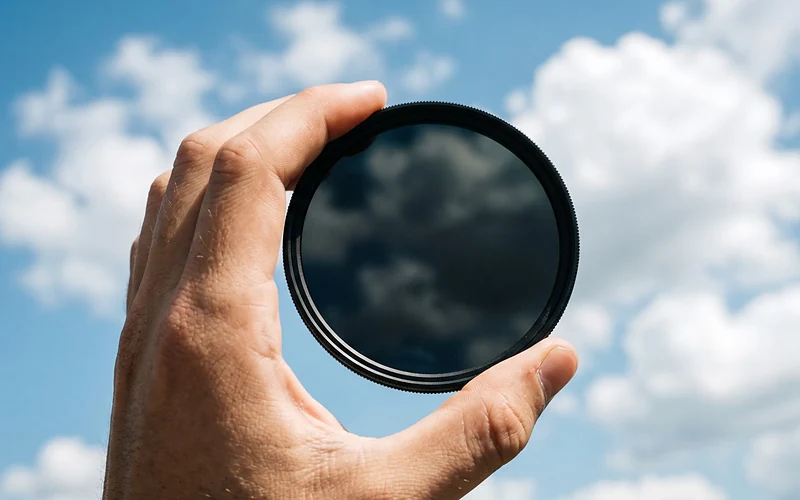
That’s what a neutral density (ND) filter is for. It’s a piece of dark glass that cuts the light reaching the sensor, so you can use a much slower shutter speed. ND filters are measured in stops, and each stop halves the light:
- 3-stop (ND8): a gentle slowdown, good for softening waterfalls on cloudy days
- 6-stop (ND64): the middle ground, useful for seascapes and rivers at sunset
- 10-stop (ND1000): the classic choice for streaky clouds and silky water in bright daylight
Screw-in filters are cheaper and quick to use. Square filters in a holder cost more, but you can stack them and combine them with graduated filters. If you’re only buying one, a 10-stop filter gives you the most dramatic results. A 6-stop is easier to work with on the edges of the day.
Long Exposure Photography Settings
Here’s the short version before we go through each one:
| Setting | Starting point | Why |
| Shooting mode | Manual (M), or Bulb past 30 seconds | You control the exact shutter speed |
| Shutter speed | 1 second to several minutes | Longer means smoother motion |
| Aperture | f/8 to f/11 | Sharp across the frame, without diffraction |
| ISO | Base ISO, usually 100 | Lowest noise and the longest shutter speed |
| Focus | Autofocus once, then switch to manual | Stops the lens hunting in the dark |
| File format | RAW | Lets you fix color casts and exposure later |
Shooting Mode
Use Manual mode. Aperture Priority can work for short exposures, but the camera’s meter gets confused once a dark ND filter is on. Most cameras top out at 30 seconds in Manual. For anything longer, switch to Bulb (the “B” setting), which keeps the shutter open for as long as you hold the remote.
Shutter Speed
This is the creative setting for long exposure shots. It determines how much motion blurs. Let’s look at some examples:
- Short exposures of 1/4s to 1 second keep some texture in water.
- Exposures of 2 to 30 seconds give that classic silky look.
- A minute or more starts to flatten water completely and stretch clouds into long streaks. There’s no single right answer, so take a few frames at different speeds and compare them.
Aperture
An aperture of f/8 to f/11 keeps most scenes sharp from front to back. You might be tempted to go to f/22 to get a slower shutter speed. Don’t, unless you have to. At very small apertures, diffraction softens the whole image. An ND filter is a much better way to slow things down.
ISO
Keep ISO at your camera’s base setting, usually 100 (some cameras use 64 or 200). Low ISO gives the cleanest file, and it also lets in less light. And this is exactly what you want when you’re trying to keep the shutter open longer.
Focus
Focus before you attach the ND filter. A 10-stop filter is so dark that autofocus usually can’t find anything to lock onto. Focus on your subject, or about a third of the way into a landscape, then switch the lens to manual focus. That way the camera won’t refocus when you press the remote. Ian Plant’s The Art of Creative Focus Photography is great if you want to go further with where to place sharpness.
RAW and White Balance
Always shoot in RAW. Cheaper ND filters, especially the 10-stop versions, add a warm or magenta tint to the photos. But shooting in RAW gives you the chance to fix it later.
Our guide on what RAW means in photography explains why it matters. It also helps to set white balance to a fixed preset like Daylight instead of Auto. Then every frame in a sequence gets the same correction.
How to Do Long Exposure Photography: Step by Step
This is the order that saves the most frustration on location. It looks like a lot written down, but after a couple of outings it takes a minute or two.
- Set up and compose. Put the camera on the tripod and get the framing right now. Moving it later, once the filter is on, is a pain.
- Turn off image stabilization. Some lenses and cameras can add blur on a tripod while they look for movement that isn’t there. Check your manual to be sure.
- Dial in your base settings. Manual mode, ISO 100, f/8 to f/11, RAW.
- Focus, then lock it. Autofocus on your subject, then flip the lens or camera to manual focus.
- Take a test shot without the filter. Adjust the shutter speed until the histogram looks right, with no big spike against either edge. Write that shutter speed down.
- Attach the ND filter. Screw it on gently so you don’t nudge the focus ring or the framing.
- Work out the new shutter speed. Use the chart below or a free ND calculator app.
- Cover the viewfinder. On a DSLR, light can leak in through the eyepiece and leave a haze on long exposures. Many camera straps have a small cover for it. Mirrorless cameras don’t need this.
- Fire with a remote or timer. Use Bulb mode for anything longer than 30 seconds.
- Check and adjust. Look at the histogram and zoom in to 100% to check sharpness. If it’s too bright or dark, change the shutter speed and go again.
If you’d like to see this whole process on location, Gim Liu’s The Art Of Long Exposure Photography walks through his settings, gear, and workflow for light trails, motion blur, and night cityscapes.
ND Filter Exposure Chart
Find the shutter speed from your test shot in the first column. Then read across to see what it becomes with each filter. Values are rounded to the nearest full stop, the same way your camera’s shutter speeds are.
| Without filter | 3-stop (ND8) | 6-stop (ND64) | 10-stop (ND1000) |
| 1/500 | 1/60 | 1/8 | 2 s |
| 1/250 | 1/30 | 1/4 | 4 s |
| 1/125 | 1/15 | 1/2 | 8 s |
| 1/60 | 1/8 | 1 s | 15 s |
| 1/30 | 1/4 | 2 s | 30 s |
| 1/15 | 1/2 | 4 s | 1 min |
| 1/8 | 1 s | 8 s | 2 min |
| 1/4 | 2 s | 15 s | 4 min |
Treat these as your starting point. Filters are not always exactly their rated strength. Also, the light can change during a long exposure, especially around sunset. That’s why, always check the histogram after the first frame and adjust from there.
Long Exposure Ideas to Try
Each of these needs slightly different settings. Use them as a starting point, then adjust to the light you actually have. The Landscape & Travel learning path is a good next step if you want more of these subjects with structure.
Silky Water
Waterfalls and rivers are where most people start, and for good reason. They’re forgiving. On an overcast day or in shade, a 3-stop or 6-stop filter often gets you to 1/2 second to 2 seconds, which keeps a little texture in the water. Seascapes can go longer, from 1 to 30 seconds, depending on how much movement you want to keep in the waves. Ian Plant’s The Creative Photographer’s Guide to Nature has plenty of ideas for working with water in a scene.
Moving Clouds
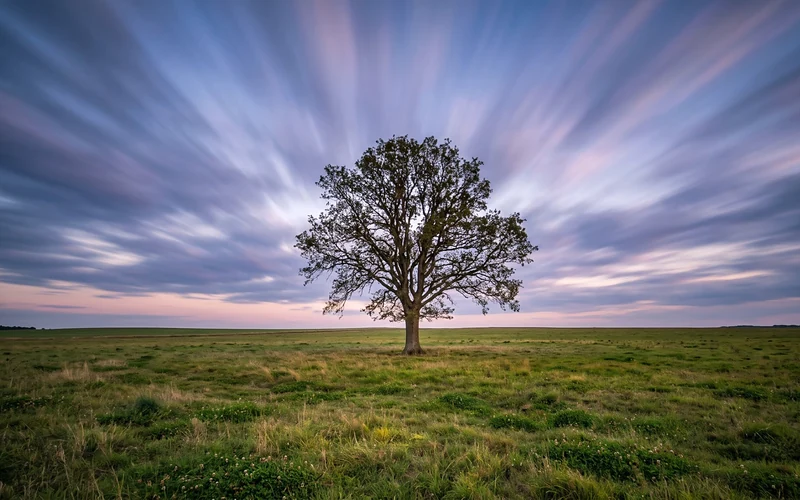
Streaky clouds need time, usually 30 seconds to 3 minutes, so a 10-stop filter is the usual tool. Pick a day with clear, separate clouds and a steady wind. Featureless gray skies don’t streak; they just go flat. You get the strongest lines when the clouds move toward you or away from you, rather than sideways across the frame.
Light Trails
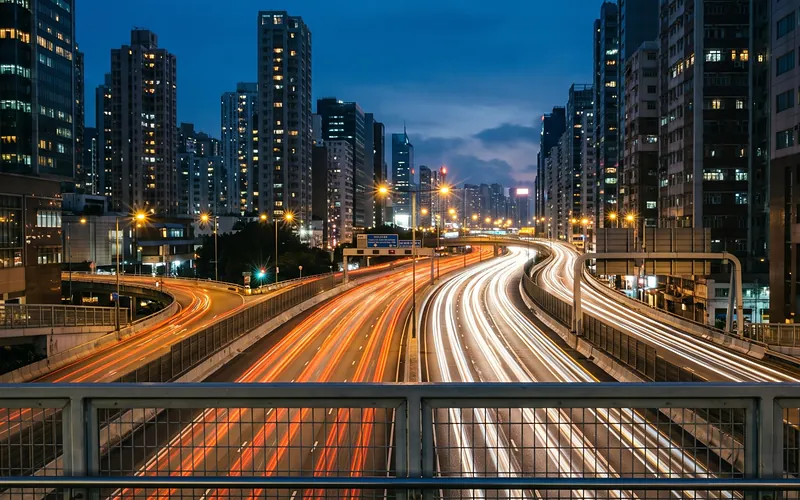
You don’t need a filter for this one. After dark, set ISO 100, f/8 to f/11, and a shutter speed of 10 to 30 seconds, then aim at a busy road from a bridge or a sidewalk. The cars disappear, and only their lights remain. Blue hour, the 20 to 40 minutes after sunset, usually looks best because the sky still has some color.
Night Cityscapes
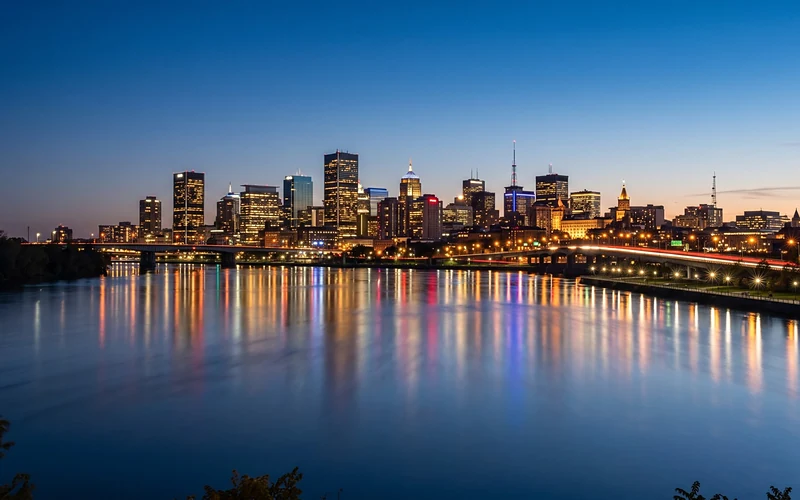
City skylines look cleaner and calmer with long exposures. Water reflections smooth out, and street lights turn into small starbursts if you close the aperture to around f/11 to f/16. Start around 5 to 30 seconds at ISO 100. If you’d rather shoot the city handheld after dark, Alex Coghe’s The Art Of Night Street Photography takes a very different, more spontaneous approach.
Empty Busy Places
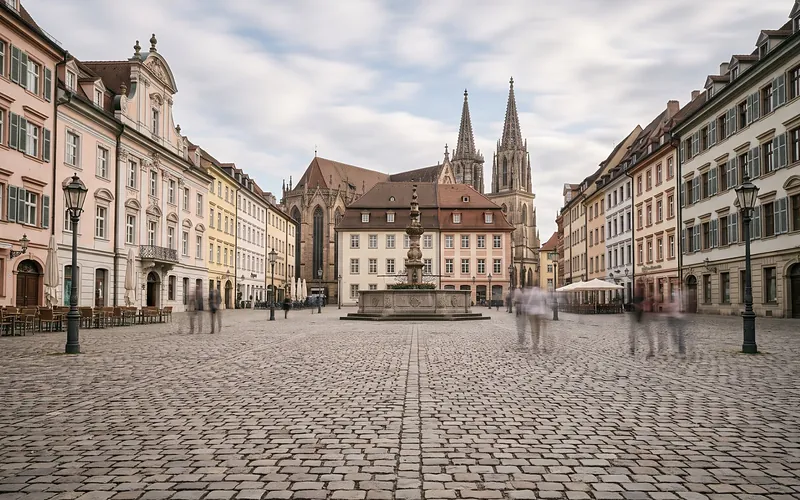
This one surprises people. With an exposure of a minute or more, anyone walking through the frame doesn’t stay in one spot long enough to register. A busy square or station can look almost deserted. You’ll usually need a 10-stop filter, and sometimes two stacked together. People who stand still will show up as faint ghosts, which can look great or awful depending on the shot. Alex Coghe’s Street Photography Composition Guide is helpful for building strong frames in busy places like these.
Common Long Exposure Mistakes
Most failed long exposures come down to a handful of problems. Here’s what they look like and how to fix them.
- The photo is almost white. The exposure ran too long for the light. Check the histogram, shorten the shutter speed, or use a stronger filter. If the sky is much brighter than the ground, take two exposures and blend them. Understanding The Power of Masks In Photoshop shows how masks make that kind of blend possible.
- Everything is slightly soft. The camera moved. Wind, a soft tripod on sand, or touching the camera can all do it. Our guide on why your photos are blurry covers tripod mistakes in more detail.
- There’s a strange haze or bright patch. On DSLRs, that’s often light leaking in through the viewfinder. Cover it during the exposure.
- The colors look orange, magenta, or blue. That’s a color cast from the ND filter. Shoot RAW and correct the white balance in editing.
- Bright speckles appear in dark areas. Those are hot pixels from the sensor warming up. Long exposure noise reduction can remove them, but it doubles the wait for each frame.
- The corners are dark. Stacking filters on a wide-angle lens can cause vignetting. Use a thinner filter, or zoom in a little.
Conclusion
Once you know the routine, long exposure photography is one of the most satisfying things you can do with a camera. Set up on a tripod, focus and lock it, take a test shot, add your filter, and do the math. Then let time do the rest. Your first attempts might be too bright or a bit soft, and that’s completely normal. Each one teaches you something about the light and the scene.
Frequently Asked Questions
1. What Shutter Speed Counts as Long Exposure?
Ans. Most photographers use the term for exposures of about one second or longer. The look starts earlier with moving water, though. Even 1/4 of a second softens a waterfall.
2. Can You Do Long Exposure Without an ND Filter?
Ans. Yes, in low light. At night, at blue hour, or in deep shade, you can often reach several seconds without a filter. In daylight, you can also take many short frames and blend them in editing to fake a long exposure, a technique called image averaging.
3. Can You Do Long Exposure Handheld?
Ans. Not really. Strong in-body stabilization can sometimes hold half a second to a second, but a tripod is far more reliable. A few cameras have built-in “live ND” features that mimic a filter, though these still work best with a steady camera.
4. Which ND Filter Should Beginners Buy?
Ans. A 6-stop filter is the most flexible for sunrise, sunset, and cloudy days. A 10-stop filter gives more dramatic results in bright daylight. Whichever you choose, quality matters, because cheap filters tend to add strong color casts.
5. How Do You Calculate Exposure With an ND Filter?
Ans. Each stop doubles the shutter speed. So a 3-stop filter multiplies it by 8, a 6-stop by 64, and a 10-stop by about 1,000. Take a test shot without the filter, then use a chart or an ND calculator app.
6. Why Are My Long Exposures Overexposed?
Ans. The shutter stayed open too long for the amount of light. Use base ISO, close the aperture to around f/11, use a stronger ND filter, or shorten the exposure. Light also changes fast around sunset, so recheck after every few frames.
7. Why Are My Long Exposures Blurry?
Ans. Usually, the camera moved. Use a solid tripod, a remote or timer, and turn off image stabilization if your manual recommends it. Also, make sure focus was set before the filter went on.
8. What Is the Best Time of Day for Long Exposure?
Ans. Sunrise, sunset, and blue hour are ideal because the light is soft and low enough to allow slower shutter speeds. Overcast days also work well for water. Our guide on how to read light in photography explains why softer light helps.
9. Should I Turn On Long Exposure Noise Reduction?
Ans. Turn it on for exposures longer than about 30 seconds if you notice hot pixels or blotchy shadows. The camera takes a second dark frame of the same length to clean up the noise, so each shot takes twice as long.
10. Can You Take Long Exposure Photos on a Phone?
Ans. Yes, to a point. On an iPhone, shoot a Live Photo and choose the Long Exposure effect. Some Android phones, like Google Pixel, have a motion or long exposure mode. A small phone tripod helps a lot either way.