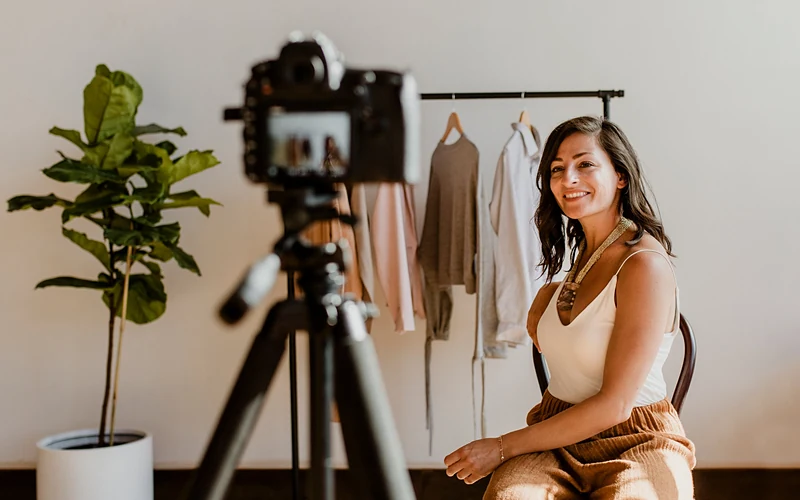
Self-portraits can feel strange at first. You set everything up, run into the frame, try to look relaxed, only to find out that the camera is focused on the bookshelf behind you. So, if you’re wondering how to take self-portraits that look good, the trick is to divide the two jobs. First, you are the photographer, and then you’re the subject.
This guide will walk you through both. You’ll understand how to set up the light and frame, lock focus on a spot you can’t see from behind the camera. And then pose in a way that doesn’t feel stiff. There’s a section for phones too, plus ideas for when you’re not sure what to shoot.
Quick Answer: To take self-portraits, put your camera on a tripod and frame the shot using a stand-in object where you’ll stand. Focus on it, or turn on face and eye detection.
Use f/5.6 to f/8, 1/125s or faster, and Auto ISO. Fire with a remote or the 10-second timer, take several frames per pose, then check focus at 100%.

Table of contents
- What You Need to Take Self-Portraits
- How to Set Up Your Self-Portrait
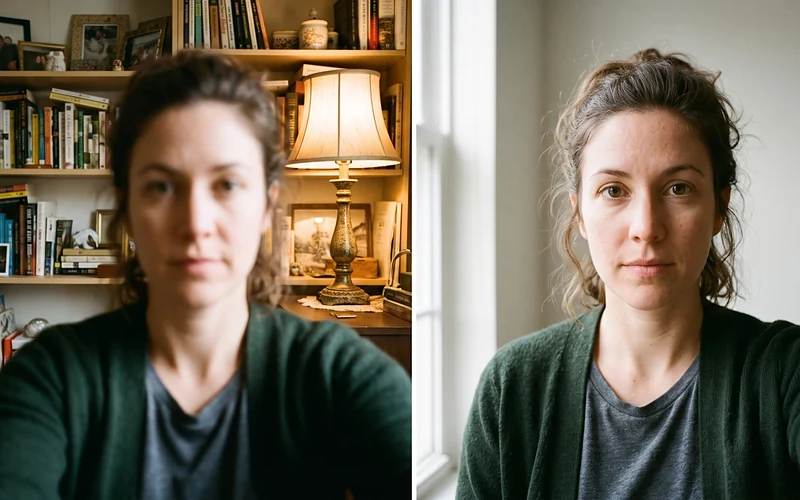
- How to Get Sharp Focus on Yourself
- Best Camera Settings for Self-Portraits
- How to Pose for Self-Portraits
- How to Take Self-Portraits With a Phone
- Self-Portrait Ideas to Try
- Common Self-Portrait Mistakes
- Conclusion
- Frequently Asked Questions
What You Need to Take Self-Portraits
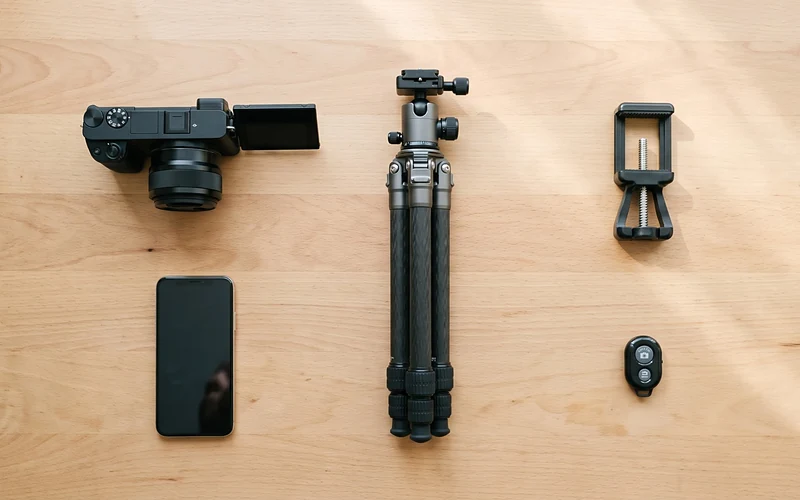
The gear list is short, and you probably already own most of it.
Camera or Phone
Any camera works, and so does a phone. A camera with a flip-out screen helps a lot, because you can see yourself in the frame. If you’re shopping, our guide to the best camera for beginners covers which features matter. For lenses, something between 35mm and 85mm is ideal.
A 50mm is a great all-rounder. Avoid very wide lenses up close, since they stretch noses and foreheads in an unflattering way.
Tripod or Stable Surface
A tripod makes taking portraits easier, but it is not essential. A rack, a pile of books, or a wall works well. What matters the most is that the camera stays in exactly the same place between shots. This makes sure your framing doesn’t change every time you walk back to check.
Remote, Timer or App
You need a way to fire the camera while you’re in front of it. You’ve got three options:
- Self-timer: free and built-in. Many cameras let you set the timer to take several frames in a row, which is very handy.
- Wireless remote: cheap and small enough to hide in your hand or pocket.
- Your camera’s phone app: most modern cameras have one. It shows a live view on your phone, so you can check framing, tap to focus and fire without walking back.
How to Set Up Your Self-Portrait
Make sure to get the frame right before you start shooting. It is always easier to fix the light and background before than to edit around them later.
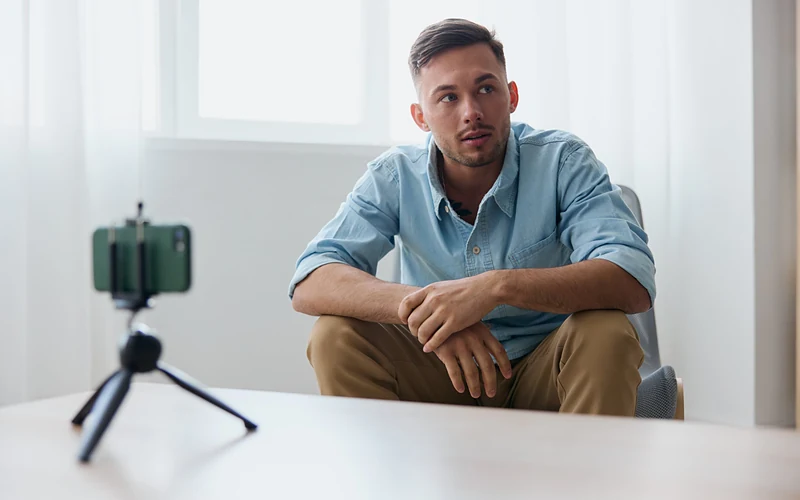
Choose Your Light
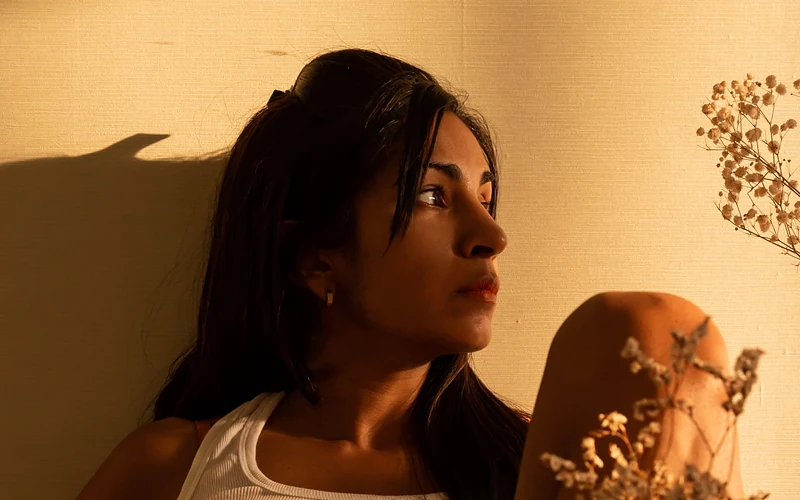
Natural window light is the easiest place to start. Sit or stand next to a large window, about a meter or so back, so the light falls across one side of your face.
It’s soft, flattering, and free. On a bright day, a thin white curtain softens it even more. Avoid harsh overhead lights, which cast dark shadows under the eyes. Our guide on how to read light in photography explains why direction matters so much.
Keep the Background Simple
A plain wall, a solid curtain, or an open doorway works better than a cluttered shelf as a background. Always step a meter or two away from the background if you can.
That gap helps it fall out of focus, so you stand out. Before you shoot, look for anything that seems to grow out of your head, like lamps, plants, or door frames.
Frame the Shot Before You Step In
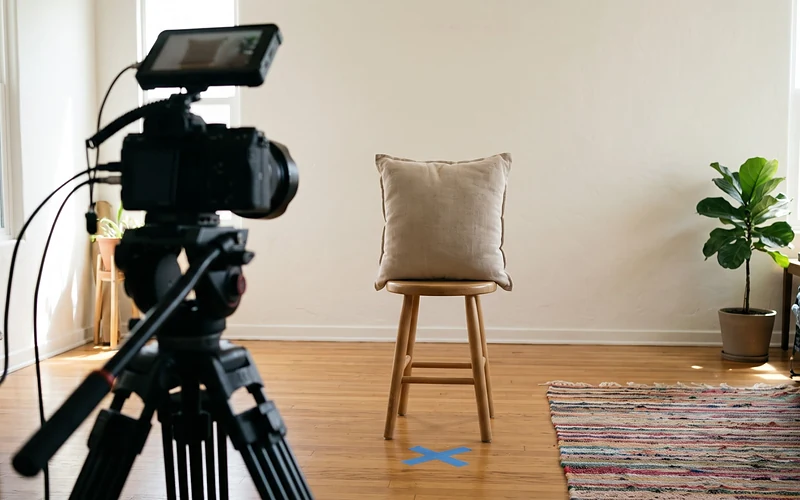
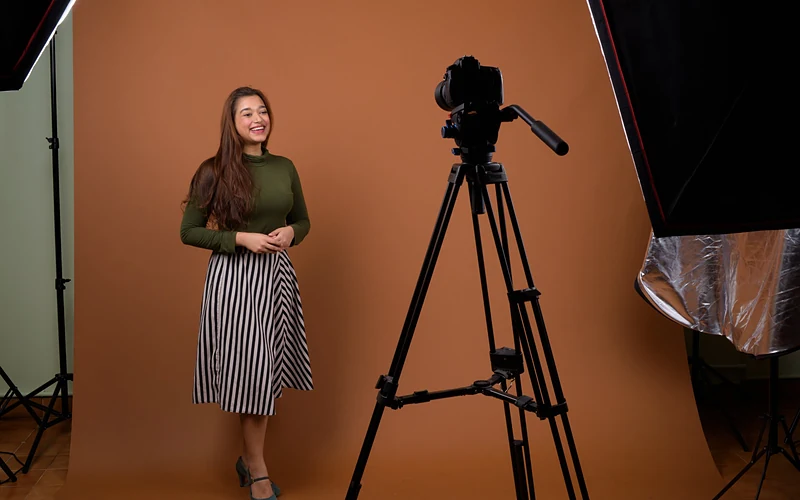
This is the part most people skip, and it’s why heads get cut off from the frame. Mark the place where you’ll be standing or sitting, at roughly your height. A chair with a jacket on it, a lamp, or a cushion- anything will work.
Frame around that stand-in, and leave a little extra room on all sides. It’s easy to crop later, but you can’t add back the top of your head. A small piece of tape on the floor helps you find the same spot every time.
How to Get Sharp Focus on Yourself
This is where most self-portraits go wrong. You can’t look through the camera while you’re in front of it, so the camera decides what to focus on. Often it picks the wall. Here are four ways to take that decision back.
Use a Stand-In Object
Remember the chair or lamp you used for framing? Focus on it too. Put the focus point on the spot where your face will be, half-press to focus, then switch the lens or camera to manual focus. Now the focus stays locked at that distance, even after you swap places with the stand-in. Just make sure you sit or stand exactly where it was.
Turn On Face or Eye Detection
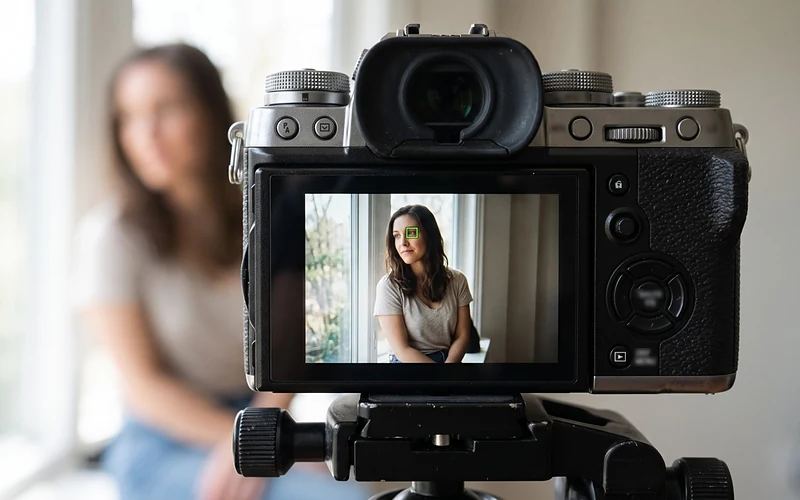
Most recent mirrorless cameras can find and track a face or eye on their own. Set the camera to continuous autofocus (AF-C or AI Servo) with face or eye detection on, and it will follow you as you move. If your camera has a phone app, use it to check that the focus box is actually on your eye before you shoot.
Pre-Focus and Switch to Manual
If you don’t have a stand-in or eye detection, use the phone app or a quick test shot. Stand in position, fire one frame, then check it at 100% on the camera. If your eyes aren’t sharp, adjust the focus and try again. It takes a few rounds, but once it’s set, it stays set.
Close Down the Aperture
A wider aperture like f/1.8 looks lovely, but the sharp zone is only a few centimeters deep. Lean forward a little, and you’re out of focus. Closing down to f/5.6 or f/8 gives you more room to move while staying sharp. Ian Plant’s The Art of Creative Focus Photography is a good next step if you want to play with what’s sharp and what isn’t.
Best Camera Settings for Self-Portraits
Use these as a starting point and adjust for your light.
| Setting | Starting point | Why |
| Mode | Aperture Priority (A or Av) | You control depth of field, the camera handles the rest |
| Aperture | f/4 to f/8 | Enough depth to stay sharp if you move a little |
| Shutter speed | 1/125s or faster, 1/250s if you’re moving | Freezes small movements and hair |
| ISO | Auto ISO with a minimum shutter speed | Keeps the shutter fast as light changes |
| Focus | AF-C with face or eye detection, or manual focus on a stand-in | Keeps focus on you, not the background |
| Drive | Timer with multiple shots, interval shooting or burst | More frames means more natural moments |
| File format | RAW | More room to fix skin tones and exposure later |
If the light is fading and your shutter speed drops below 1/60s, raise the ISO or move closer to the window. A little grain is fine. A soft face isn’t. Our guide on why your photos are blurry covers more fixes for soft shots.
How to Pose for Self-Portraits
Most people feel awkward in front of their own camera at first. That’s normal, and you don’t need to be a model to get past it. You just need to keep moving, take lots of frames, and pick the best ones later.
Move Between Shots
The stiffest self-portraits come from holding one pose and waiting for the timer. Instead, make small changes between frames. Turn your shoulders a little, shift your weight, tilt your head, look away and then back. Small movements give you variety without turning every frame into a big production.
Use Burst or Interval Shooting
Set the timer to take three to ten shots in a row, or use interval shooting to fire every few seconds. Then just move naturally while it runs. You’ll get in-between moments you could never pose on purpose, like a half-laugh or a glance out the window. Those are often the keepers.
Angles, Hands and Expression
A few simple habits make a big difference:
- Angle your body. Turn about 45 degrees away from the camera instead of facing it square on. It’s more flattering and less like a passport photo.
- Push your chin slightly forward and down. It sounds odd, but it defines the jawline and looks natural in the photo.
- Give your hands a job. Hold a cup, touch your hair, rest a hand in a pocket. Floating hands are what make a pose feel stiff.
- Think of something, not someone. Looking into the lens while thinking about a person or a funny moment gives a real expression. Breathing out just before the shot helps too.
If confidence is the hard part, Teri Hofford’s Master Creative Self-Portrait Photography covers mindset and confidence as well as gear and creative ideas.
How to Take Self-Portraits With a Phone
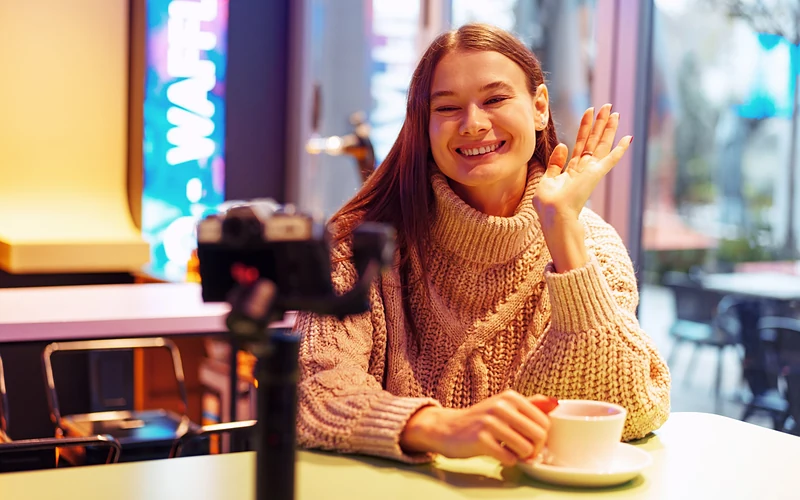
Phones are great for self-portraits, as long as you treat them like a camera, not a selfie stick.
- Use the rear camera. It’s usually much better than the front one. Pair it with a small phone tripod or lean it against something steady.
- Fire it remotely. Use the timer, a cheap Bluetooth remote, or a smartwatch if yours can control the camera.
- Step back and zoom a little. Shooting from arm’s length with the wide lens distorts your face. Move the phone farther away and use the 2x or 3x lens if you have one.
- Tap to focus on your spot. Use the same stand-in trick, then lock focus by pressing and holding on the screen.
- Watch the light. The same window-light rules apply. Phones handle soft daylight much better than dim rooms.
Self-Portrait Ideas to Try
Stuck for what to shoot? These self-portrait ideas work at home, with simple gear:
- Window light portrait. The classic. Side light, plain background, calm expression.
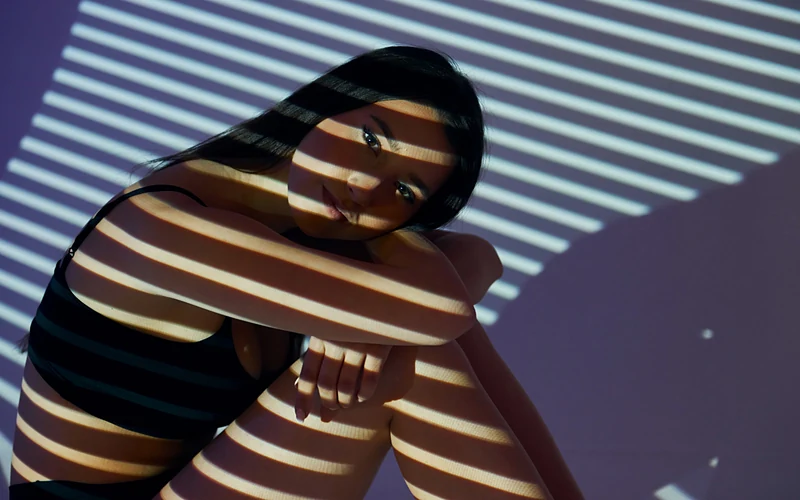
- Shadow patterns. Sit near blinds, a plant, or lace curtains on a sunny day and let the shadows fall across your face.
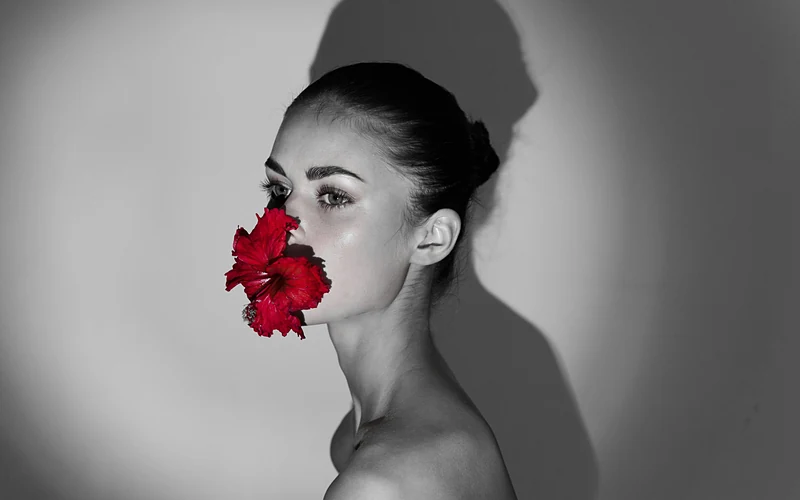
- Black and white. Removing color puts the focus on expression and light. The Black and White Portrait Editing masterclass shows how to get the most out of a monochrome edit.
- Hands and details. Not every self-portrait needs your face. Your hands holding a coffee, a camera, or a book can say a lot.
- Reflections. Mirrors, shop windows and puddles all add a second layer to the frame.
- Silhouette. Stand in front of a bright window and expose for the light outside, so you become a dark shape.
- A day in your life. Shoot yourself doing something you love, like cooking, painting, or reading, in your own space.
- Motion. Use a slow shutter speed on a tripod and move during the exposure for a dreamy, blurred look. Our long exposure photography masterclass explains the settings.
Common Self-Portrait Mistakes
Most problems come down to a handful of habits. Here’s how to spot and fix them.
- The background is sharp, and you’re not. The camera is focused on the wall. Use a stand-in, eye detection, or manual focus, and close the aperture a little.
- Your head is cut off. You framed too tightly. Leave extra room around the stand-in and crop later.
- The background is cluttered. Move a meter away from it, clear it, or switch to a plain wall.
- The pose looks stiff. You held still and waited. Use burst or interval shooting and keep moving.
- The light is harsh. Overhead lights and direct sun create hard shadows. Move to a window or into open shade.
- Your face looks distorted. The lens is too wide and too close. Step back or zoom in.
- You didn’t check at 100%. A small screen hides soft focus. Zoom in after the first few frames, not after the whole session.
Once you’ve got a shot you like, small edits can make a big difference. Understanding The Power of Masks In Photoshop shows how to brighten eyes or soften the background without touching the rest of the image.
Conclusion
Learning how to take self-portraits is really about splitting the job in two. Be the photographer first: find the light, frame around a stand-in, and lock focus. Then be the subject: keep moving, take plenty of frames, and stop worrying about every single one. After a few sessions, the setup takes five minutes, and you can spend the rest of the time on the photos themselves.
If you’d like to go further, Teri Hofford’s Master Creative Self-Portrait Photography is the natural next step. And when you’ve made a self-portrait you’re proud of, share it in PhotoWhoa Studio. It takes a bit of courage, but the feedback is worth it.
Frequently Asked Questions
1. How Do You Take a Self-Portrait Without a Tripod?
Ans. Rest the camera or phone on something stable, like a shelf, a wall, a stack of books, or a bag. Make sure it can’t slip, frame the shot, then use the timer. A small beanbag helps you tilt the camera to the right angle.
2. How Do You Focus a Camera on Yourself?
Ans. Place an object where you’ll stand and focus on it, then switch to manual focus. Or use continuous autofocus with face and eye detection. Closing the aperture to f/5.6 or f/8 gives you extra room if you move slightly.
3. What Is the Best Lens for Self-Portraits?
Ans. A lens between 35mm and 85mm works best. A 50mm is a good all-round choice. Avoid very wide lenses up close, because they distort faces.
4. What Settings Should I Use for Self-Portraits?
Ans. Start with Aperture Priority, f/4 to f/8, a shutter speed of 1/125s or faster, and Auto ISO. Shoot RAW, and use the timer, burst, or interval mode to get several frames per pose.
5. How Do I Look Natural in Self-Portraits?
Ans. Keep moving between frames, give your hands something to do, and think of something real while you look at the lens. Shooting in bursts helps you catch relaxed in-between moments.
6. What Is the Best Light for Self-Portraits?
Ans. Soft window light from the side is the easiest and most flattering. Overcast daylight and open shade work well too. The Lighting & Studio Setup learning path is helpful if you want to add lights later.
7. How Do You Take Self-Portraits With a Phone?
Ans. Use the rear camera on a small tripod, step back, and use the 2x or 3x lens if you have one, and tap to focus where you’ll be. Fire it with the timer, a Bluetooth remote, or a smartwatch.
8. How Do I Use My Phone as a Camera Remote?
Ans. Install your camera brand’s official app and connect it over Wi-Fi or Bluetooth. Most apps show a live view, so you can frame, focus, and fire from where you’re standing.
9. How Can I Take Self-Portraits at Home?
Ans. Find your biggest window, clear a plain wall behind you, and set the camera up a few meters away. Home is actually one of the best places to practice, since you can take your time.
10. Is a Selfie the Same as a Self-Portrait?
Ans. Not quite. A selfie is usually a quick arm’s-length phone shot. A self-portrait is planned. You think about the light, the background, the framing, and what you want the photo to say.