The right night photography settings depend on one thing more than anything else: is the camera on a tripod, or in your hands? Ask yourself this question, and the answer will make most of the other choices. When a night shot comes out blurry or full of grain, it’s rarely the camera’s fault. Usually it’s daytime habits being used in the dark.
In this guide, you will find the camera settings for city lights, night streets, stars, light trails and the moon. It also has the reasoning behind each one.
That second part matters. Light changes fast after sunset, and if you know why a setting works, you can adjust on the spot instead of hunting for a new number. Never shot after dark before? Think of this as night photography for beginners, with the theory kept short.
Quick Answer: The best night photography settings on a tripod are Manual mode, ISO 100, f/8 to f/11 and a shutter speed of 2 to 30 seconds, fired with a 2-second timer. Handheld, open the aperture to f/1.8 to f/2.8, keep the shutter at 1/60s or faster and let ISO rise to 1600 to 6400. Shoot RAW and focus manually.
Table of contents
Best Night Photography Settings at a Glance
Short on time? These are the best camera settings for night photography, scene by scene. Use them for your first frame, check the result, and tweak from there.
| Scene | Mode | Aperture | Shutter speed | ISO | Tripod? |
|---|---|---|---|---|---|
| City lights and blue hour | Manual | f/8 to f/11 | 2 to 30 s | 100 | Yes |
| Night street (handheld) | Aperture Priority or Manual | f/1.8 to f/2.8 | 1/60 to 1/250 s | Auto, up to 6400 | No |
| Stars and Milky Way | Manual | Widest, f/1.4 to f/2.8 | 10 to 25 s | 1600 to 6400 | Yes |
| Light trails | Manual | f/8 to f/11 | 10 to 30 s | 100 | Yes |
| The moon | Manual | f/8 to f/11 | 1/125 to 1/250 s | 100 | Helpful |
Night Photography Settings Explained
Shooting at night is mostly a juggling act. If you gather more light with one setting, then you pay for it somewhere else, whether that’s blur, grain or a thinner slice of focus. Once that clicks, you stop guessing. You change one thing and already know what has to give.
Shooting Mode
Put the camera in Manual for anything on a tripod. When you leave the camera on auto, the meter tries to turn night into day. In this case, the street lamps blow out, and the sky looks muddy gray. This basically ruins the whole mood of the scene.
Manual keeps the dark parts dark. Out on the street with the camera in your hands, Aperture Priority plus Auto ISO is fine. Just set a minimum shutter speed in the menu so the camera can’t drift too slow.
Shutter Speed
Decide the shutter speed before anything else. With a tripod, you can leave the shutter open as long as the scene needs. It can be maybe 2 seconds at blue hour and closer to 30 seconds on a dark side street.
Without one, speed is everything. Stick to at least 1/focal length (1/50s on a 50mm lens), and if people are walking through the frame, push it to 1/125s or faster.
Aperture
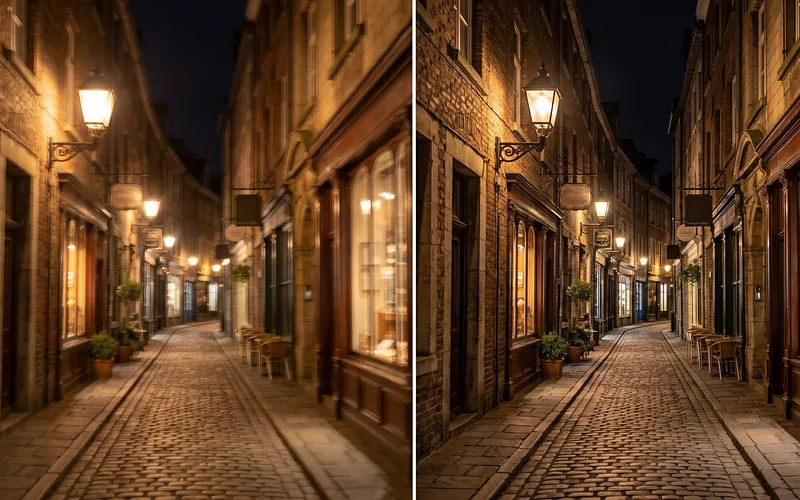
On a tripod, f/8 to f/11 keeps everything sharp, be it the railing in front of you or the skyline far away. As a bonus, street lamps turn into little starbursts at those apertures.
When handholding the camera, you need light far more than depth. So open up to f/1.8 or f/2.8 if your lens goes that wide. This is exactly where a cheap 50mm f/1.8 pays for itself.
ISO
With the camera on a tripod, leave ISO at its base setting, usually 100. There’s no rush, so let the long shutter gather the light and keep the file clean. Handheld is another story. Raise ISO as far as you need to protect the shutter speed. Most cameras from the last few years cope well at 3200, even 6400. Grain you can live with. Blur, you can’t fix.
Focus
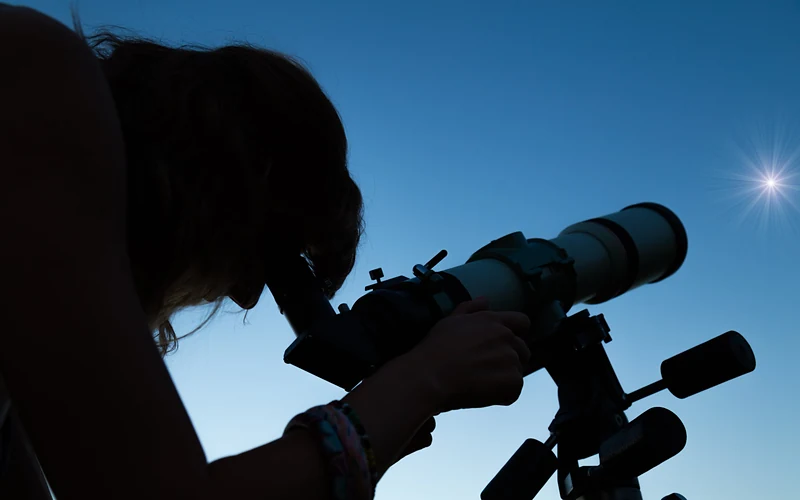
Autofocus hates the dark. It hunts, gives up, or locks onto the wrong thing. So switch to manual focus, turn on live view and zoom in on a bright street light or star. Turn the ring slowly until that point of light is as small and crisp as you can get it. And don’t trust the infinity mark on the lens barrel. On plenty of lenses, it’s slightly off. If you want to get more deliberate about what’s sharp in a frame, Ian Plant’s The Art Of Creative Focus Photography covers it well.
White Balance
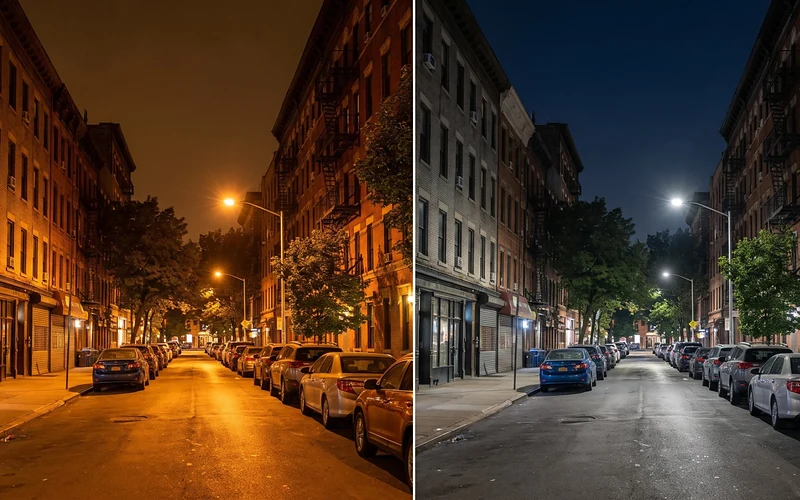
City streets mix every kind of light: orange sodium lamps, cold white LEDs, pink neon. The Auto white balance setting copes reasonably well while shooting the city street. But very often streets come out very orange.
A setting around 3200K to 4000K (or the Tungsten preset) tames that. For stars, somewhere between 3800K and 4500K gives you a natural blue sky instead of a brownish one.
RAW
Shoot RAW. At night, you’ll almost always want to adjust white balance, pull up the shadows, or clean up noise afterward, and a RAW file gives you far more room for that than a JPEG. Our guide on what RAW means in photography explains the difference.
Get Feedback on Your Night Shots
Not sure whether a soft or grainy shot came from your settings or your technique? Post it in PhotoWhoa Studio with the settings you used, and other photographers can tell you what they’d change.
Share Your Night Shot in PhotoWhoa Studio ➡️
Night Photography Settings for Different Scenes
Not every night scene behaves the same. A skyline, a busy street and the Milky Way all need a different mix of light and speed, so it helps to treat them one at a time.
Cityscapes and Blue Hour
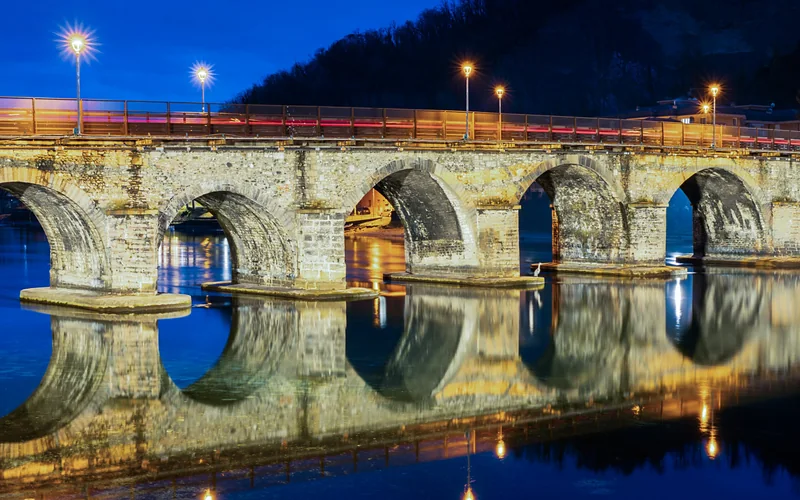
For city shots, full darkness often is not the best time. The best hour is the ‘Blue Hour’. That’s the 20 to 40 minutes after sunset when the sky still has some deep blue in it and the city lights are already on, so the sky and the buildings are much closer in brightness.
Set up the tripod, start at ISO 100, f/8 to f/11 and a few seconds, then stretch the exposure as the sky gets darker. If there’s water nearby, it’ll smooth out into glassy reflections. For help building layered city frames like these, take a look at Alex Coghe’s Street Photography Composition Guide.
Night Street Photography Settings
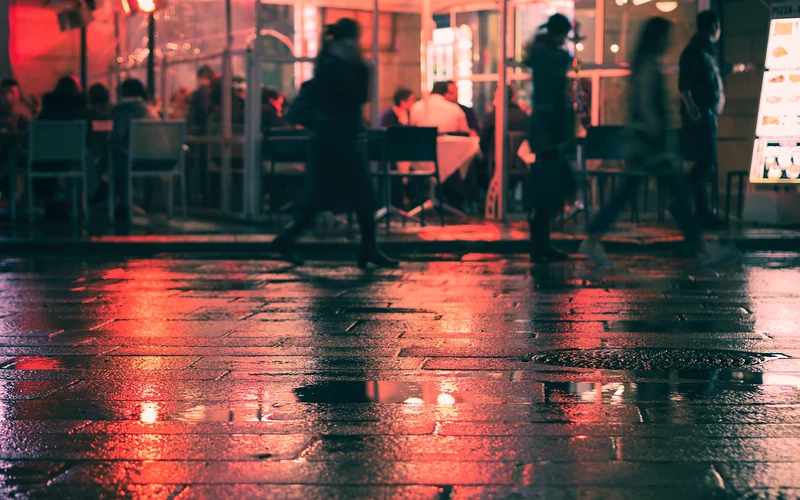
Night street photography works almost the opposite way. People are moving, you’re moving, and a tripod just gets in the way. So shutter speed comes first, then aperture, then ISO. A good place to start is 1/125s for people walking, f/1.8 to f/2.8, and Auto ISO capped somewhere around 6400. Your light comes from shop windows, neon signs and street lamps, so wait for people to step into it rather than chasing them through the dark patches.
Expect grain. In this kind of photo, it often adds to the mood rather than spoiling it. Alex Coghe’s The Art Of Night Street Photography is built around exactly this style: handheld, moody, and working with whatever light the street gives you.
Night Sky Photography Settings
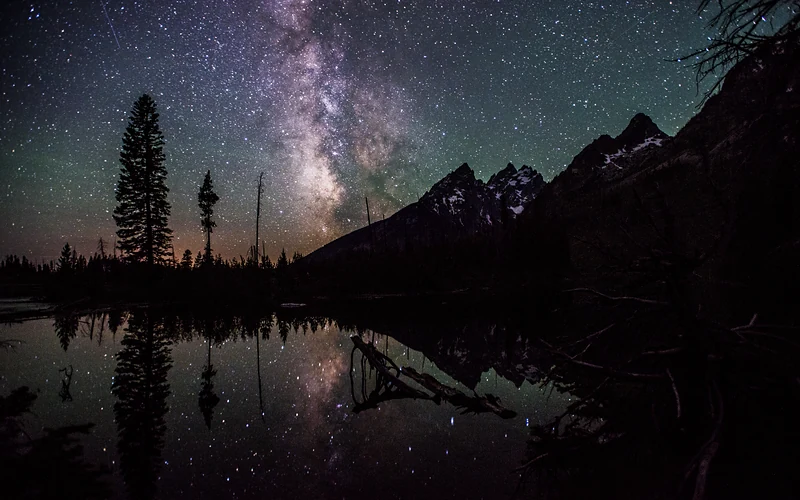
Stars are the dimmest thing on this list, so give them every bit of light you can. Put on your widest lens, open it all the way (f/1.4 to f/2.8), set ISO somewhere between 1600 and 6400 and expose for 10 to 25 seconds. Get away from city lights if you can, and check the moon calendar before you go. A new moon means the darkest sky and the most stars.
The Earth keeps turning while the camera shutter is open. So if you leave it open too long, the stars will stretch into short lines.
The old 500 rule gives a rough limit: divide 500 by your focal length. With a 20mm lens on a full-frame camera, that’s about 25 seconds. However, modern high-resolution sensors show trailing sooner, though. So either go a bit shorter or use the NPF rule, which is more precise. A lot of photography planning apps will work it out for you.
Light Trails
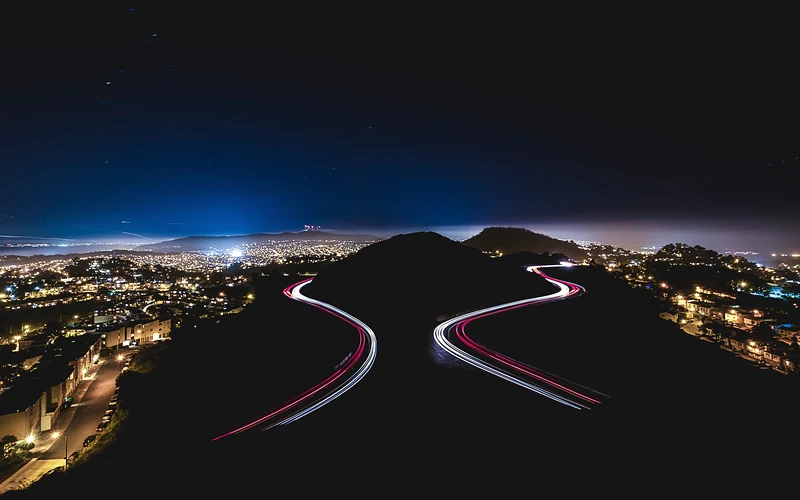
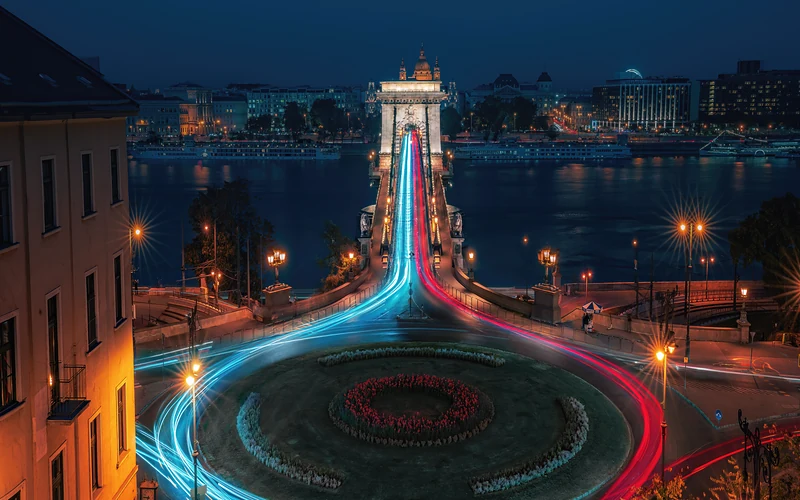
After dark, you don’t need any filters for light trails. A tripod, ISO 100, f/8 to f/11, 10 to 30 seconds are enough. Find a busy road you can look down on, like from a footbridge or a parking garage roof, and start the exposure just before a group of cars comes through. Gim Liu’s The Art Of Long Exposure Photography goes deep on light trails, and our guide to long exposure photography walks through the whole process step by step.
The Moon
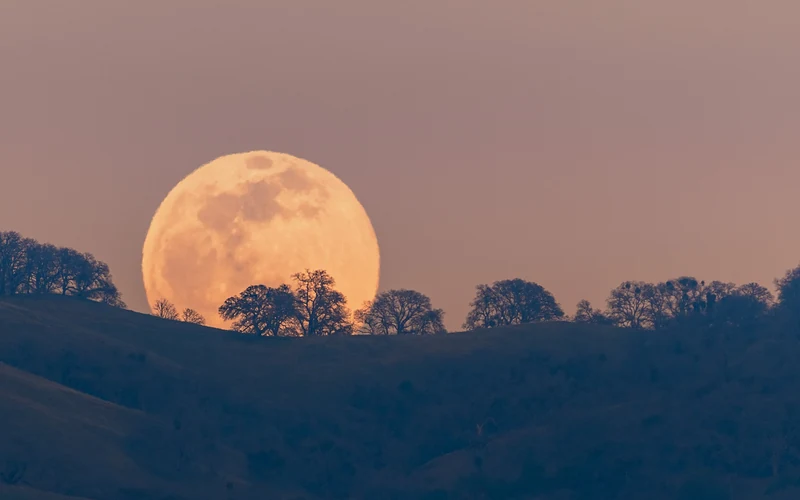
The moon catches a lot of people out. It’s lit by direct sunlight, so it’s much brighter than it looks. And normal night settings turn it into a featureless white circle.
Try the “Looney 11” rule instead: f/11, with a shutter speed of roughly 1 over your ISO. At ISO 100, that’s about 1/125s. Use the longest lens you own. And if you can, shoot it while it’s still low in the sky, so there’s a rooftop, a hill, or a tree line in the frame to give it scale.
How to Keep Night Photos Sharp
Soft night photos usually come from movement, not bad focus. A few habits fix most of it:
- Use a solid tripod, keep the center column down, and hang your bag from the hook in wind.
- Fire with the 2-second timer or a remote, so pressing the button doesn’t shake the camera.
- Turn off image stabilization on a tripod if your lens manual recommends it. Some lenses add blur while they look for movement that isn’t there.
- Handheld, brace yourself. Lean on a wall, tuck your elbows in and shoot a short burst. The middle frame is often the sharpest.
- Check at 100% on the spot. The rear screen hides softness, especially at night.
Our guide on why your photos are blurry covers these and other causes in more detail.
How to Keep Night Photos Clean
Noise is that speckled, gritty texture you see in the dark parts of a photo. You’ll never get rid of all of it at night, but you can keep it from taking over.
The single main thing you can do is get the exposure right in the camera. It’s tempting to keep the ISO low, underexpose, and brighten the file later. Unfortunately, that almost always looks worse than simply shooting at a higher ISO in the first place, because pulling up dark areas drags the noise up with them. Use the histogram as your guide. You want the graph sitting toward the middle or right, without piling up against the right edge.
If the camera’s on a tripod, use base ISO and a longer shutter speed rather than a higher ISO. For exposures past about 30 seconds, long exposure noise reduction can clean up hot pixels. But it takes a second exposure of the same length, so every shot takes twice as long. After that, Lightroom’s AI denoise can rescue files that would’ve been unusable a few years ago. The Lightroom Workflow learning path covers noise reduction along with the rest of the editing process.
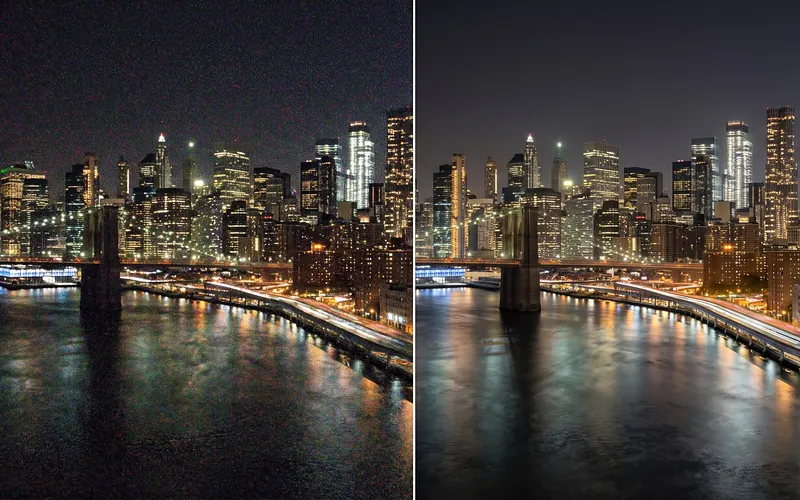
Night Photography Settings on Your Phone
Phones have improved a lot at night, mostly because night mode quietly takes several frames and blends them together. If you’re wondering how to take photos at night with a phone, these small things make the biggest difference:
- Let night mode finish. Hold the phone as still as you can until the countdown ends, or rest it on a wall or a railing. Many phones allow a longer exposure when they sense they’re on a tripod.
- Tap on your subject to focus, then slide the brightness down a touch so street lights and signs don’t turn into white blobs.
- Don’t zoom past your phone’s real lenses. Digital zoom at night just enlarges the noise. Walk closer instead.
- If your phone has a RAW or Pro mode, use it. You’ll get more room to edit, the same as with a camera.
- Wipe the lens first. A fingerprint smudge makes every light glow and blur.
Common Night Photography Mistakes
Nearly every night photographer runs into these at some point. Knowing them ahead of time saves a lot of wasted frames.
- Leaving the camera in Auto. It might pop the flash, choose a shutter speed far too slow to hold, or brighten everything until the night looks like an overcast afternoon. Manual or Aperture Priority puts you back in charge.
- Judging exposure by the screen. Once your eyes adjust to the dark, the rear screen looks much brighter than the photo really is, so files that seemed fine come home too dark. Turn the screen brightness down and trust the histogram.
- Letting the lights blow out. Street lamps and signs clip to pure white very quickly. Shorten the exposure slightly, or shoot during blue hour when the sky balances them out.
- Pushing ISO on a tripod. If the camera can’t move, there’s no reason to raise ISO. Stay at base ISO and leave the shutter open longer.
- Fighting autofocus. Don’t. Switch to manual and focus on a bright light in magnified live view.
- Forgetting the cold and the damp. Batteries drain much faster on cold nights, and lenses can fog or collect dew. A spare battery in an inside pocket and a lens cloth will save the evening.
Conclusion
If you remember one thing about night photography settings, make it this: decide first whether you’re on a tripod or handheld. On a tripod, keep ISO low, close down to f/8 or f/11 and give the shutter time. Handheld, open the lens up, guard your shutter speed and let ISO climb as high as it needs to.
Either way, focus manually, shoot RAW and check the histogram rather than the screen. After that, it’s just practice. Pick a clear night, go somewhere with interesting lights, and try a few of the settings above.
If shooting the city after dark is what draws you in, Alex Coghe’s The Art Of Night Street Photography is a good place to go next. And once you’ve got a night shot you like (or one you can’t quite work out), post it in PhotoWhoa Studio and see what other photographers think.
Frequently Asked Questions
1. What Is the Best ISO for Night Photography?
Ans. On a tripod, use your camera’s base ISO, usually 100. Handheld, use whatever keeps your shutter speed safe, often ISO 1600 to 6400. For stars, ISO 1600 to 6400 is common.
2. What Shutter Speed Should I Use at Night?
Ans. On a tripod, anything from 2 to 30 seconds depending on the light. Handheld, stay at or above 1 over your focal length, and use 1/125s or faster for moving people.
3. What Aperture Is Best for Night Photography?
Ans. Use f/8 to f/11 on a tripod for sharpness and starbursts. Handheld or for stars, open up to f/1.4 to f/2.8 to let in as much light as possible.
4. How Do You Focus at Night?
Ans. Switch to manual focus, magnify live view on a bright light or star and turn the focus ring until it’s as small and sharp as possible. Don’t rely on the infinity mark.
5. Can You Shoot Night Photography Without a Tripod?
Ans. Yes, as long as you have enough light. Open the aperture wide, keep the shutter at 1/60s or faster, and let ISO go up. In-body stabilization helps, but leaning against a wall or railing often helps more.
6. Why Are My Night Photos Grainy?
Ans. Most of the time, it’s high ISO, underexposure, or both. Get the exposure right in camera, stay at base ISO when you’re on a tripod, and use noise reduction when you edit.
7. Why Are My Night Photos Blurry?
Ans. The shutter speed was too slow for handheld shooting, or the camera moved on the tripod. Use a faster shutter speed, a timer or remote, and a sturdy tripod.
8. What White Balance Is Best for Night Photography?
Ans. Try around 3200K to 4000K for cities and about 3800K to 4500K for stars. Shoot RAW so you can fine-tune it later.
9. Should I Use Flash for Night Photography?
Ans. Not for landscapes or city scenes. A flash only reaches the first few meters, so the background stays dark and the foreground looks flat. For people, though, flash can work really well, especially off the camera. Frank Doorhof’s Lighting Setups That Always Work is a good introduction to using flash with control.
10. What Are the Best Phone Settings for Night Photos?
Ans. Turn on night mode, keep the phone still (or prop it on something), tap to focus and nudge the exposure down a little. Skip digital zoom and shoot RAW if your phone offers it.