When you take your camera and go outside, you find that you have no idea what to take a photograph of. This situation affects everybody, more frequently than we are willing to admit.
What usually works is to set up a challenge. Not something vague like ‘go and take some nice photos’, but a real one with specific rules.
That is the concept behind these photography challenge ideas. There are 30 of them: one for each day. In week one, you become familiar with your camera; in week two, the focus is on light; in week three, composition is covered; and in week four, things get enjoyable. Carry on with it, and your photos on day 30 will be noticeably different.
For most of them, the phone works just fine.

Table of contents
How to Use These Photography Challenge Ideas
Think of this as a more structured photo-a-day challenge. Each day builds on the previous one. You won’t need special equipment or lots of free time for this.
There are a few ground rules we’d suggest:
- Give each challenge 15 to 30 minutes.
- Don’t delete anything until the end of the day.
- Drop your favorite shot into one folder.
- Miss a day? Carry on. Nobody’s keeping score.
Is it a busy month? Don’t worry, you can also use them as ideas for a weekly photo challenge. Doing one each week will take longer, but something is better than nothing.
Want more structure? Pair the challenges with our Core & Creative Skills learning path for a more structured approach.
Here’s the whole month at a glance:
| Week | Focus | Challenges | What you’ll learn |
|---|---|---|---|
| Week 1 (Days 1–7) | Camera skills | Manual mode, one lens all day, shallow depth of field, freeze motion, long exposure, low ISO only, 10 photos in 10 minutes | How aperture, shutter speed and ISO work together |
| Week 2 (Days 8–14) | Lighting | Golden hour, blue hour, window light portrait, shooting into the light, silhouettes, shadows, night photography | How to find, read and use different kinds of light |
| Week 3 (Days 15–21) | Composition | Rule of thirds, leading lines, frame within a frame, symmetry and reflections, minimalism, new angles, fill the frame | How to arrange a scene so the eye goes where you want |
| Week 4 (Days 22–28) | Creative genres | Street, macro at home, black and white, self-portrait, one color theme, a story in five photos, photographing a stranger | How to try new genres and build confidence |
| Final days (29–30) | Review | Edit your best shots, reshoot your Day 1 photo | How far you’ve come in a month |
Week 1: Camera Skills Challenges
This week, take a step away from Auto mode and try setting your camera controls yourself; at first it may seem uncomfortable, but that’s all right.
Day 1: Shoot in Manual Mode
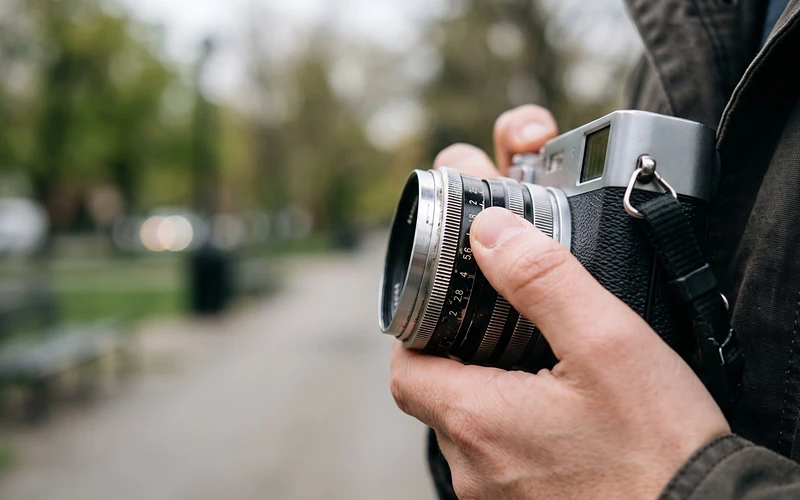
Set your camera to M mode and use it throughout the day. Your initial photographs may end up being too dark or too bright. That’s alright; just keep making adjustments to the aperture, shutter speed, and ISO until you achieve the correct exposure. Eventually, these settings will begin to make more sense.
Day 2: Use One Lens All Day
Choose a single lens and use it throughout the day. For example, if you have a 50mm lens, then use that one. In the case of taking photos with your phone, use the main camera and don’t zoom in. To achieve the image you want, you’ll need to move about; get closer, move back, or try a lower angle. It may at first seem restrictive, but you’ll begin to notice all the new ways of framing your photographs.
Day 3: Try Shallow Depth of Field
Widen your aperture as far as your lens will let you – f/1.8 if you have it. Move close to a small object such as a cup or a flower, and you’ll see the background become blurred. It is this blur that determines where people’s eyes go. Ian Plant’s book The Art of Creative Focus Photography explores this concept much more thoroughly.
Day 4: Freeze Motion
Find something that is fast, like a dog chasing a ball, a child on a swing, or water coming from a tap. Set the shutter speed to 1/500 or faster and use burst mode. You can expect to get many shots wrong, but you’ll probably have one or two good ones.
Day 5: Try Long Exposure
Now, slow things down as much as you can. In this case, you’ll need a tripod or at least something to rest the camera against. Take a one-second exposure when shooting moving water and then try five seconds. The waterfalls will appear silky, and the clouds will spread out across the sky. If you become interested in it, Gim Liu’s The Art of Long Exposure Photography masterclass is what you should get.
Day 6: Shoot at Low ISO Only
Set the ISO at 100 and don’t change it. From that moment on, the importance of light becomes significant. You’ll start to move towards windows and doorways without realizing it. The photographs will also turn out cleaner, with very little grain.
Day 7: 10 Photos in 10 Minutes
Put a ten-minute timer on. Choose one small area, such as your desk or a corner of the kitchen. Take ten photographs and make each one different. The first five are easy to get, but it’s in the last five that you actually begin to see.
Week 2: Lighting Challenges
It is light that distinguishes a snapshot from a photograph. This week you will be searching for it at unusual times. For a deeper insight, check out the Lighting & Studio Setup learning path.
Day 8: Golden Hour Photography
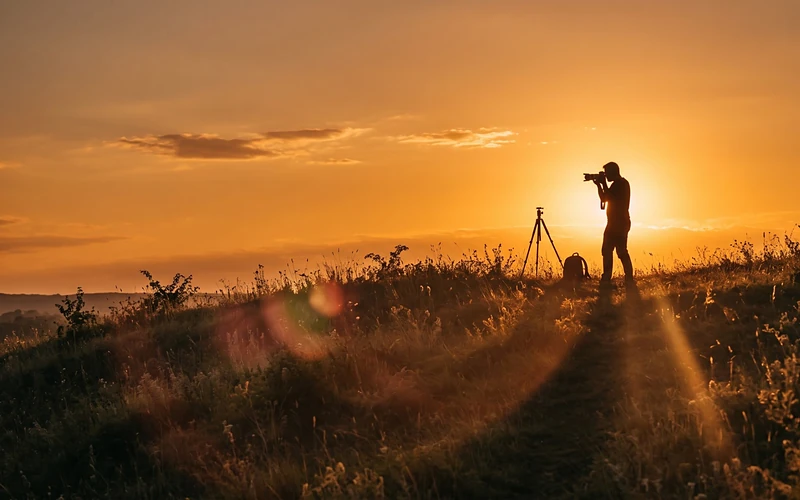
Set an alarm for sunrise or leave one hour before sunset. The light then becomes soft and warm and looks good on almost anything. Take some pictures of whatever is nearby. Later on, compare these with one that you took at noon, and you’ll see that it’s not even close.
Day 9: Blue Hour Photography
Don’t go packing up once the sun has set. There is a period of about 30 minutes when the sky turns a deep blue. The streetlights will stand out against it. It gets dark very quickly, so make sure you take your tripod.
Shot your blue hour photos? Learn how to bring out the deep blues and glowing city lights in this blue hour photo editing masterclass.
Day 10: Window Light Portrait
Choose a window that doesn’t get direct sunlight, and sit a person beside it, facing you from the side. Observe the way the light falls over their face, with the light part being bright and the other side softly shaded. If there are no volunteers, a houseplant or a lemon will do a surprising job.
Day 11: Shoot Into the Light
We are normally advised to keep the sun behind us, but don’t follow that advice today; instead, face the light and let it shine intensely. The hair and grass will practically glow when backlit. However, if the effect becomes too strong, then position the sun just behind the subject’s head.
Day 12: Create Silhouettes
Day 12 has the opposite effect. You should place your subject in front of a bright background and then expose for the sky, in which case the subject will become completely black. This technique works particularly well when there are strong outlines, for example with someone in the middle of a jump or a single tree on a hill.
Day 13: Play With Shadows
Today you should be taking photographs of shadows rather than of objects. Window blinds are very useful for this purpose, as are the stair railings when it’s midday. After you have begun, it becomes difficult to stop noticing them.
Day 14: Night Photography
Go out at night; traffic is the best thing to begin with. Set up a tripod, keep the shutter open for a few seconds, and the car lights will turn into streaks. Gim Liu’s masterclass, The Art of Car Trails Photography, shows you how to do this.
Week 3: Composition Challenges
The same topics, but with a better order; that’s the focus of this week’s discussion.
Day 15: Rule of Thirds
In your camera’s settings, switch on the grid. Position your subject at the point where the two lines intersect, not exactly in the middle. Similarly, place the horizon off-center as well. After that, take a shot with the composition centered for comparison. Generally, the version with the subject off-center just seems better.
Day 16: Leading Lines
Things like roads, railings, rivers, and even the edge of a sidewalk count; any item that forms a line across the frame will do. Such a line should be used to draw attention to the subject, and beginning a line from a corner has the effect of nicely attracting the eye.
Day 17: Frame Within a Frame
Today, go through something, such as a doorway, a gap in a fence, or a car window. The inner edge of such a frame adds depth and shows the viewer precisely where to direct their attention. It’s one of those techniques that makes ordinary scenes appear to have been deliberately arranged.
Day 18: Symmetry and Reflections
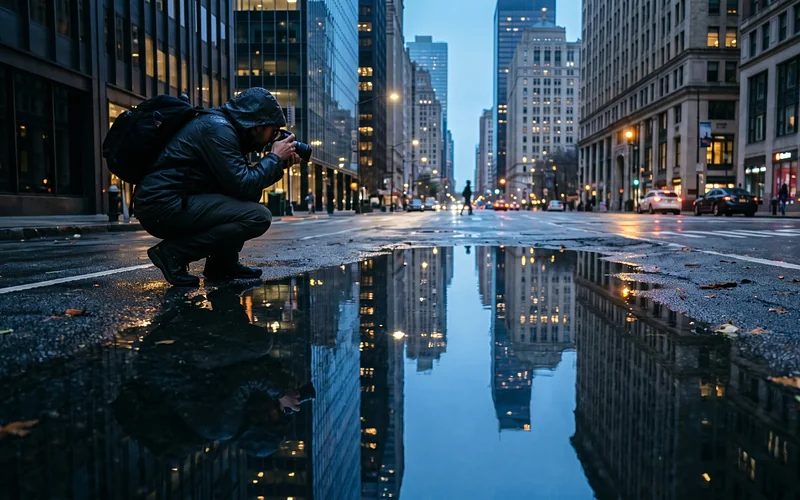
If you can, wait for it to rain because puddles make excellent mirrors. Get your camera down close to the water, and glass buildings and quiet lakes will do as well. Yes, this is the day on which it is the time to center your subject.
Day 19: Minimalist Photography
A single subject with a lot of blank space. Imagine a bird beside a grey sky or a chair next to a white wall. It’s more difficult than it appears since you have to omit certain things. That is basically the lesson.
Day 20: Shoot From a New Angle
We’re not taking any shots at eye level today. You should lie on the ground, stand on a bench, and point either straight up at a building or straight down at your shoes. You may receive a few odd looks, but the photographs are worth it.
Day 21: Fill the Frame
Let your subject take up the whole frame, with no background at all. Tree bark, petals, and wrinkled hands are perfect for this. Ian Plant’s The Creative Photographer’s Guide to Nature is full of close-up ideas if you want more.
Week 4: Creative Photography Challenges
Well, now comes the enjoyable section. The various photo challenge suggestions introduce you to different genres. Though a few of them might make you feel uncomfortable. For this week, Alister Benn’s How To Be Truly Creative masterclass is a must-watch.
Day 22: Street Photography
Head to a busy place, such as a market or a train station. Don’t arrange any particular scene. Just observe and wait. For example, notice a laugh, a gesture, or someone speeding by in the bright light. If street photography appeals to you, then the next step is our Street Photography learning path.
Day 23: Macro Photography at Home
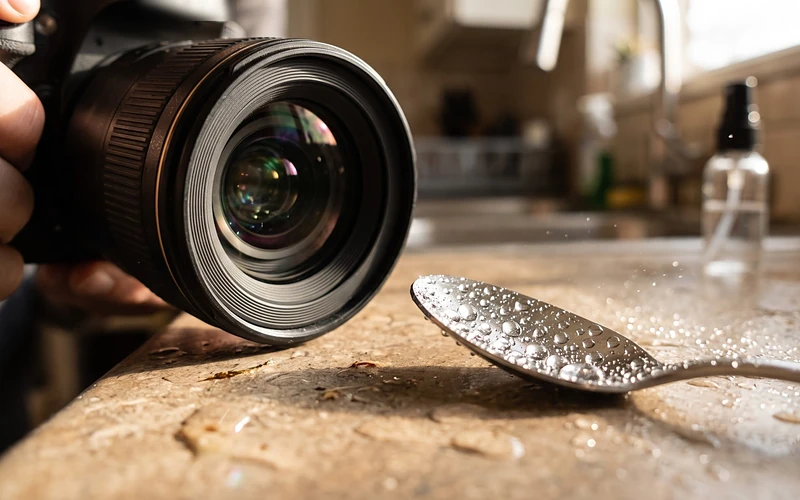
You’ll never need to go anywhere; just browse through the drawer in your kitchen. The water droplets on a spoon, the texture of a dish towel, and the ribbed edge of a coin are all good examples. A macro lens is useful, but the close-up feature on your phone will suffice.
Day 24: Black and White Photography
Set your camera to black and white for the day. With no color to rely on, you begin to notice contrast and texture. Photographs of weathered faces and old brick walls look especially good in this style. The Black & White learning path is much deeper than we can cover here.
Day 25: Self-Portrait Challenge
Direct the camera at yourself. Use the timer or hold your phone up against a mug. Yes, it does feel awkward, and everyone will agree that it does. However, it gives you a glimpse of what it’s like on the other side of the lens. This, in turn, makes you more skilled at taking photographs of people.
Day 26: One Color Theme
Before you go, choose a color, for example, yellow. Then only aim at yellow objects. You’ll be surprised at how many yellow things there are when you start looking for them. Put all the images together at the end of the day, and they’ll turn out surprisingly well put together.
Day 27: Tell a Story in Five Photos
Choose something straightforward. For example, prepare your morning coffee and describe it using exactly five photographs. Begin with a wide shot, then proceed to the details, and end with a final image.
Day 28: Photograph a Stranger
The one that’s frightening. Go up to a person, smile, and ask them for a portrait. Explain what project you’re working on. Honestly, a greater number of people agree than you might expect. And even if they say no, you’ll still have carried out the most difficult part.
Final Days: Review Your Progress
Two days remaining. They illustrate the progress you’ve made.
Day 29: Edit Your Best Shots
Open the folder containing your daily favorites and select ten of them. Edit each of these ten images in the same way, so that they all have a consistent look.
If you took the photos in RAW format, you’ll have a lot more to work with. If you’re not clear about what that means, here is an explanation of what RAW means in the context of photography.
Day 30: Reshoot Your Day 1 Photo
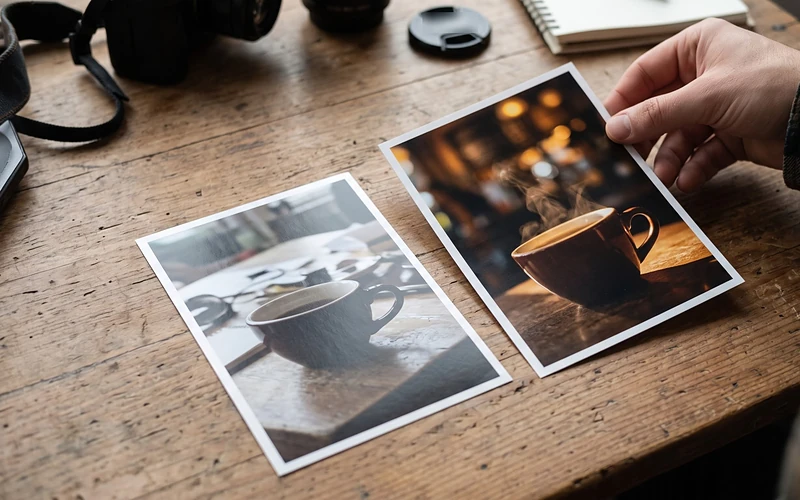
Return to what you clicked on Day 1; use the same subject and, if possible, the same spot. Take another shot of it. Then place the two pictures side by side. That amounts to a month’s worth of practice right there in that single comparison.
Tips to Finish Your 30-Day Photography Challenge
Most people don’t quit because it’s hard. They quit because life gets busy.
Here are a few things that help:
- Read ahead. Check tomorrow’s challenge before bed.
- Set an alarm. The same time every day fits best.
- Go small. Fifteen minutes still counts.
- Lower the bar. Bad days are part of it.
- Share as you go. Post your shots in PhotoWhoa Studio and get feedback from other photographers.
- Find a buddy. It’s much harder to skip when someone’s waiting on your photo.
Conclusion
Thirty days isn’t a long time, but by actually sticking to these photo challenge ideas, you’ll end up taking photos in a different way. You won’t do it perfectly, just more deliberately.
When you’re done, don’t stop. Now go find your camera. Day 1 starts today.
Frequently Asked Questions
1. What Is a 30-Day Photography Challenge?
Ans. It’s essentially one photo task each day for a month, with a minor objective each day; by the end of the month, you’ll have acquired new skills and, if you like, developed a habit.
2. What Are Good Photography Challenge Ideas for Beginners?
Ans. 30-day photo challenge ideas before and after. Begin with Week 1 and use manual mode, select a shallow depth of field, and shoot during golden hour since these options are suitable for beginners as they teach the fundamentals without placing much pressure on them.
3. Can I Do a Photography Challenge With My Phone?
Ans. Certainly, nearly all of these daily photo challenge suggestions can be carried out using a phone. Make sure the grid is turned on and, if you have it, use portrait or pro mode.
4. How Long Should Each Daily Challenge Take?
Ans. Typically takes between 15 and 30 minutes; photographs taken during golden hour and at night take longer, mainly since you’re having to wait for the light.
5. What if I skip a day?
Ans. Just leave it and carry on, or do it the following day. A broken streak doesn’t count as a failed challenge.
6. How Do Photography Challenges Help You Improve?
Ans. Every day has a clear focus. Instead of shooting randomly, you practice one skill at a time. That adds up quicker than you’d expect.
7. What Should I Photograph When I Have No Ideas?
Ans. Pick any challenge here at random. Or set yourself a limit, like only shooting within ten steps of where you’re standing. Limits are strangely good for creativity.
8. Can I Do These Photography Challenges Indoors?
Ans. Quite a few, yes. Window light, macro, self-portraits, and the color theme all work at home.
Ans. We’d say yes. Sharing keeps you accountable, and feedback helps you spot things you’d miss. PhotoWhoa Studio is a friendly place to post them.
10. What Should I Do After the 30 Days?
Ans. Go back to the week you enjoyed most and dig deeper. You could also invent your own ideas for photo challenges. Or follow a structured learning path so the progress keeps going.