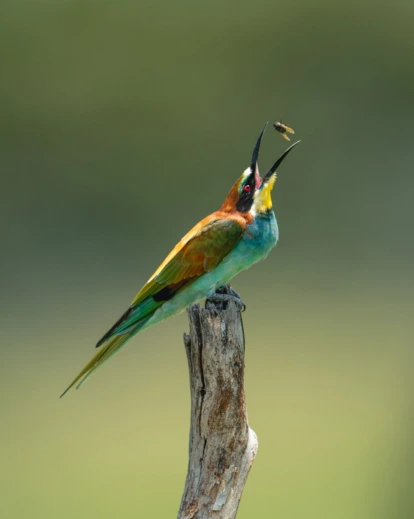
You'll set shutter speed, autofocus tracking, and pre-capture so that fast-moving animals and birds stay sharp.
You'll use eye contact, backlighting, and clean backgrounds to create portraits that show character and emotion
You'll apply framing, negative space, silhouettes, and slow pans to make images that stand out from the herd.
Great wildlife images are rarely a matter of luck alone. They come from the right equipment, well-chosen camera settings, careful planning, and a strong eye for composition.
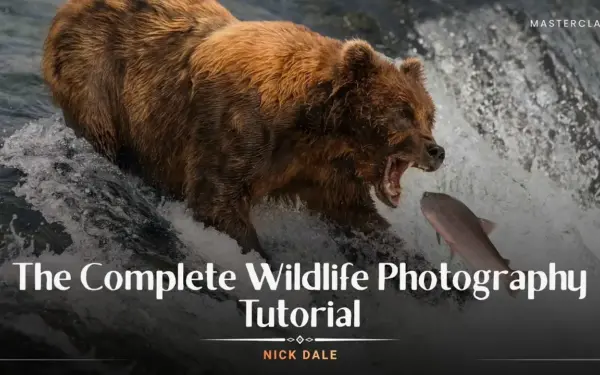
In this wildlife photography tutorial, award-winning photographer Nick Dale shows you how to get it right in camera, so you spend less time fixing images later.
By the end of this masterclass, you’ll be able to do the following:
Whether you’re new to animal photography or want to improve your results, this masterclass gives you a practical, field-tested workflow from setup to shot.

Expert Instructor
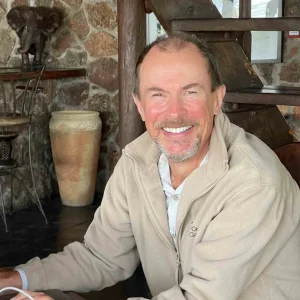
Nick Dale is an international award-winning wildlife photographer, photography educator, and author with a passion for capturing nature around the world. A professional photographer since 2013, he has photographed wildlife across all seven continents and in more than 37 countries. His work has earned recognition in prestigious international photography competitions. Through books, articles, workshops, and photography talks, Nick shares his expertise to help photographers develop their skills and creative vision.
View instructor’s classesYou need a mirrorless or DSLR camera with spare batteries and memory cards. A long lens of 400–800mm, a medium zoom such as a 70-200mm or 100-400mm, and a wide-angle lens cover most situations. A lens cloth or blower is also essential, and a tripod or monopod can help in some situations.
A good starting point is manual exposure mode with auto ISO, the widest aperture your lens allows, and a shutter speed of about 1/1000. You should also shoot in raw and use continuous autofocus with animal eye detection.
Birds in flight often need a shutter speed of up to 1/4000 to freeze their wings. Pre-capture modes also help by recording frames just before you fully press the shutter.
Yes. The masterclass starts with equipment and camera settings before it moves on to planning and composition. Experienced photographers will also find new creative ideas in the composition lessons.
The best light usually comes around sunrise and sunset. Animals are also often more active at these times, which gives you more chances to capture interesting behaviour.
The course covers techniques such as the rule of thirds, framing, negative space, symmetry, and balance. It also covers silhouettes, high-key and low-key images, slow pans, and environmental portraits.
This masterclass focuses on getting the image right in camera rather than fixing it in editing. It combines equipment, settings, planning, and composition into one complete workflow.
You can apply the camera settings in this animal photography course on your very next shoot. Composition and fieldcraft improve with practice, so returning to the lessons over time will help you see steady progress.
Yes. Rain, snow, mist, and fog can add atmosphere and mood that clear skies cannot. The masterclass shows how to use difficult conditions to create more distinctive images.
A wide aperture and a long lens help blur distracting backgrounds. Changing your position, even slightly, can also separate the animal from clutter behind it.
Unlock all masterclasses & learning paths
/year
Price locked once you subscribe. Cancel anytime.
Get instant access to ALL masterclasses with PhotoWhoa PLUS
30-Day Money-Back Guarantee
Join photographers worldwide improving their skills with PhotoWhoa PLUS