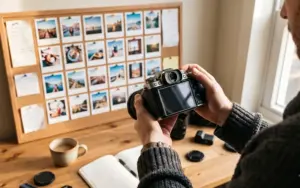
You’re scrolling through last weekend’s shoot and come across 200 frames. A few feel right, but most feel a little off, and you can’t say why.
That gap between “I like this picture” and “I know why this picture has failed” is where knowing how to critique photos helps.
It gives you words for what you see. “Okayish” becomes “the bright sign is stealing attention from my subject.” And once you can name a problem, you can fix it on your next shoot.
This guide gives you a simple six-step framework, a few real examples, and a worksheet you can copy. It works on your own photos and others’ as well.

Table of contents
- What Does It Mean To Critique a Photo?
- Why Photo Critique Makes You a Better Photographer
- Get in the Right Headspace
- The 6-Step Photo Critique Framework
- Photo Critique Questions to Ask Yourself
- Photo Critique Worksheet
- How to Critique Your Own Photos
- How to Give Constructive Feedback on Photos
- Where to Get Your Photos Critiqued
- How to Take Feedback Well
- Common Photo Critique Mistakes
- Conclusion
- Frequently Asked Questions
What Does It Mean To Critique a Photo?
A critique is an honest opinion about a photograph. It isn’t a verdict or a score out of ten. You’re asking three plain questions. What’s working? What isn’t? What would I try next?
Critique and criticism are not the same thing. Criticism is just, “This is bad.” However, a good critique is specific: “The horizon cuts through her neck, so try shooting from a little lower.” One just hurts your feelings, but the other actually helps you to get better.
You might also come across the term ‘photography criticism,’ which generally refers to writing about photographs as art, with the historical and theoretical context. A ‘photography critique’ in the sense we’re talking about here is much more practical and is about how to improve your next photograph.
Learning how to critique a photo is a skill, and like any skill, it gets better with repetition. The first few times feel awkward. After a few weeks, you start catching things before you press the shutter. It’s one of the ten fixes in our guide on how to improve photography skills.
Why Photo Critique Makes You a Better Photographer
Most of us make the exact same mistakes for years and never even realize. Tilted horizons, messy backgrounds, or a subject parked dead center in every single frame.
A regular habit of critique will show you your patterns, and patterns are easy to fix once you can see them.
It also makes you shoot with intent. When you know what you’ll check later, you start checking while you shoot. You scan the edges. You wait a beat for the light to change. Your keeper rate goes up, and you didn’t buy anything.
And it makes culling faster. Instead of staring at ten near-identical frames, you can pick the best one in a minute, because you know what “best” means for you.
Get in the Right Headspace
Two small shifts before you start.
Judge the Photo, Not Yourself
“This is a weak photo” is fine to say. “I’m a bad photographer” isn’t, and it isn’t even true. One frame tells you nothing about who you are. Treat the image like a piece of work on a table. You’re inspecting it, not putting yourself on trial.
Know What You Were Going For
A photo isn’t wrong because it breaks a rule. It’s wrong when it misses its own goal. So say the goal in one line first. “I wanted a quiet, lonely feel.” Or, “I wanted this to look busy and loud.” Now you can judge the picture against something. No goal, no real critique. If visual intent is something you want to practice, Alister Benn’s How To Be Truly Creative is built around it.
The 6-Step Photo Critique Framework
Here’s how to critique a photograph in six steps. Go in order. Once you get used to it, it takes about five minutes per photo.
- Start with your gut reaction
- Find the subject and story
- Check the composition
- Look at light, color, and mood
- Check the technical side
- Name one thing to keep and one to change
Step 1: Start With Your Gut Reaction
Look at the photo for five seconds. Don’t zoom in. Don’t touch the editing sliders. Then say one thing out loud about how it made you feel. Bored? Curious? Calm? A little uneasy?
Write that down right away. It’s the immediate impression a stranger gets before overthinking. And every step after this just helps explain why you felt that way.
Here’s a trick that helps. View the photo as a small thumbnail first. If it still holds your attention at postage-stamp size, it’s got something going on.

Step 2: Find the Subject and Story
Where does your eye land first? Where does it go next? If it lands on a bright sign, a stray arm or a glowing window, that’s your first problem.
Now finish this sentence: “This photo is about ___.” If you can’t, a viewer won’t be able to either.
Alister Benn’s masterclass How To Be Truly Creative helps here. Two of its lessons cover the triggers that make people engage with a photo, and the order in which the eye reads an image. Once you know that order, you can check whether your picture follows it or fights it.
Step 3: Check the Composition
Composition is simply choosing what goes into your shot and where to place it. A few simple questions do most of the work.
- Is the subject placed on purpose, or did it just end up there?
- Does anything touch or poke into the edges? Branches, bags, half a stranger.
- Is the horizon straight?
- Is there room for the subject to look or move into?
- Would a tighter crop help?
Crop it in your head. Or crop it for real and compare the two. Most photos get stronger with less in them.
If you shoot nature, Ian Plant’s masterclass The Creative Photographer’s Guide To Nature Masterclass, is worth a look.
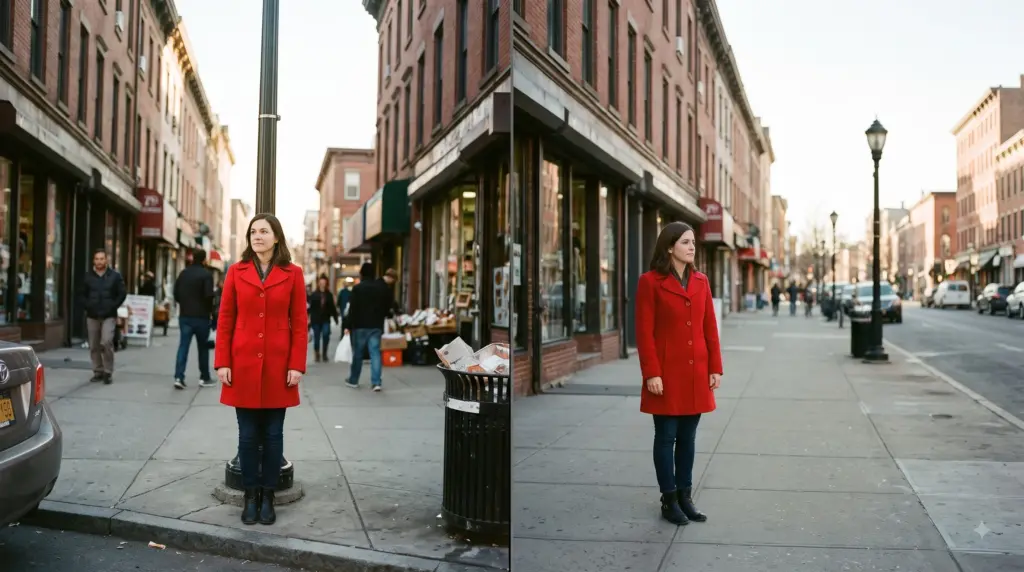
Step 4: Look at Light, Color and Mood
Pay attention to where the light is hitting your scene. Is it harsh or diffused? Do the shadows shape your subject, or do they just make a mess? Check the highlights too. Are any of them blown out to pure white?
Then look at color. Does the palette feel calm or loud? Does one bright patch pull focus? Does the white balance suit the mood you wanted?
If light is your weak spot, start with our guide on what photography lighting is. Then try Frank Doorhof’s masterclass Lighting Setups That Always Work.
Your editing choices matter equally as much here. Take a second to check whether your color grading actually improves the mood or clashes with it. A warm, cozy scene pushed toward cold blue looks confused. Benn’s lessons on expressive editing and mood in How To Be Truly Creative are handy for this check.
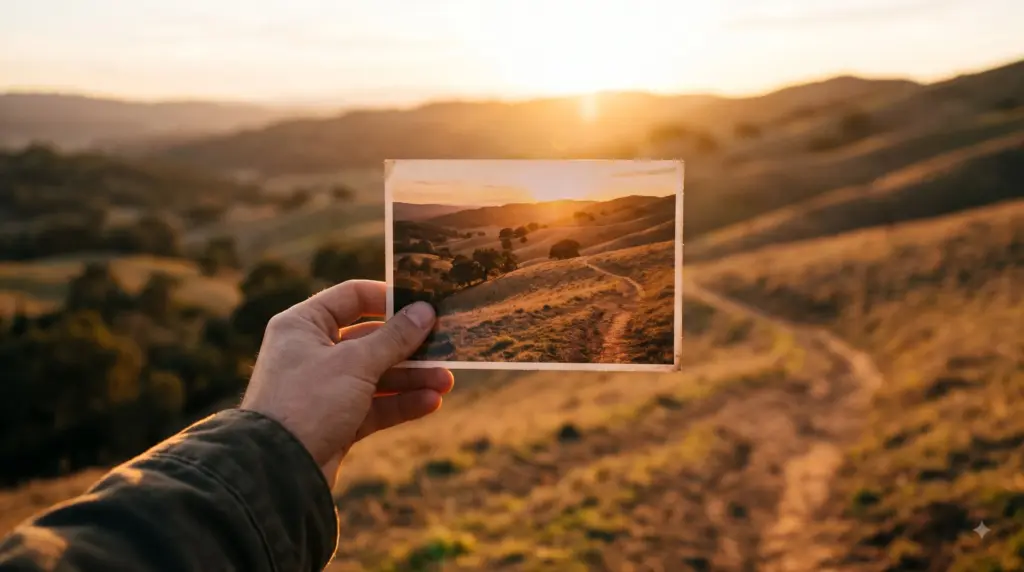
Step 5: Check the Technical Side
Hold off on zooming in until now. People love checking sharpness first, but it’s easy to get distracted by pixels when the scene itself doesn’t work.
Once you do zoom in 100%, check if your focus hit the right spot (like the eyes in a portrait). Make sure any blur is intentional, watch for harsh, blown-out highlights, and check for ugly digital noise in dark shadows.
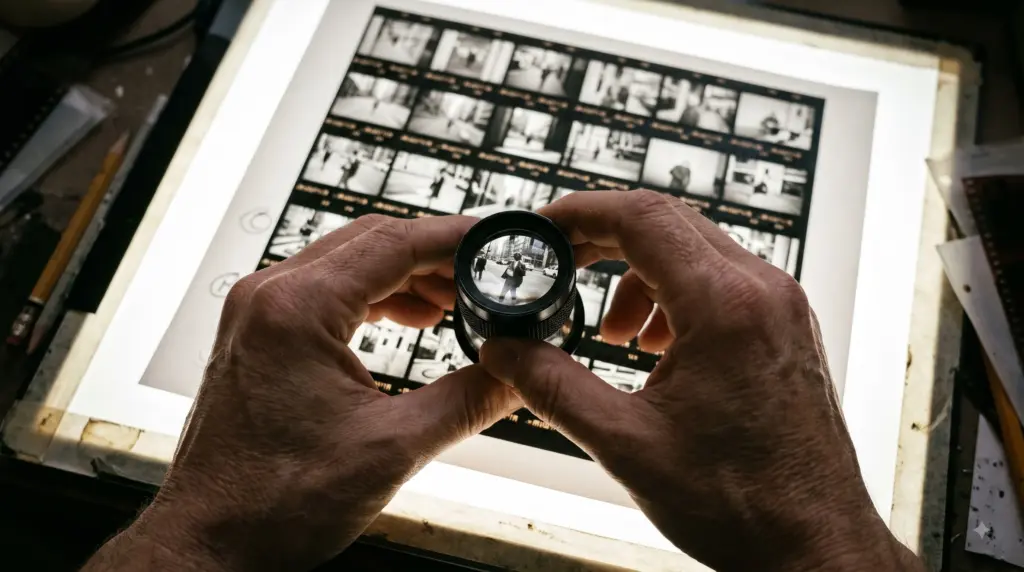
Step 6: Name One Thing to Keep and One to Change
Wrap up with definite action steps. Pick just two things: one element that worked, and one adjustment for your next shoot. Keep it strictly to one of each.
Ten fixes at once is a to-do list nobody finishes. One fix is something you can try tomorrow. “Keep the soft window light. Move her away from the busy wall.” That’s a real critique.
Want a push to try your fix? Pair it with a day from our 30 photography challenge ideas.
Photo Critique Questions to Ask Yourself
Save this list in your phone to run through whenever you’re reviewing a new batch of photos:
- What was your reaction in the first few seconds?
- Can you sum up the photo’s story in one sentence?
- Where does your eye naturally land first, and is that where you actually want the viewer looking?
- What elements could you crop or clone out without hurting the image?
- Are the edges and background distraction-free?
- Is the lighting supporting your subject, or getting in the way?
- Do the colors fit the overall vibe you were looking for?
- Did your focus land right on the spot you intended?
- If you were able to shoot this scene over again, what’s the first thing you’d adjust?
- Would you print this out and frame it? Why or why not?
Photo Critique Worksheet
Want it on one page? Copy this photo critique worksheet into a notes app or print it. Fill one out per photo. It takes about five minutes.
| Step | Ask yourself | Your notes |
| Goal | What was I going for, in one line? | |
| 1. Gut reaction | How did it feel in five seconds? | |
| 2. Subject and story | Where does my eye land first? What is it about? | |
| 3. Composition | Are the edges clean? Is the subject placed on purpose? | |
| 4. Light, color, mood | Is the light helping? Does the color match the mood? | |
| 5. Technical | Is the focus on the right spot? Any blur, noise, or clipping? | |
| 6. Keep | What’s the one thing I’ll keep? | |
| 6. Change | What’s the one thing I’ll change next time? |
How to Critique Your Own Photos
Judging your own work is harder because you’re attached to it. You remember the cold morning, the long hike, the perfect cloud. That memory fills in whatever the photo is missing. These tricks put a little distance between you and the picture.
Let the Photo Rest
Wait a day. A week is even better. Fresh eyes catch what excited eyes skip. If you can’t wait, at least go do something else for an hour and come back.
Flip It, Shrink It, Make It Black and White
Flip the image horizontally. Imbalance jumps out. Shrink it to phone size and see if the subject still reads. Then turn it black and white. Tone, along with shape, has nowhere to hide once the color is gone.
If you like what you see, our Black & White learning path is a good next stop.
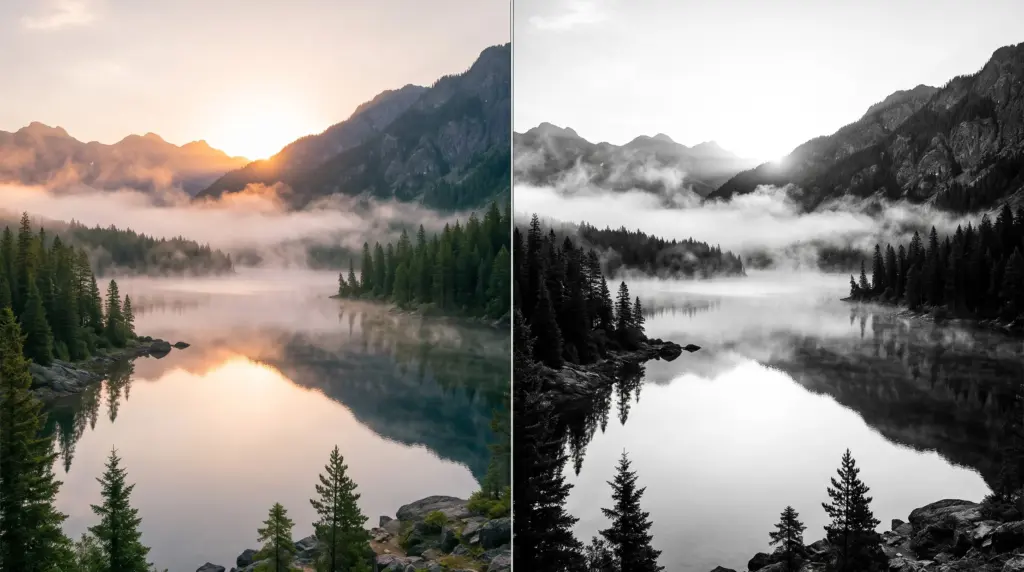
Print It
Even a small 4×6 changes how you see. On a screen, a photo glows. On paper, it has to stand on its own. Dull tones and messy corners show up right away.
Compare It to a Favorite
Put your photo next to one by a photographer you love. Don’t ask who’s better. Ask what they did with the edges, the light, or the timing that you didn’t. Deirdre O’Keeffe’s masterclass
Keep a Critique Log
A quick phone note works fine. Jot down the date, the photo name, what worked, and what didn’t. After about twenty entries, you’ll see the same habits pop up. That will give you a clear picture of what to focus on next.

How to Give Constructive Feedback on Photos
Giving feedback is a skill on its own. It helps the other person, and it sharpens your eye too, because explaining why something works forces you to figure it out.
Ask What They Want
Begin with a question. “What were you going for?” Or, “Do you want technical feedback or just first impressions?” It saves a lot of awkward moments.
Start With What Works
Find something real and say it. Skip the fake compliment. “The soft window light on her face is lovely” works because it’s specific.
Be Specific and Kind
Make your feedback detailed and constructive. Vague feedback is not helpful.
You should pinpoint the specific issue. Share what you notice, then phrase your idea as a possibility rather than a rule.

Where to Get Your Photos Critiqued
Sooner or later you’ll want other eyes on your work. If you’re thinking, “I wish someone would critique my photos,” you have a few good options.
Online Photo Critique Sites
Photography forums often have a dedicated critique board. Reddit has a community called r/photocritique that exists for exactly this. Flickr has groups where members trade feedback.
A few tips for any photography critique website. Post one photo at a time. Say what you were going for and what kind of feedback you want. And give a critique before you ask for one. People notice.
A community like PhotoWhoa Studio is another place to share your work and talk shop with other photographers.
Camera Clubs and Friends
Joining a local camera club gives you face-to-face feedback and lets you see how people react to an actual print.
Professional Critiques
Some working photographers and educators offer paid portfolio reviews and professional photography critiques. They can be worth it when you’re building a portfolio or stuck at a plateau. Look for someone who shoots your genre, ask to see how they give feedback first, and get the notes in writing.
How to Take Feedback Well
Hearing criticism about your work can sting, and that’s completely normal. Here are a few simple mindset shifts you can make to make the process a lot smoother:
- Listen before jumping in to defend or explain your choices.
- If a point seems confusing, ask them to clarify what they mean.
- Acknowledge their time with a quick thanks, even if you don’t agree with their take.
- Filter the advice. Keep what connects and toss out what doesn’t, since one person’s preference isn’t an absolute rule.
- Look for patterns; if multiple people bring up the same issue, there’s usually something worth looking into.
Common Photo Critique Mistakes
- Starting with sharpness. Zooming to 100 percent first makes you fix pixels instead of pictures.
- Judging by likes. Likes tell you about your audience and the algorithm that day. They don’t tell you if the photo is strong.
- Comparing your work to a heavily edited pro shot. You’re setting your rough Tuesday next to someone else’s final cut.
- Fixing everything at once. Pick one change.
- Critiquing with no goal. Go back to “What was I going for?”
Conclusion
Critique isn’t really about being hard on yourself. It’s about looking at the photo longer than you normally would and asking better questions. Go through the six steps (gut reaction, subject, composition, light, technical details, and one change). Do it on a few photos a week, and it starts to happen automatically, even before you’ve pressed the shutter.
If you’re interested in going further and actually understanding what it is that stops a viewer from looking, have a go at Alister Benn’s ‘How to be truly creative’ masterclass.
Now pick one photo from your last shoot and critique it. Five minutes. Write down what you’d keep and what you’d change.
Frequently Asked Questions
1. How Do You Critique a Photo?
Ans. Start with your gut reaction. Then check the subject, composition, light and technical details, in that order. Finish with one thing to keep and one to change.
2. What Should You Look for When Critiquing a Photograph?
Ans. Look at where your eye goes first and how the frame is built. Check how the light and color feel, and whether focus and exposure suit the idea. Then ask what the photographer wanted to say. A photo might be technically perfect and still say nothing.
3. How Do You Critique Your Own Photos Objectively?
Ans. Create some distance. Wait a day, flip the image, shrink it, try black and white, or print it. Writing down the photo’s goal before you judge it helps too.
4. What Are Good Photo Critique Questions?
Ans. Try these. What is this photo about? Where does my eye go first? What could I remove? Is the light helping? What would I change if I reshot it? The full list is above.
5. How Do You Give Constructive Feedback on Photos?
Ans. Ask what the photographer wants, name something that works, then pick one thing to improve. Offer it as a suggestion. “What if you cropped out the bright car?” lands better than “This is distracting.”
6. What Is the Difference Between Photography Criticism and a Critique?
Ans. Photography criticism is usually writing about photos as art, with history and theory behind it. A critique is practical. It looks at one photo and suggests what to try next. If you want to improve your own work, the critique is the tool you need.
7. Are Online Photo Critique Sites Worth Using?
Ans. Yes, if you use them well. Post one photo, say what you were going for, and ask for the kind of feedback you want. Expect mixed advice and look for points that several people repeat.
8. Is a Professional Photography Critique Worth Paying For?
Ans. It can be, once you’ve outgrown free feedback or you’re building a portfolio. Choose someone who shoots your genre and get written notes. For most beginners, the free options and your own critique habit are enough to start.
9. Can Beginners Critique Photos?
Ans. Yes, of course. You don’t need years of experience to notice a messy background or a blurry subject. Start with the questions in this guide and trust what you see. Your eye sharpens fast.
10. How Do I Know if a Photo Is Good?
Ans. A good photo holds the viewer’s attention. If a stranger can tell you what it’s about within a few seconds, you’re on the right track.