


What if we said that the right angle can transform a figure photograph? Yes, the angles we decide to choose, which have a unique ability to make a picture great.
In nude photography as well, the human body becomes invitingly divine from the most flattering angles. Today, we are going to take a look into the art behind each angle and the effects that go beyond a simple shot.
In this guide, we’re breaking down the best angles, poses, and techniques for figure photography. Here is everything you need to start creating striking, artistic images of the human body.
Best Angles for Figure Photography
1. Eye Level
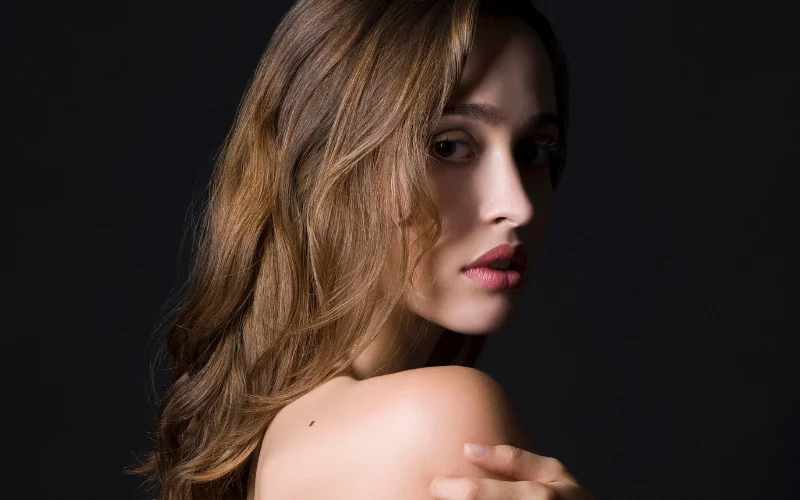
The angle most people default to is holding the camera straight out at eye level. This gives the viewer the same perspective they’d have in an everyday conversation: natural, familiar, and immediate.
Eye level is one of the most versatile angles in figure photography, capable of capturing a wide range of moods: confident and relaxed, quiet and introspective, playful and outgoing.
It’s a great starting point for any session because it puts the subject at ease and gives you a clean baseline to build more creative shots from.
2. High Angle
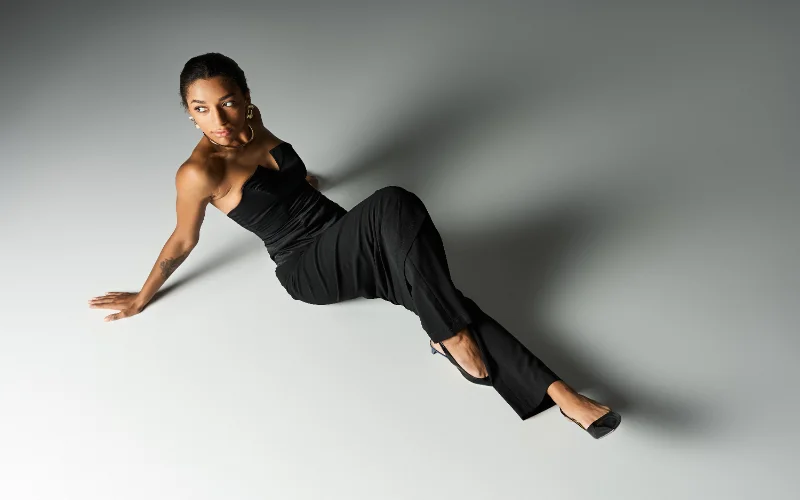
In this instance, the lock camera angle has the photographer standing a little higher and looking down; it doesn’t have a complete birds-eye view from the sky’s perspective.
Most of the time, the face of the human being photographed becomes the focal point of the image, and the body almost subsides into the background.
It’s an excellent choice when you want the emotion or expression of the subject to be the true focal point of the photograph.
3. Aerial Angle
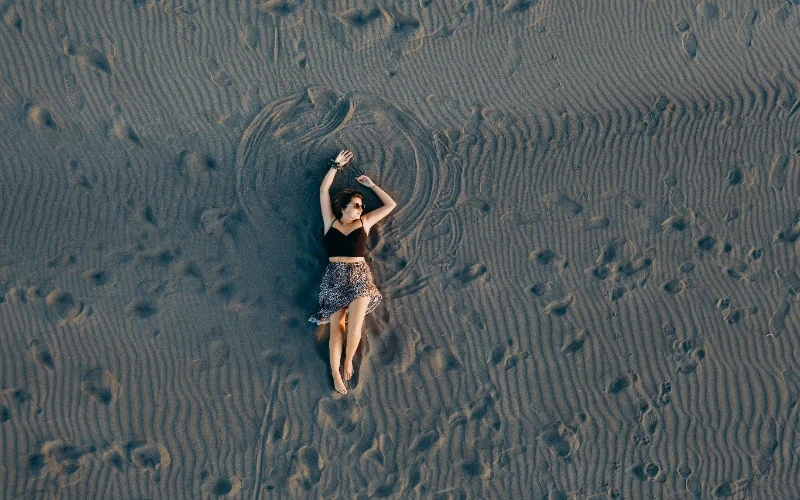
This is the most dramatic version of the high angle, the photographer positions themselves directly above the subject. Then they shoot straight down, as though looking at the scene from a bird’s-eye view.
Typically, the subject is positioned on a bed or another relaxed, comfortable surface, either looking up toward the camera or turned away.
This perspective creates a strong sense of openness and freedom in the frame, and works especially well for compositions that emphasize flowing lines and negative space.
4. Low Angle
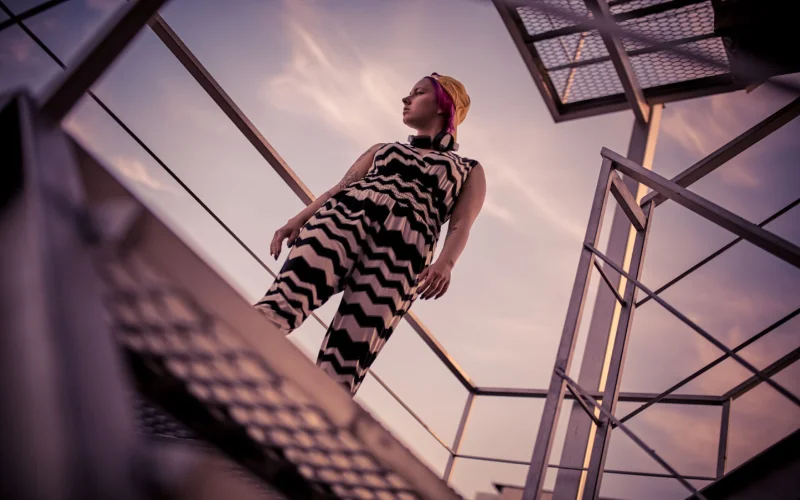
While this angle isn’t often utilized in figure images, it certainly has occasions for use when feeling is the direction one is heading.
With that particular angle, the person being photographed could be above at a slight elevation, with the camera aimed upwards while looking upwards at a sky view.
This is one great way to capture what a confident and assertive person would potentially look like when they are giving off an “I’m the boss” attitude.
This is a great way to capture the look of someone showing off confidence and authority. It is like they’re saying, “I’m in charge here.”
Check out this masterclass: New Lightroom Features Workflow By Dan Hecho
5. The Appeal Of Side Glance
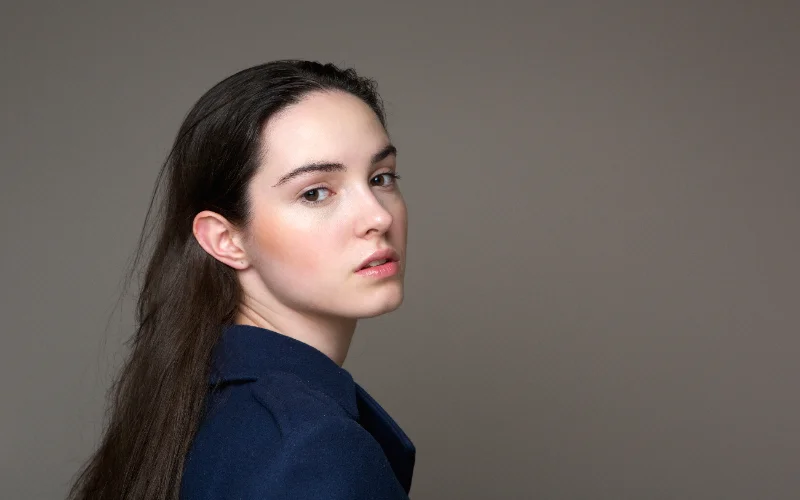
Imagine the subject of the photo giving a sideways look. This angle looks special; something magical is happening, and there is some mystery the photo is holding onto.
That angle lets you be the artist and lets your imagination play a part in finishing the piece.
6. Close-Up Angle
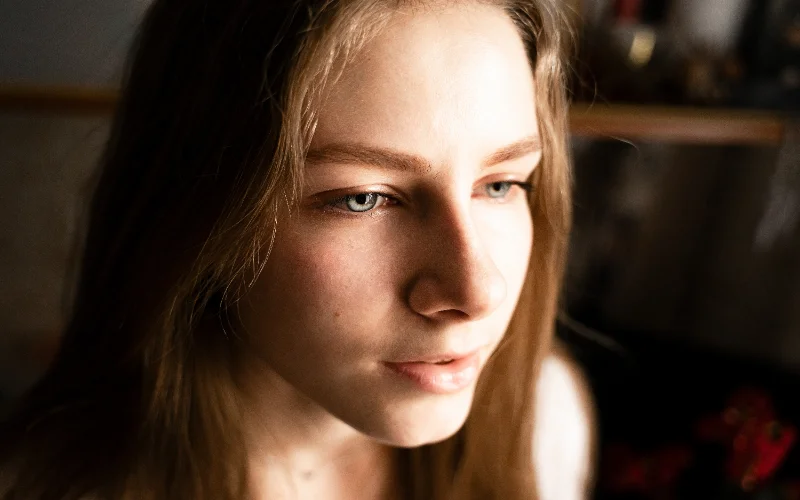
Don’t get hung up on taking photos from really close. You could walk in closer or use your zoom option; it is simply up to you.
When you start to get really close (like when in some pictures things are tiny, look big) shows details we couldn’t contemplate. A human body looks so great closely.
7. Long Angle Shots
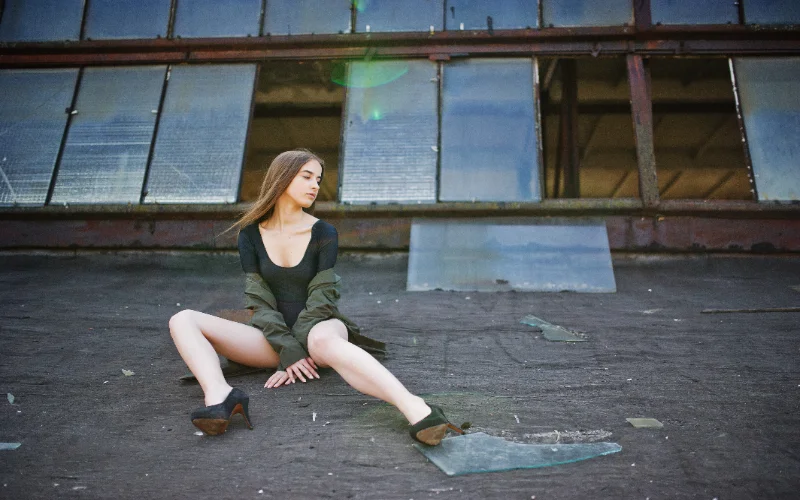
When you use a long shot, it will include a lot of stuff in the picture other than the person’s body, with other items and people nearby.
Including the entire body or group in the shot makes for a great photo. This type of shot is wonderful for catching a lot of movement or action shots.
Wide shots work well for storytelling images where the environment adds context or mood to the figure being photographed.
8. Rule of Thirds Composition
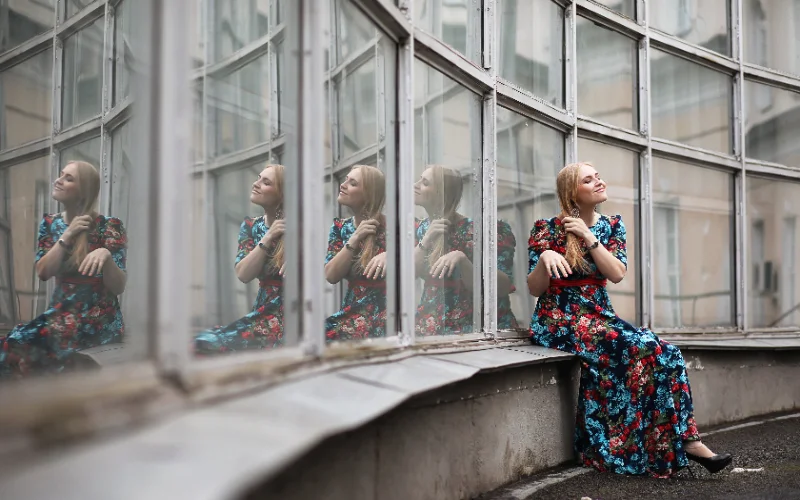
You don’t need to center your subject in every frame. The rule of thirds is a simple but powerful compositional tool: imagine a tic-tac-toe grid over your frame, with two vertical and two horizontal lines dividing it into nine sections.
Placing your subject along one of these lines or at one of the four intersection points creates a naturally balanced, visually compelling composition.
It’s one of the easiest ways to elevate a shot from a snapshot to an intentional piece of art.
Human Figure Poses
9. The Classic Back Pose
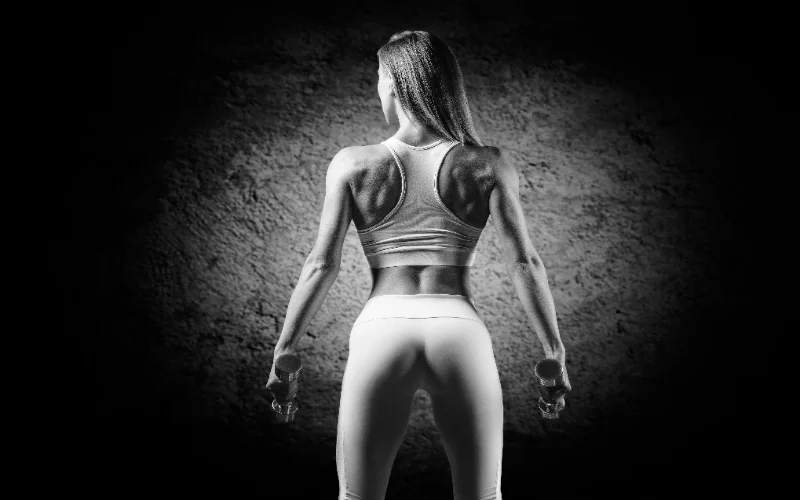
A back pose is a go-to for good reason — it’s flattering, versatile, and comfortable for subjects who feel shy in front of the camera. Because the face isn’t the focal point, subjects often relax more quickly into natural, expressive body language.
Experiment with the curve of the spine, the position of the arms, and small details like hair styling to add visual interest to the composition.
10. Side Profile Pose
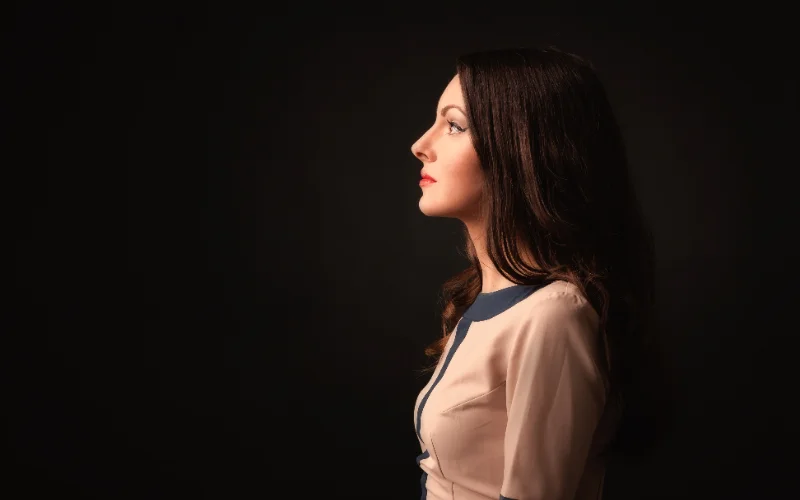
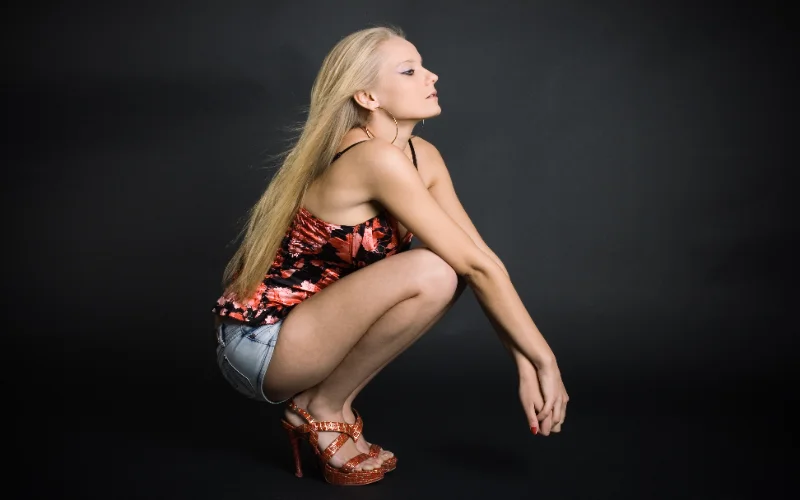
Everyone has an angle that photographs best, and a side profile is a great way to find it. A strong profile adds depth and drama to a portrait, using the natural curve of the body to create an elegant, sculptural silhouette.
Pair this pose with directional lighting to really emphasize the contours of the form.
Also check out: Masterclass: Creating Beautiful Bodyscapes
11. Freestyle Dynamic Pose
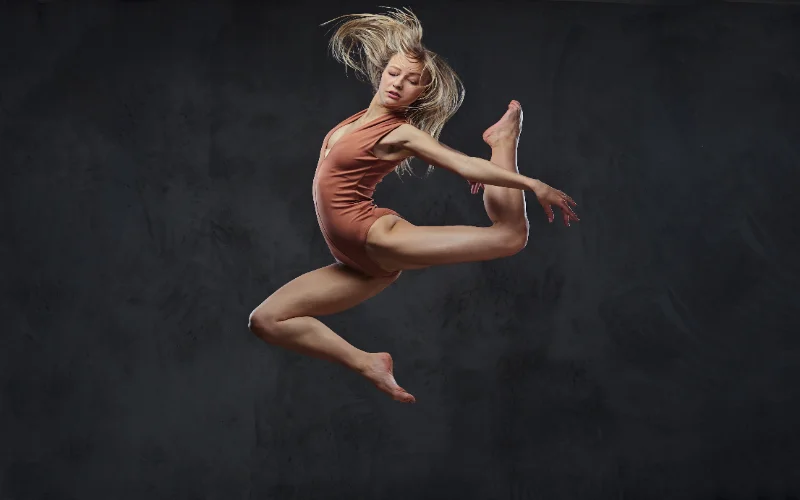
Not every pose needs to be rigid or planned. A freestyle approach like letting the subject move naturally, flex, stretch, or shift their weight captures a sense of authentic confidence that staged poses sometimes lack.
This works well for any subject who wants to showcase movement and personality rather than a fixed, static pose.
Also check out this masterclass: Lighting Setups That Always Work
12. Close-Up Detail Pose
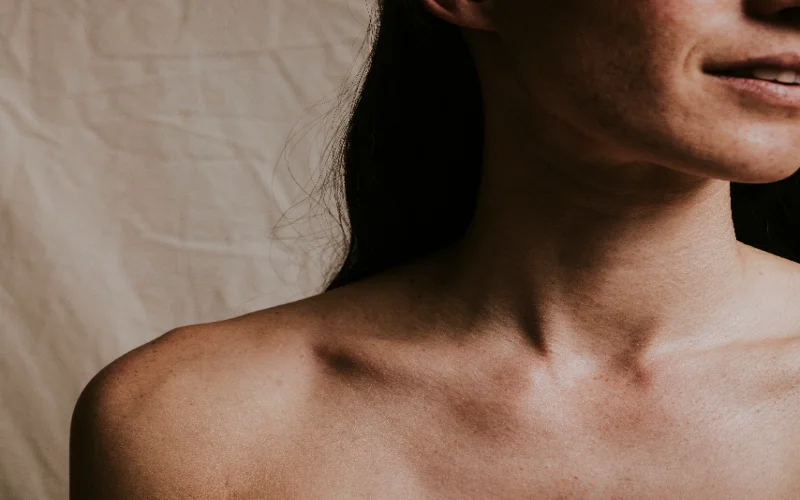
Close-up poses focus on a single part of the body or face, stripping away distraction so the viewer’s attention goes entirely to expression, texture, or line.
This is a great way to build a strong portfolio of detail shots that complement your wider compositions.
13. Partner & Group Poses
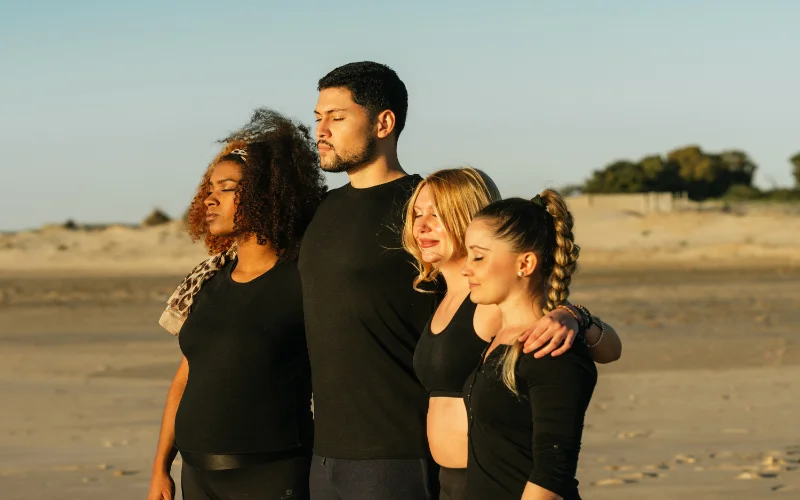
Photographing more than one subject opens up new creative possibilities. Poses like hands intertwined, bodies leaning into each other, or a small group forming a single visual composition together.
These poses work especially well for storytelling images that express connection and emotion between subjects. Dancers and performers often excel here, since they’re comfortable creating shapes with their bodies in relation to another person.
14. Mirror Reflection Pose
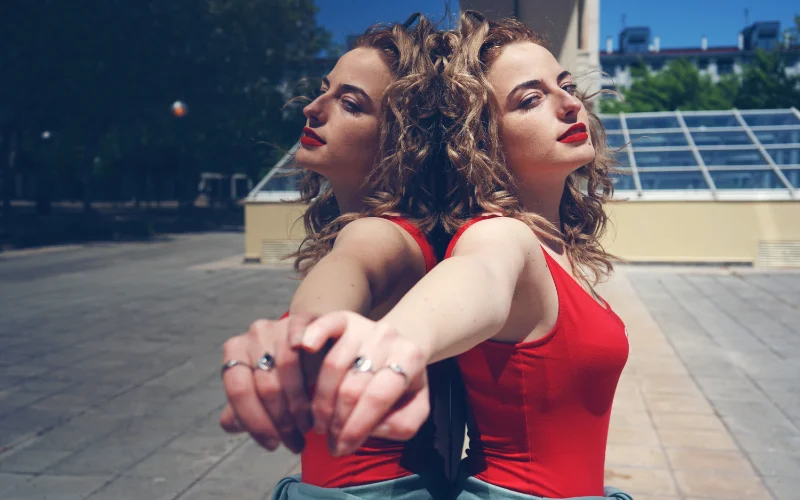
Mirrors add a classic, reflective element to figure photography, literally and visually. Positioning your subject near a mirror lets you capture both the direct pose and its reflection in a single frame, adding depth and an extra layer of visual interest.
Experiment with the angle of the mirror and the camera to find a composition that feels intentional rather than accidental.
Working With Your Subject
1. Setting Up a Comfortable Session
A relaxed subject makes for a better photograph, every time. Before the session, set aside dedicated time so neither you nor your subject feels rushed.
Interruptions and distractions can break the mood and make it harder for your subject to settle into natural poses.
Choose a clean, comfortable space where your subject feels at ease, and minimize anything in the environment that might cause distraction or self-consciousness. Music can also help set the right tone and encourage more natural, relaxed movement during the shoot.
2. Communication & Consent
Building trust starts with your very first contact with a subject or model. Keep communication open throughout the process: before, during, and after the shoot.
Clearly discuss expectations, boundaries, and comfort levels ahead of time, and check in throughout the session rather than assuming those boundaries are fixed once agreed.
Being friendly and professional at the same time goes a long way toward making your subject feel safe and respected, which in turn comes through in the quality of the images you capture together.
Final Thoughts On Best Nude Angles
There you have it, a complete rundown of the angles, poses, and techniques that define compelling figure photography. Each approach brings something different to the table, whether it’s the drama of a low angle, the intimacy of a close-up, or the quiet elegance of a side profile.
Grab your camera, experiment with these techniques, and let your creativity guide you toward your next great figure photograph.
Like this post? Check out more on our blog!
Frequently Asked Questions
Q1. What’s the difference between figure photography, portrait photography, and boudoir photography?
Figure photography focuses on the shape, form, and composition of the human body as its subject. Portrait photography centers on the face and personality of the subject. Boudoir photography typically incorporates soft styling, lingerie, and an intimate setting. All three genres can overlap, but each has a distinct focus and approach.
Q2. Do I need a professional camera for figure photography?
A professional camera isn’t required, though it can help. A good smartphone or an entry-level DSLR/mirrorless camera will typically produce great results as long as you pay attention to lighting and composition.
Q3. How do I make my subject feel comfortable during a shoot?
Building trust starts from your first contact. Keep communication open, respect boundaries, and stay professional while being warm and approachable. A private, welcoming space also goes a long way toward helping your subject relax.
Q4. What’s the best lighting for figure photography?
Soft, natural light is the most flattering choice — golden hour or diffused window light both work well. Avoid shooting in harsh midday sun. If you’re using artificial lighting, aim for diffused sources rather than direct, harsh light.
Q5. Should I edit my figure photography images?
Light editing can enhance skin texture, contrast, and lighting, and is generally a good idea. Avoid over-editing, though — heavy retouching can strip away the authenticity that makes figure photography compelling in the first place.