



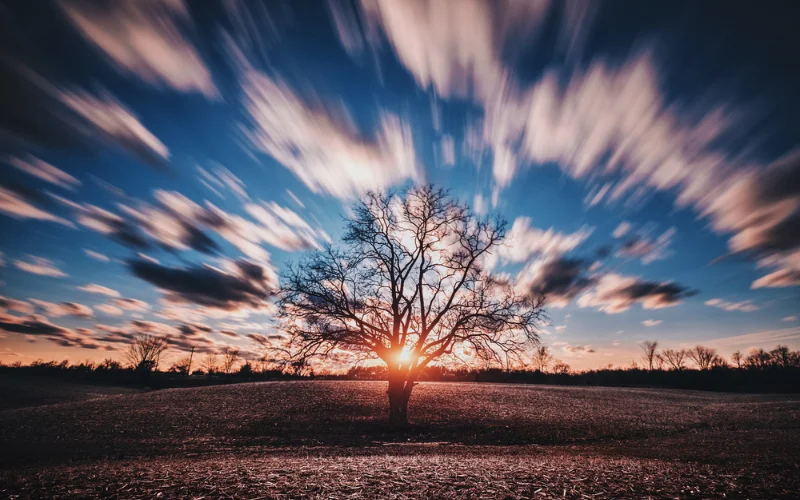
What is timelapse photography? Time-lapse photography is a technique used to capture a beautiful scene or event over some time and compress it into a short video.
This type of photography can capture a wide variety of subjects, from the growth of a plant to the construction of a building.
Curious to learn more? Let’s dive into this time lapse photography guide and uncover how you can create time lapse masterpieces.

Quick Summary
Time-lapse photography is a technique where you capture a series of still photos at set intervals, then play them back quickly to compress hours (or even days) into a short video. It’s commonly used to show slow changes, like a sunset, a blooming flower, or clouds rolling by, in just a few seconds.
In this guide, you’ll learn the equipment you need, how to set up your camera and intervals, and pro tips to help you shoot smooth, professional-looking time-lapse videos.
Table of contents
What Is Time Lapse Photography?
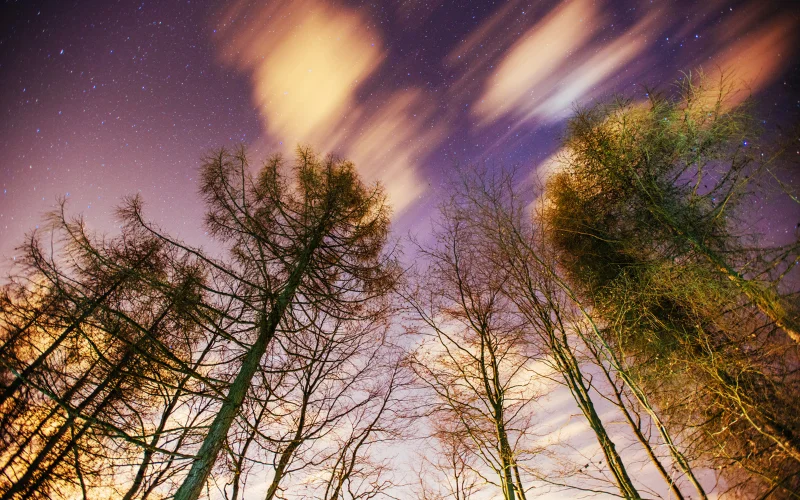
Time-lapse photography involves taking a series of still images of the same scene at regular intervals and rapidly playing them back.
For instance, capturing amazing shots of a growing flower creates a video illustrating its journey from seedling to full bloom.
Its goal is to depict high-speed movement by condensing time, making subjects appear to move rapidly. Time-lapse photography is commonly used to document slow processes that may not be easily visible or interesting to the naked eye, such as sunrises and sunsets or the growth of plants.
Yet, it can also emphasize fast movements, like a waterfall or a bustling city street, making them seem even faster.
History Of Time Lapse Photography
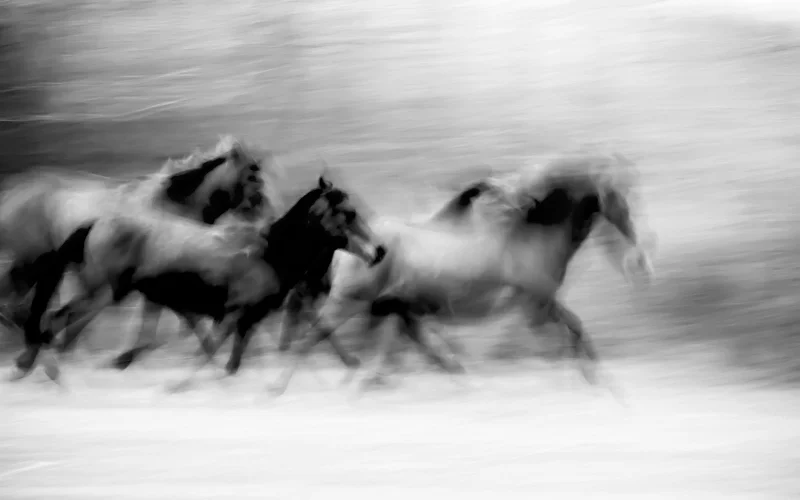
Time-lapse photography has been a part of our lives for an astounding time. Its history starts in the late 1800s, when Eadweard Muybridge introduced us to the world of time-lapse photography by capturing galloping horses in motion.
These days, the most popular application of time-lapse photography is to record slow motion that would be dull or invisible to the human eye. A busy highway or the growth of a plant are two examples.
On the other hand, time lapses can be used to record swift motions and make them appear even faster (e.g., a waterfall).
Time Lapse Photography Equipment
1. Camera
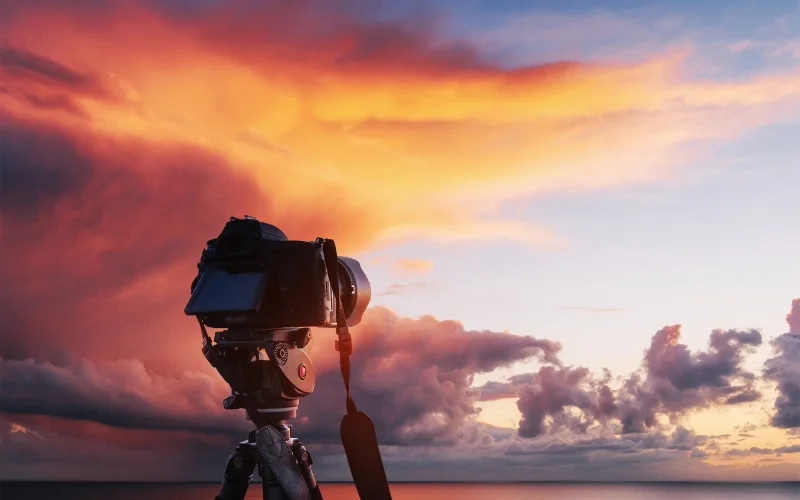
Let’s start with the heart of your time-lapse setup – the camera! Any camera will do, whether a fancy DSLR or a humble smartphone.
The key is to ensure it has manual controls for settings like exposure, aperture, and focus. This gives you the flexibility to adjust your shots according to the changing lighting conditions of your time-lapse scene.
2. Tripod
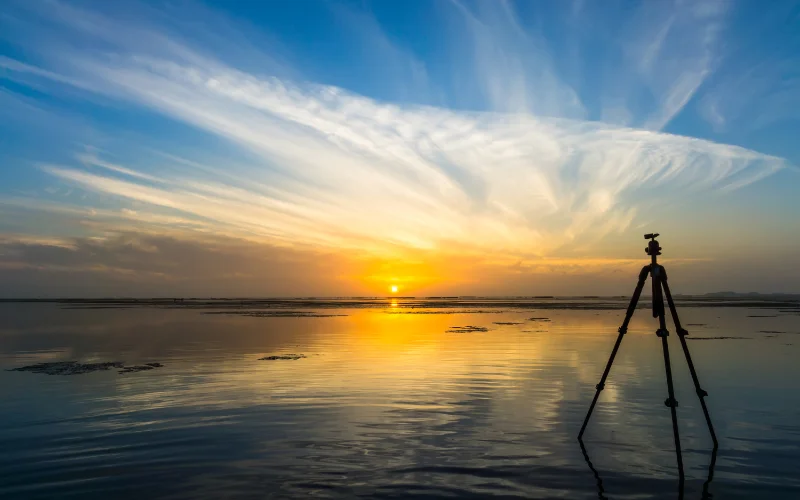
Stability is crucial when shooting time lapses to avoid shaky footage that can make viewers queasy. That’s where a sturdy tripod comes in handy.
Invest in a durable and adjustable tripod suitable for different shooting environments. Trust us, your time-lapse game will level up with a reliable tripod by your side.
3. Intervalometer Or Remote Shutter Release
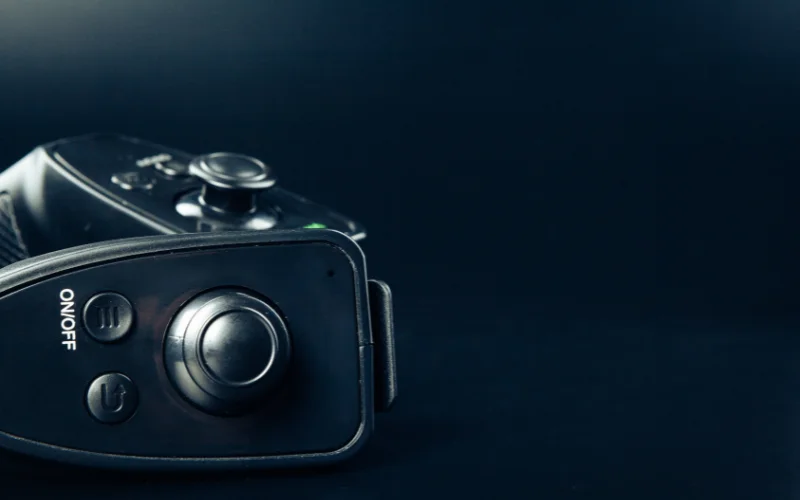
Here’s a little secret to mastering time-lapse photography: consistency is key. An intervalometer or remote shutter release allows you to automatically set the intervals at which your camera takes photos. This ensures a smooth sequence without gaps or overlaps between frames.
4. Spare Batteries & Memory Cards
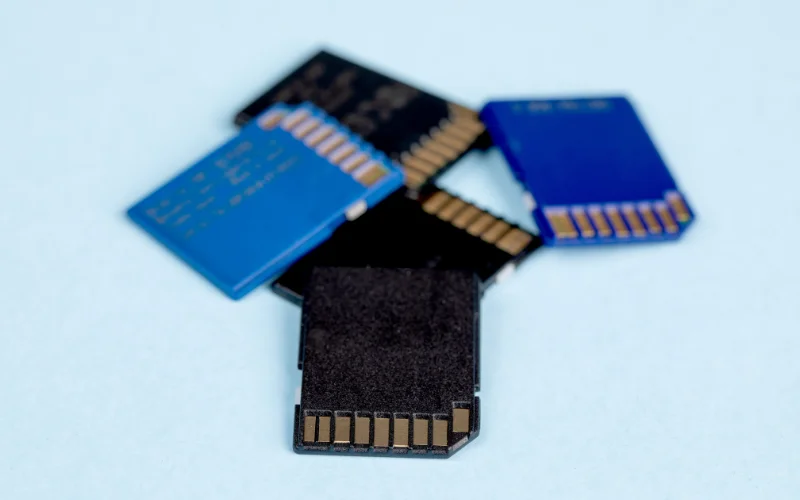
Time-lapse photography requires patience and lots of it. Make sure you’re prepared for extended photography shooting sessions by packing plenty of spare batteries and memory cards. There’s nothing worse than running out of juice or storage space right when you’re capturing the perfect moment!
5. Editing Software
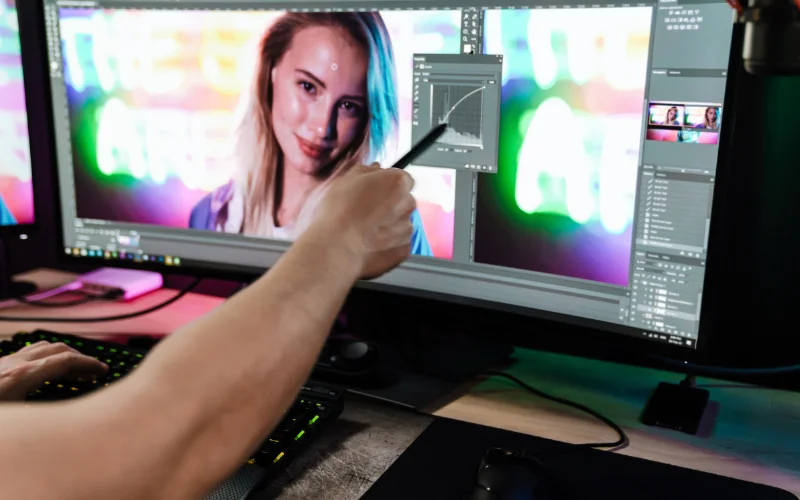
Last but not least, you’ll need some great editing software to bring your time-lapse sequence to life. Whether you’re a pro with Adobe Premiere Pro or prefer the simplicity of apps like Lapse It, find a tool that suits your skill level and workflow. Get creative with adjustments like speed, exposure, and colour grading to make your time-lapse pop!
How To Shoot Time Lapse Photography
1. Find the Perfect Scene
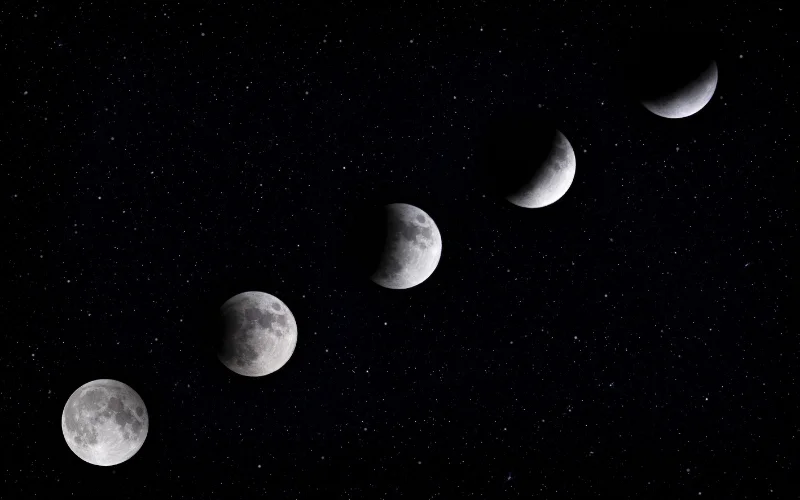
The first step in creating awe-inspiring videos of time-lapse is finding a scene that’s worthy of being immortalized in fast-forward. Look for subjects with dynamic movement or transformation, like bustling city streets, blooming flowers, or rolling clouds.
Keep an eye out for interesting lighting conditions, too—sunrise and sunset can add an extra layer of magic to your time lapse.
2. Set Up Your Gear
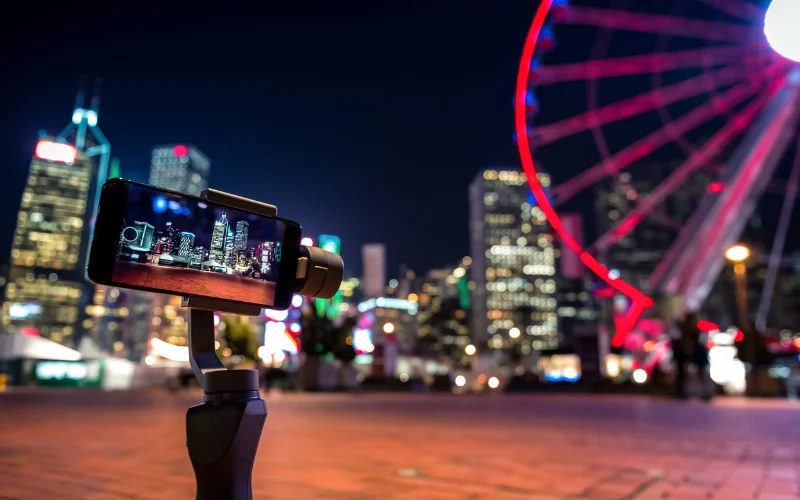
Once you’ve found your scene, it’s time to set up your camera and equipment. Start by mounting your camera securely on a tripod to ensure stability throughout the shoot.
Adjust the framing and composition to capture the full scope of the action, and double-check your settings to ensure everything’s just right.
3. Adjust Your Camera Settings
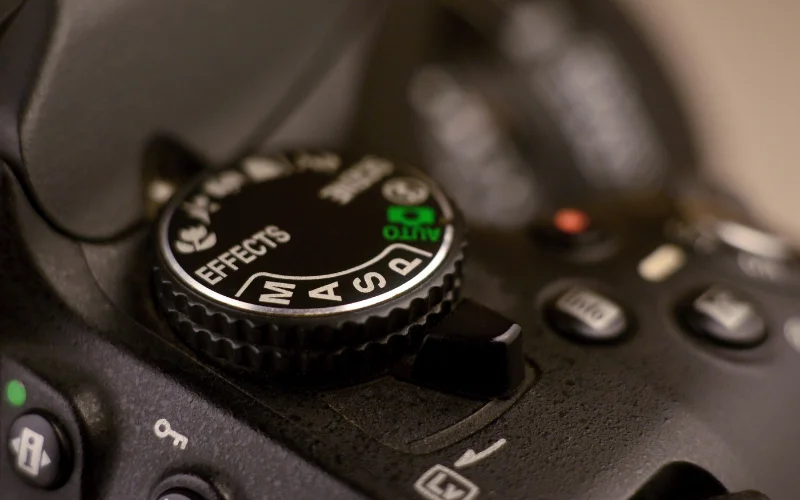
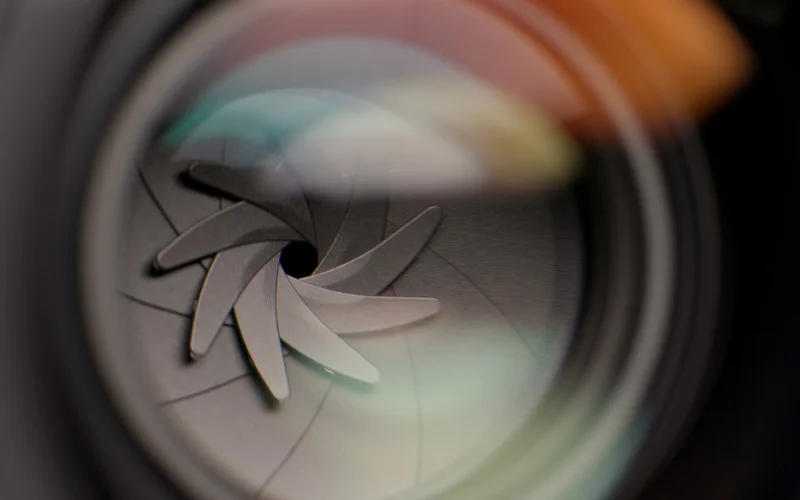
Now, dial in your camera settings for optimal time-lapse shooting. Set your camera to manual mode to fully control exposure, aperture, and ISO. Choose a narrow aperture (higher f-stop) to maximize depth of field and keep your entire scene in focus.
Adjust your shutter speed and ISO to achieve the desired exposure. Longer shutter speeds will create smoother motion blur in moving subjects.
4. Use an Intervalometer or Remote Shutter Release
You’ll need an intervalometer or remote shutter release to capture a series of photos at regular intervals. This handy device lets you set the interval between shots and automate the process, ensuring consistent timing and spacing throughout your time-lapse sequence.
5. Start Shooting
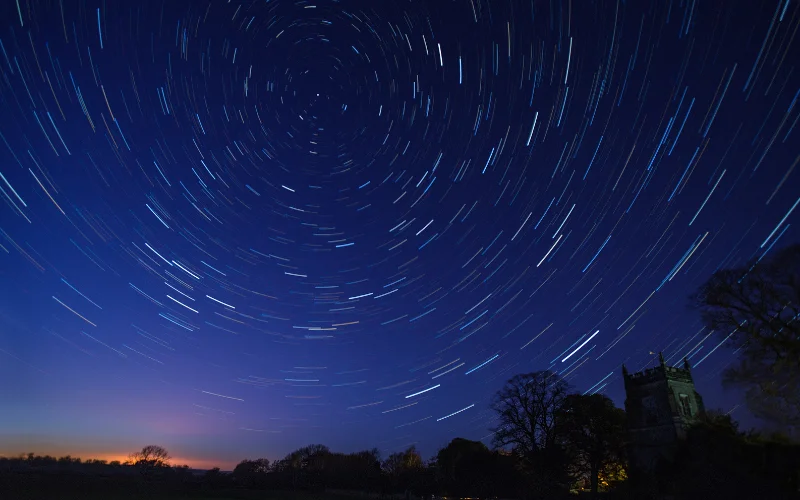
With your gear and settings dialed in, it’s time to start shooting! Activate your intervalometer or remote shutter release to capture a series of photos over time. Sit back, relax, and let your camera work its magic as it documents the passage of time in mesmerizing detail.
6. Post-Processing & Editing
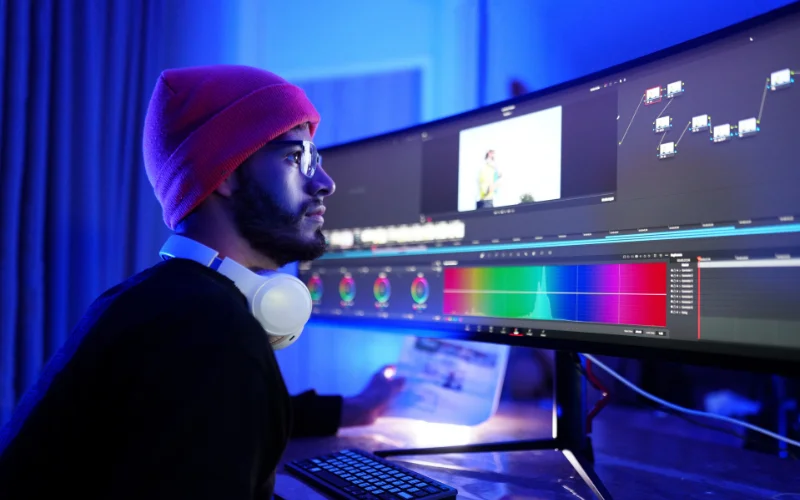
Once you’ve captured your time-lapse sequence, it’s time to bring it to life with post-processing and editing. Import your photos into your favorite editing software and assemble them sequentially.
Adjust the speed, exposure, and color grading to enhance the visual impact of your time-lapse, and don’t be afraid to get creative with effects and transitions!
Time Lapse Photography Tips
- Sturdy Setup: Use a sturdy tripod or stable surface to keep your camera still throughout the shoot. This prevents shaky footage.
- Plan Ahead: Decide what you want to capture and choose the right location and time of day for the best lighting and scenery.
- Use Manual Mode: Set your camera to control exposure, focus, and white balance. This ensures consistency across all frames.
- Interval Timer: Use an intervalometer or your camera’s built-in interval timer to automate taking stunning photos at regular intervals.
- Frame Rate: Decide on the final video’s frame rate beforehand. A common frame rate for time-lapse videos is 24 frames per second (fps).
- Patience is Key: Time-lapse photography takes time, so be patient and let your camera do its job while you wait for the magic to happen.
- Battery Life: Make sure your camera’s battery is fully charged, or use an external power source to avoid running out of power mid-shoot.
- Memory Space: Use a large memory card or external cloud storage to accommodate the numerous photos taken during the time-lapse sequence.
- Experiment: Try different intervals, durations, and angles to find the most captivating results.
- Post-Processing: After capturing your time-lapse sequence, use editing software to compile the photos into a video and make any necessary adjustments to enhance the final outcome.
In Conclusion – Time Lapse Photography
Time-lapse photography is a captivating technique that allows us to witness the passage of time in a condensed format. With the right photography equipment and time-lapse tips and tricks, anyone can try their hand at time-lapse photography.
So, next time you’re out with your camera, why not give it a shot? Who knows what mesmerizing moments you might capture!
That’s what time lapse photography is all about – capturing time’s fleeting beauty in a single frame.
Like this post? Check out more amazing photography content here.
Frequently Asked Questions
1. How long is a 30-minute timelapse?
A 30-minute recording session usually results in a final timelapse video that is 20 to 40 seconds long on smartphones like an iPhone, or 10 to 60 seconds long on dedicated cameras, depending on your settings.
2. What is time-lapse photography used for?
A time-lapse camera is used to condense long, slow processes into fast-moving, short videos.
3. How do I take time-lapse photos?
To take a time-lapse photo sequence, mount your phone or camera on a sturdy tripod, select the time-lapse mode or set an intervalometer to shoot still photos at regular time gaps, lock your focus and exposure, and let the camera record.
4. How long is a 1-minute time-lapse?
A 1-minute time-lapse video plays back for 60 seconds, but the real-world time it takes to record depends entirely on your chosen capture interval and frame rate.
5. How long is a 2-hour time-lapse?
A 2-hour real-time event typically compresses into a 15- to 30-second time-lapse video.
The exact length depends on how frequently your camera captures a frame (the interval) and the playback speed (usually 24, 30, or 60 frames per second).
6. What is the longest time-lapse ever recorded?
The longest continuous time-lapse video recorded from space is a 15-minute film capturing two full orbits of Earth from the International Space Station. For extended time scales, scientists and astronomers have compiled multi-year projects, such as a 17-year astronomical time-lapse of an exoplanet orbiting its star and an 8-year solargraphy pinhole camera project tracking the sun.