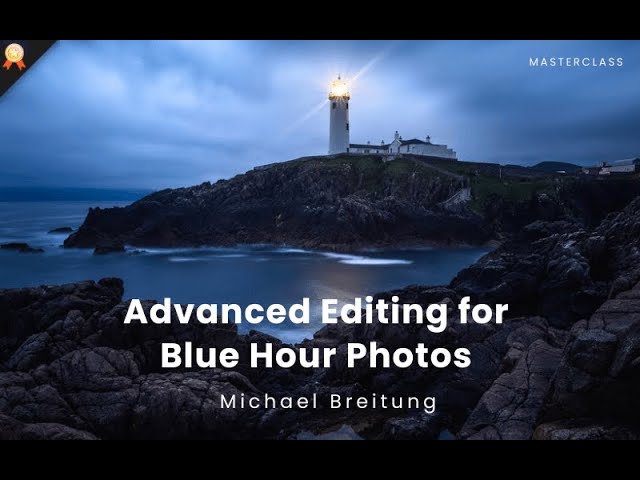

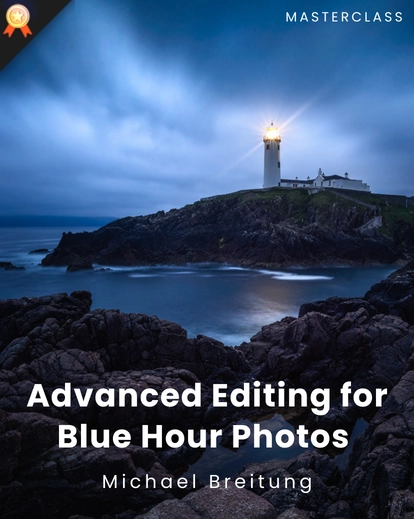
Turn Flat, Dark Blue Hour Images Into Gallery-Worthy Art
Dramatic Blue Hour Photos is an advanced photo editing masterclass designed to teach photographers how to edit blue hour photos using Lightroom and Photoshop.
You can learn transforming dark, flat RAW files into refined, professional-grade artwork.
This masterclass focuses on light control, contrast balance, selective adjustments, and color refinement, using real-world blue hour images and professional workflows.
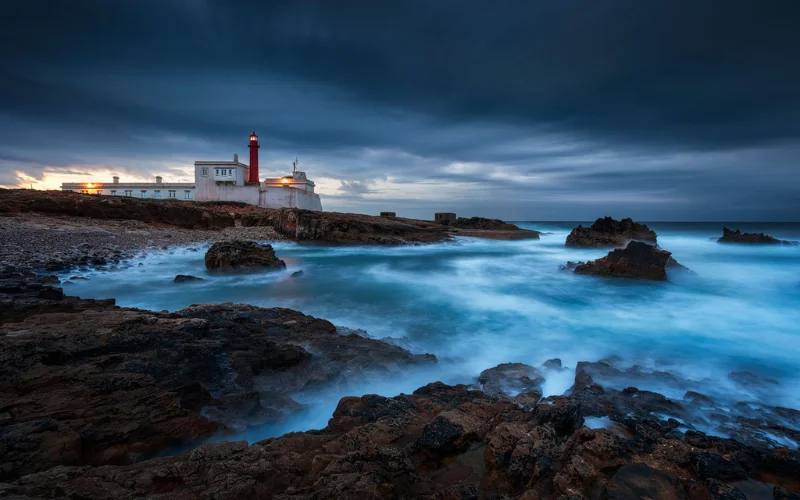
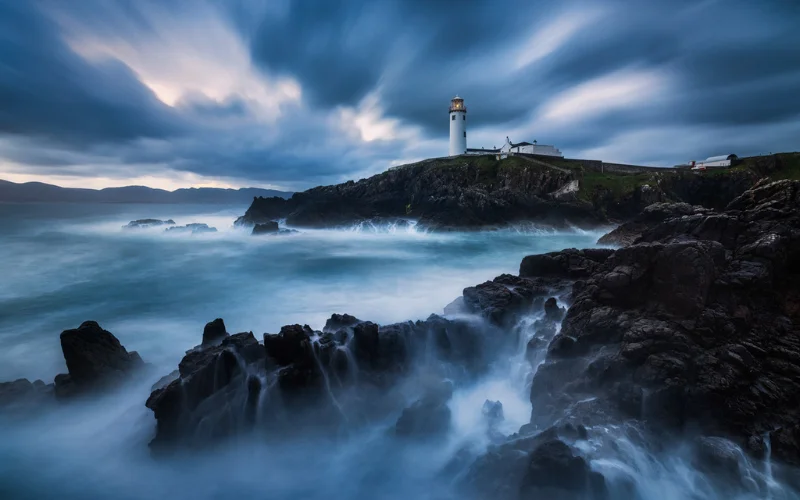
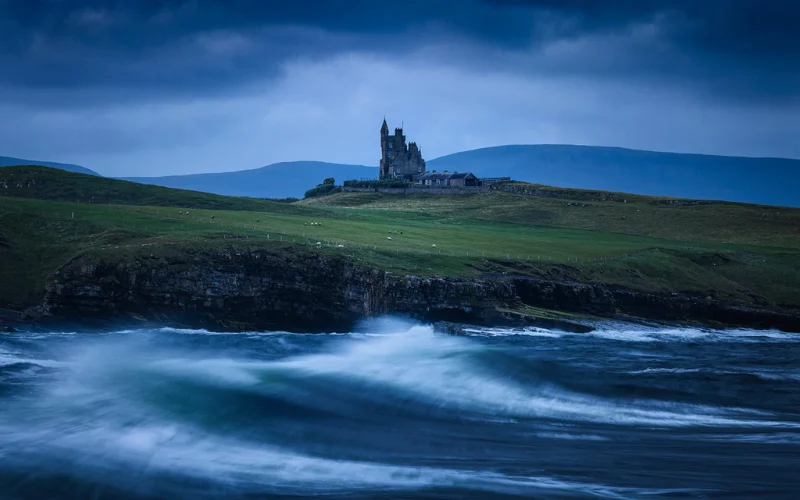
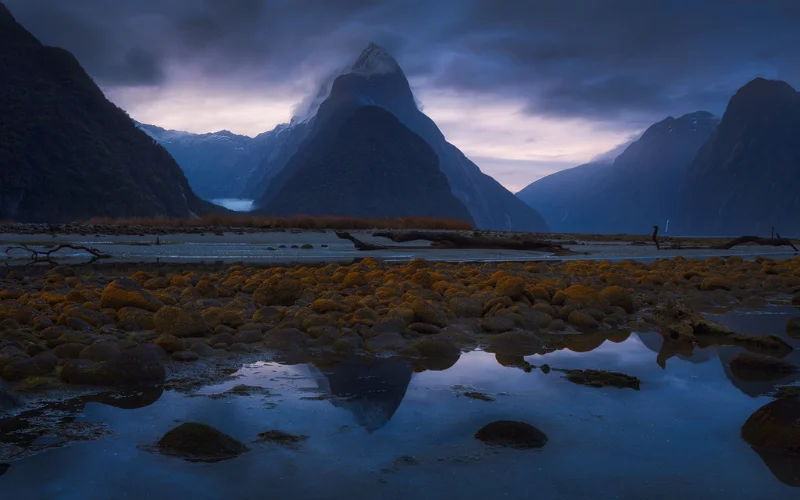
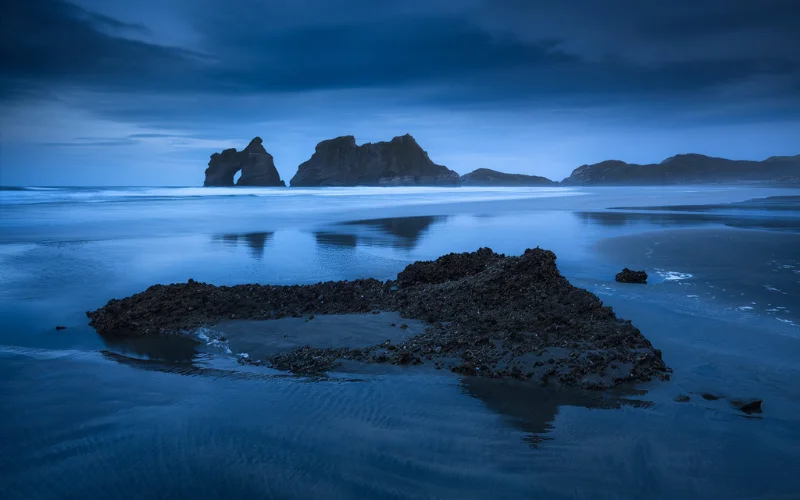
Blue hour provides soft, atmospheric light, rich tonal transitions, and a cinematic mood that no other time of day offers.
This masterclass doesn’t just show you what buttons to click.
It teaches you how to think like a professional editor.
Once you learn how to edit blue hour photos properly, you’ll never look at low-light images the same way again.
You’ll see opportunity where others see failure and create photos worth displaying, selling, and showcasing.
What Makes This Masterclass Different From Regular Editing Tutorials
This is not a preset-only walkthrough or a basic Lightroom demo. This masterclass teaches,
Decision-making, not just sliders
Selective control, not global over-editing
Non-destructive workflows used by professionals
Advanced Photoshop techniques explained clearly
You’ll learn how to turn images that look unusable into dramatic, wall-worthy photographs without destroying image quality.

Key Editing Takeaways
- Day to dusk photo editing
- Blue hour photography settings
- Achieving the twilight photo effect
- Blue hour photography tips
Editing Tools & Assets You’ll Use
- Assets Included: Lightroom presets + TIFF practice files
- Editing Software: Lightroom & Photoshop
- Adobe Lightroom (Classic recommended)
- Adobe Photoshop (latest version preferred)
Who Should Enroll in This Masterclass
- Photographers who already know Lightroom & Photoshop basics
- Landscape photographers tired of only shooting sunrise/sunset
- Advanced photographers seeking refined editing techniques
- Creators who want consistent, professional results
How to Edit Blue Hour Photos That Look Cinematic, Moody & Professional
Frequently Asked Questions
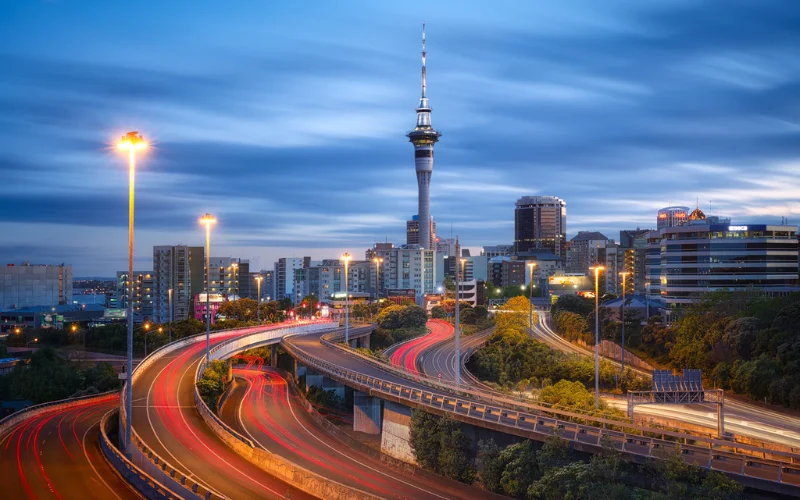
Blue hour photography refers to shooting images during the short time just before sunrise or after sunset when the sky takes on deep blue tones. The light is soft, even, and atmospheric, making it ideal for landscapes, cityscapes, and moody scenes. However, blue hour images usually require careful editing to bring out their full potential.
Lightroom is excellent for initial adjustments, masking, and color corrections, but advanced blue hour photo editing often requires Photoshop. Techniques like luminosity masks, focus stacking, advanced contrast work, and detailed retouching are best handled in Photoshop, which is why this masterclass covers both tools.
Yes, Photoshop is highly recommended for professional blue hour photo editing. While basic edits can be done in Lightroom, Photoshop allows precise control through adjustment layers, smart objects, luminosity masks, and advanced retouching techniques that are essential for high-quality results.
No. While the primary focus is on how to edit blue hour photos, all the techniques taught such as masking, contrast control, luminosity masks, and retouching can be applied to photos taken in any lighting condition, including daytime and golden hour images.
This masterclass is best suited for photographers who already understand the basics of Lightroom and Photoshop. It is designed for intermediate to advanced users who want to take their photo editing skills to a professional level.
Absolutely. This masterclass is especially valuable for landscape photographers who want to expand beyond sunrise and sunset shots. Blue hour light works beautifully for landscapes, cityscapes, and architectural photography.
You will need Adobe Lightroom (Classic recommended) and Adobe Photoshop. A basic understanding of both programs is required to get the most out of the lessons.

Reviews
There are no reviews yet.