In photography, light isn’t just a tool. It’s the story itself. And no light tells a better story than the golden hour. It’s warm, soft, forgiving, and utterly photogenic. Once you understand what makes it so special, you’ll start chasing sunsets with purpose. In this article, we’ll explain what is golden hour photography, the best time to shoot, and tips to make every picture glow beautifully.

Table of contents
- What Is Golden Hour In Photography?
- When Is The Golden Hour For Photography?
- Why Is The Light Better During The Golden Hour?
- Best Camera Settings For Golden Hour Photography
- Golden Hour Photography Tips
- 1. Pay Attention To The Sun’s Position
- 2. Get There Early And Set Up
- 3. Set Your White Balance
- 4. Practice Shooting Starbursts
- 5. Use Different Apps
- 6. Use A Tripod For Landscapes
- 7. Try Backlighting For Golden Hour Photography
- 8. Balancing Highlights & Shadows
- 9. Avoid Unwanted Shadows
- 10. Shoot Golden Hour Photos In Raw
- 11. Use A Fill Light Or Reflector
- 12. Create Lens Flare
- Wrapping Up Golden Hour Photography
- FAQs On Golden Hour Photography
What Is Golden Hour In Photography?
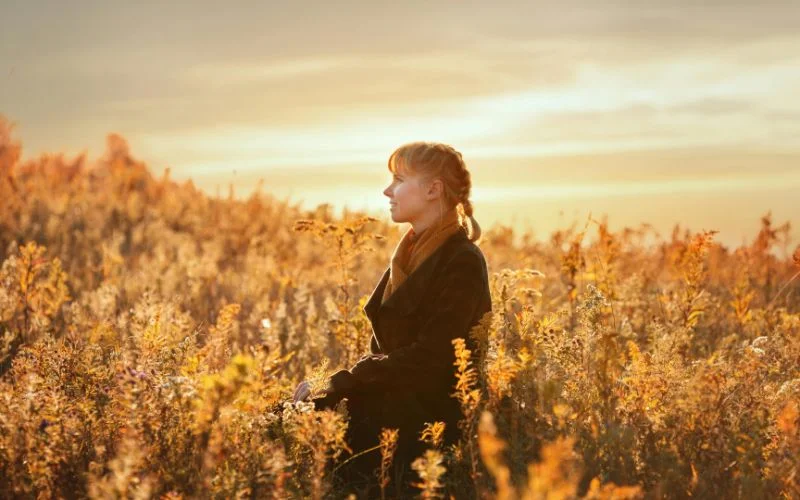
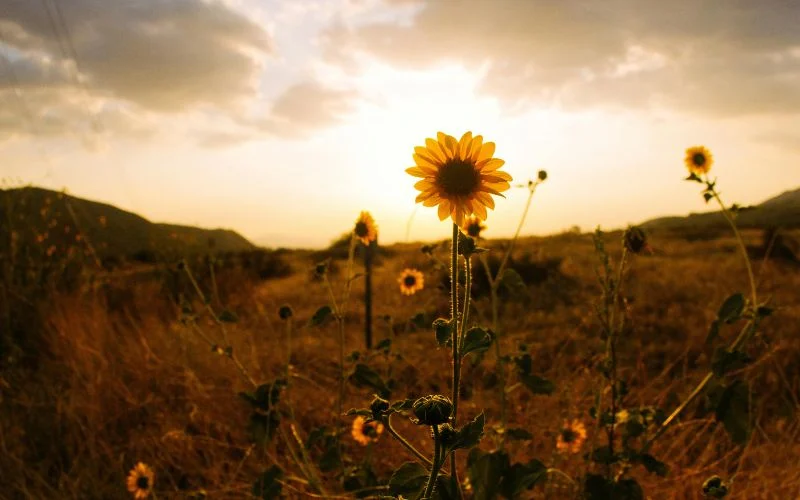
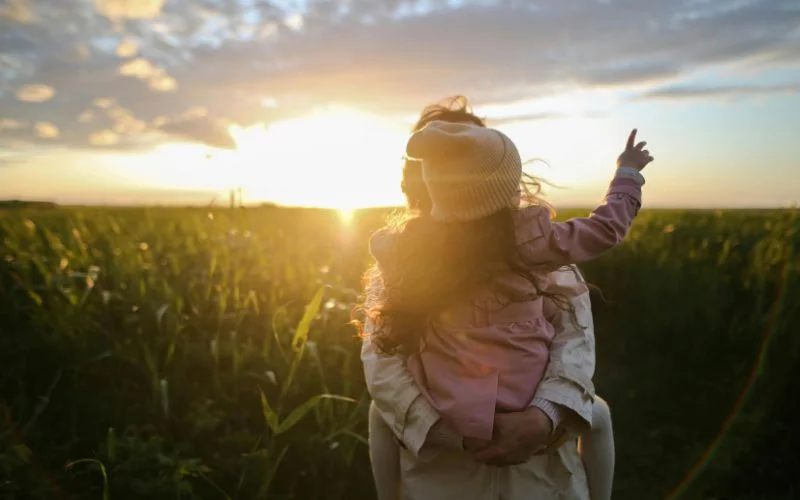
In simple terms, the Golden Hour is the time of day that happens just after sunrise and just before sunset. During these times, the sun is low in the sky, either rising or setting.
Unless you’re an early riser, you probably don’t see many sunrise golden hours. You might catch them in winter when the days are shorter, but most mornings, you’re likely on your way to work or getting ready for the day.
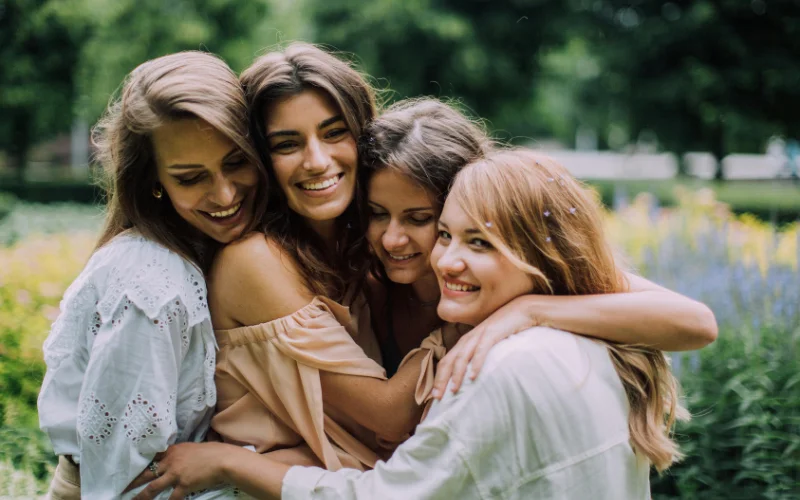
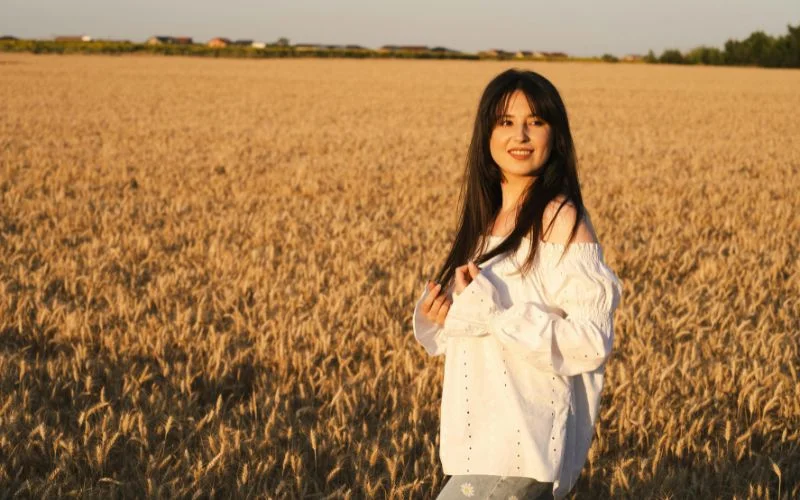
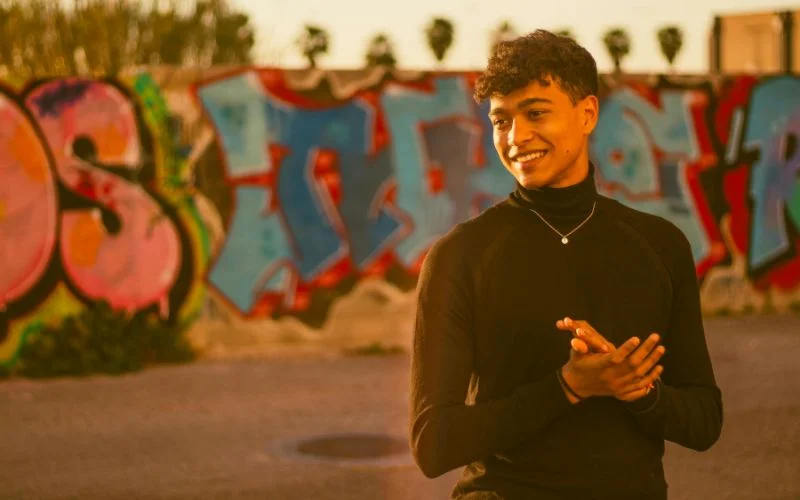
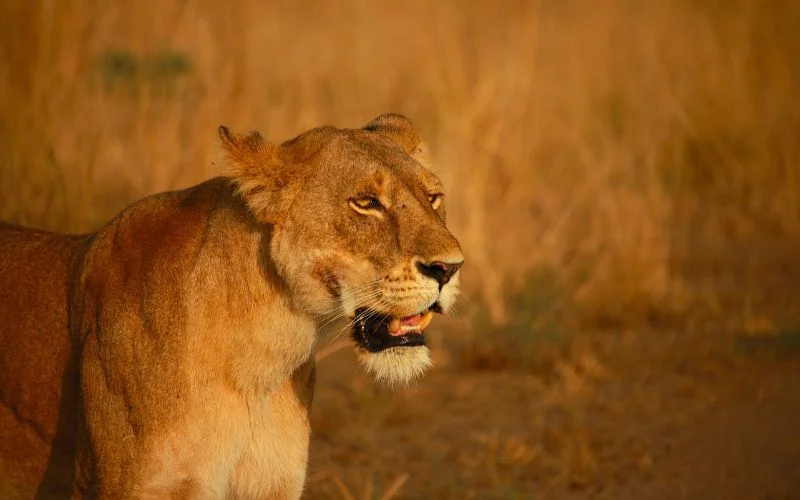
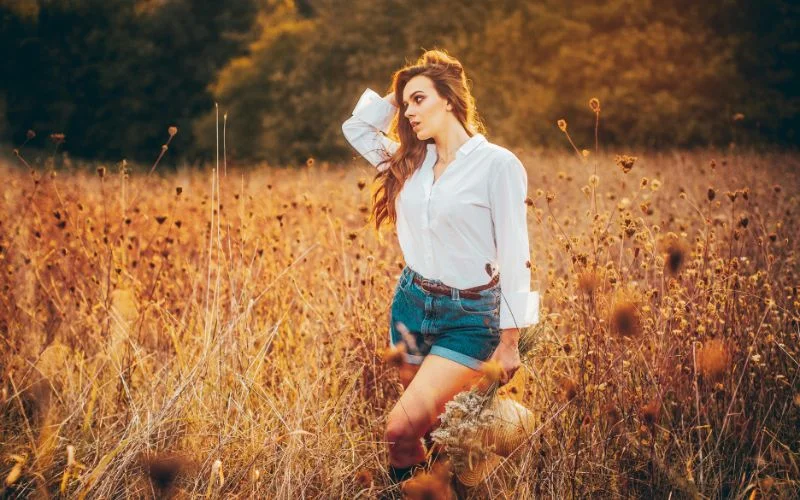
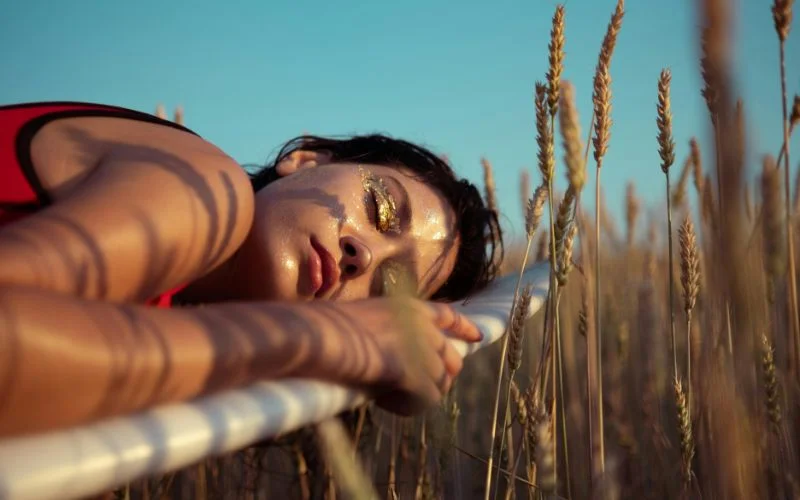
The light during golden hour is softer than the harsh daylight when the sun is high. It’s also more directional, creating gentle shadows and depth. The light has a warm, golden glow, hence the name. It’s the perfect time to capture beautiful, intimate portraits.
When Is The Golden Hour For Photography?
Golden hour isn’t a fixed time span. It depends on your location and the time of year.
In general:
- Morning golden hour happens just after sunrise for about 45 minutes to an hour.
- Evening golden hour starts about an hour before sunset.
You can use apps such as PhotoPills, GoldenHour.One, or even The Photographer’s Ephemeris to track the golden-hour times wherever you are.
Why Is The Light Better During The Golden Hour?
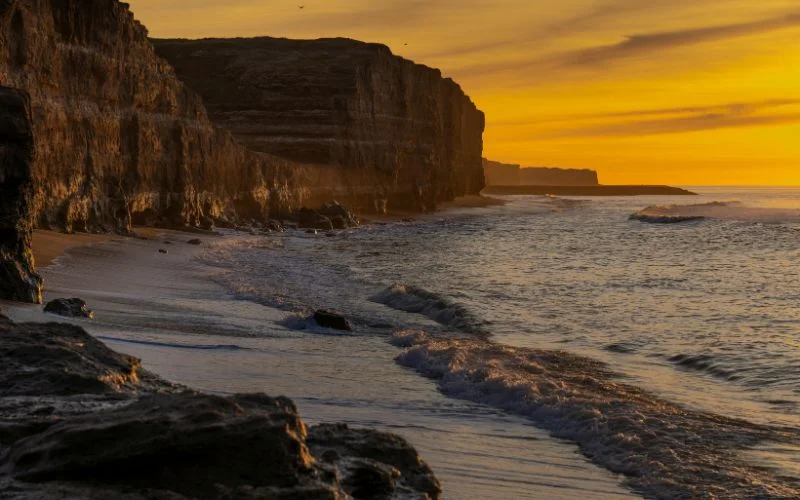
The light looks better at the beginning and end of the day because the sun sits low on the horizon during the golden hour. Its light has to travel through more of the Earth’s atmosphere before reaching the surface. This reduces the intensity of direct sunlight, making it softer and warmer.
At the same time, the low sun creates more indirect light from the sky. This acts as a natural fill light, softening shadows and adding a gentle glow. Indirect sunlight is simply sunlight that has been scattered by the atmosphere.
As sunlight passes through the atmosphere, some of it bounces around before reaching the ground. Shorter wavelengths, such as blue light, scatter more easily than longer wavelengths, like those of red light. That’s why the sky appears blue, while the sun takes on a deep, reddish tone during sunrise and sunset.
Best Camera Settings For Golden Hour Photography

Mode: Manual (M) or Aperture Priority (A/Av).
Aperture ((f)-stop): (f/1.8) to (f/4) for a single subject to achieve a blurry background. Use a higher aperture like (f/8) to (f/11) for group photos or landscapes.
ISO: Start low ((100-200)) to reduce noise. Increase only as needed as the light fades.
Shutter Speed: Adjust this setting to achieve the correct exposure. A faster shutter speed will freeze motion, while a slower one will create blur.
White Balance: Set to “Cloudy” or “Shade” to enhance the warm, golden tones. Auto white balance is also an option, but may require more editing.
File Format: Shoot in RAW for maximum flexibility in post-processing, especially for balancing highlights and shadows.
Golden Hour Photography Tips
1. Pay Attention To The Sun’s Position
The first tip is a very simple one. Consider the position of the sun relative to your subject. This information will help you to choose the direction to shoot and the type of light.
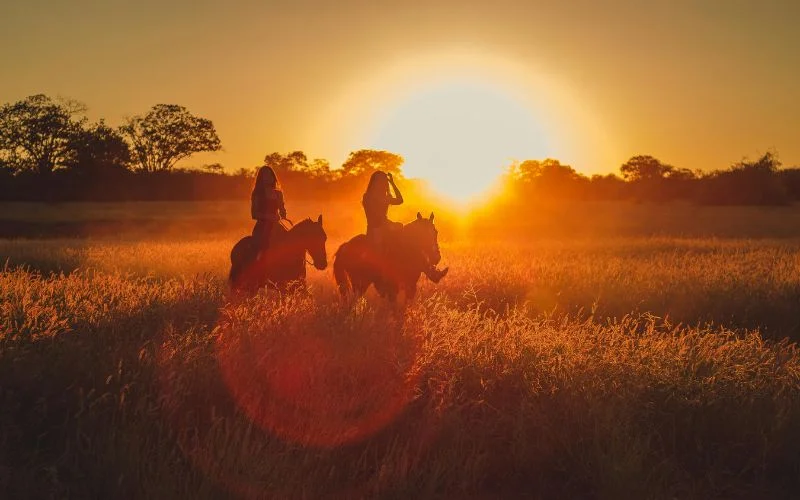
For example, if you shoot toward the sun, you can create a very dramatic silhouette look on your subjects. If you shoot away from the sun, you can generally achieve softer, diffused light.
2. Get There Early And Set Up
Time is often not on our side when shooting, and the golden hour is no different. It is referred to as the golden “hour,” but in reality, it often does not last for the full sixty minutes.
You are best able to arrive at least 30 minutes before the start of the golden hour so you can set up all your gear. You will have plenty of time to find the right spot, set up gear, and experiment creatively, all without the pressure of time leading to a stressful, last-minute experience.
Recommended for you: High Key vs Low Key Lighting: Choosing the Right Style for Your Shot
3. Set Your White Balance
Auto white balance or color temperature is not the best option when looking to photograph during golden hour. Switch your white balance to ”Shade” or ”Cloudy” to maintain the golden glow; otherwise, your photographs will seem neutralized.
AWB may even cool the colors in your image, so if you’re adjusting your white balance or color temperature manually, use a setting in the range of 3000 to 4000 Kelvin to achieve the warm colors in your image.
Ensure you are shooting raw so you can change the white balance in post-processing later, if you did not achieve it while shooting.
4. Practice Shooting Starbursts
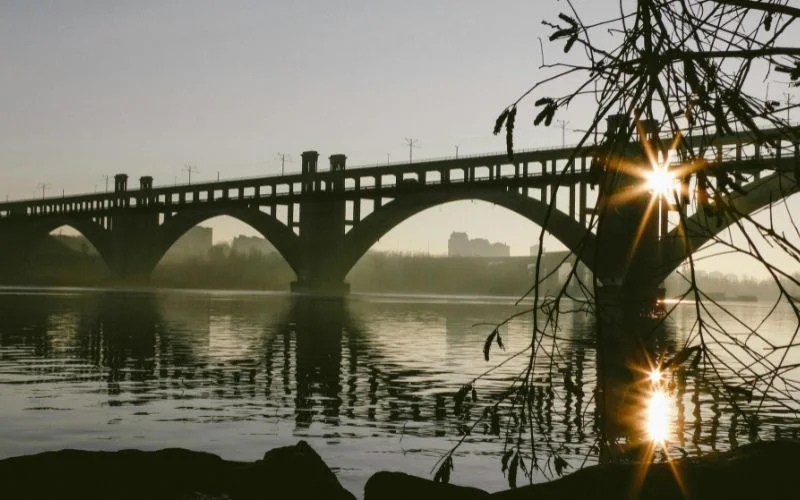
Starbursts occur when an object partially blocks the Sun as it rises or sets. If you are shooting in the countryside with a boulder as your main subject, position yourself so that the boulder blocks the sun for most of the time.
Then, slightly move the camera while looking through the viewfinder until a small edge of the sun can be seen peeking out from behind the boulder. When you see this, the sun will burst into a star pattern, with different light points travelling outwards across the horizon and the scene as a whole!
Check out our bestselling masterclass: Understanding The Power Of Masks In Photoshop
5. Use Different Apps
There are apps that list sunset times and tell you exactly where the sun will be at any given time or place. Using these golden hour calculators can take some of the guesswork out of golden hour time and planning.
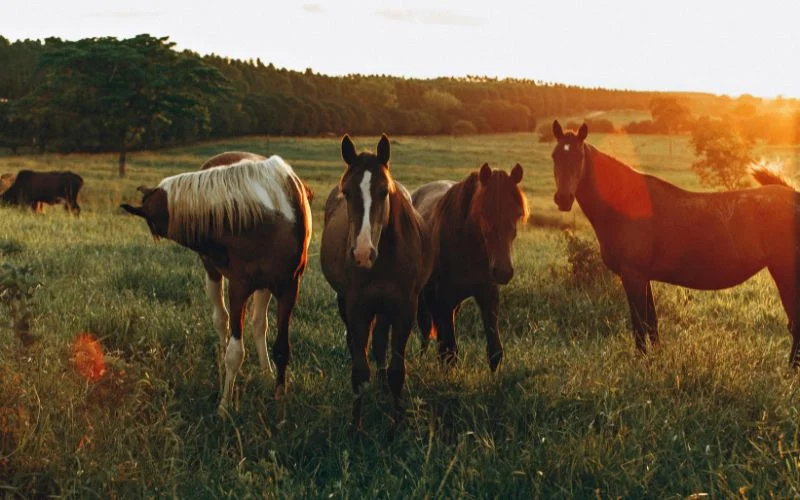
6. Use A Tripod For Landscapes
Due to its soft and beautiful light, the golden hour is an ideal time to take photos of landscapes. To make the most out of this opportunity, be sure to use a tripod so that you can capture sharp images with slow shutter speeds.
This will help you achieve stunning detail in your photos while bringing out all the natural colors of golden hour light.
7. Try Backlighting For Golden Hour Photography
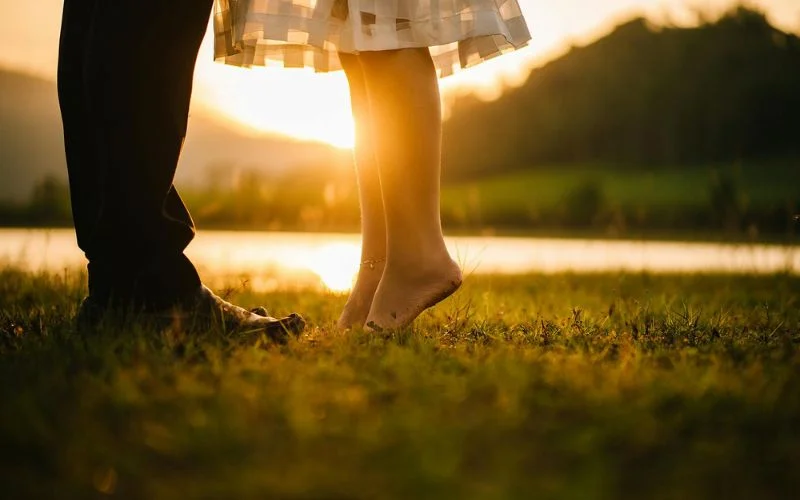
When you position your subject so the sun or another light source is behind them, it creates a halo effect as the light wraps around the edges of your subject. This is particularly nice for portrait photography because it gives your images a dreamy mood.
8. Balancing Highlights & Shadows
During the golden hour, your photos often show big differences between very bright areas and deep shadows.
To fix this, you should reduce the highlights so you keep detail in the bright parts, and lift the shadows so you recover detail in the dark areas. The goal is to keep natural contrast and avoid losing important elements in either extreme.
Keep the inspiration going: How to Smile for Pictures: 17 Tips to Look Natural Every Time
9. Avoid Unwanted Shadows

When shooting portraits, the direction of lighting plays a crucial role in how the portrait photographs. You do not want to have any vertical facing light that falls down from above your model because this casts unwholesome or unattractive shadows on the face.
One of the most unflattering effects of portrait photography is the “raccoon eyes” effect – where the model’s eyebrows cast a shadow over the eye that gives the appearance of dark circles around the eyes. This is not the case when photographing in golden hour light conditions, where the light is at a low angle, lighting the model’s face from the side rather than from above.
You will have to deal with other shadows, but dealing with those shadows will be far easier than eliminating raccoon eyes in post processing.
10. Shoot Golden Hour Photos In Raw
Capturing the dynamic between highlights and shadows during golden hour can present some challenges, but shooting in RAW will give you the best opportunity for flexibility in post-processing. RAW files preserve the finest details in highlights and shadows, which is essential when dealing with challenging lighting scenarios inherent in golden hour conditions.
Start with your ISO set to low and adjust as needed to reduce noise, and then adjust your aperture to achieve the depth of field you want. Finally, set your shutter speed based on the exposure.
As you are likely to see that the light is changing quickly, be prepared to make constant and continuous adjustments to achieve a good balance for your scene.
11. Use A Fill Light Or Reflector

When shooting a subject against a backlight, you can expect the front of your subject to be quite dark. You can consider using a fill or front light. You can also use something to bounce the light back onto the face or front of your subject.
Again you will want to make sure your light is not too harsh or cool. You should try to keep the light bright and tones consistent with your environment, using a diffuser along with a low setting will assist with this.
You might also like: Portrait Photography Tools Every Photographer Should Own
12. Create Lens Flare

Flares are created when light directly hits your lens, and this is something that photographers will want to avoid in their images. During golden hours, lens flares can be used to create visual interest in your photograph with the beautiful, rainbow-colored effects they can display.
If you’re struggling to capture a natural lens flare, you can easily add one to your photos using these lens flare overlays.
Wrapping Up Golden Hour Photography
Now that you know how to find and use golden hour light, it’s time to practice. Step outside during those soft, glowing minutes and experiment. Play with angles, silhouettes, and reflections. Remember, golden hour doesn’t last long, but its magic will shine through every photo you take.
FAQs On Golden Hour Photography
Q.1 Is golden hour better for portraits or landscapes?
Ans. Golden hour is beneficial for both portraits and landscapes, as it provides soft, warm light that enhances both subjects. For portraits, the soft light is flattering, creating a natural glow and beautiful skin tones without harsh shadows. For landscapes, the warm colors and long shadows add depth and a magical, dreamy quality.
Q.2 Can I shoot golden hour indoors?
Ans. Yes, you can shoot golden hour indoors by using artificial lights to mimic the warm, soft glow of sunset or sunrise. This can be achieved by using one or more lights, often set to a warm color temperature (around (2500)-(3200) Kelvin). You can position the light to look like it’s coming through a window, use diffusers or reflectors for softness, and even add a second, cooler light to simulate the sky.
Q.3 Can I shoot silhouettes during golden hour?
Ans. Yes, you absolutely can shoot silhouettes during golden hour; in fact, it’s one of the best times to do so because the low angle of the sun creates a naturally dramatic backdrop and strong contrast.
Q.4 Can I recreate golden hour effects in post-processing?
Ans. Yes, you can recreate golden hour effects in post-processing using editing software like Lightroom or Photoshop by adjusting color temperature, highlights, and shadows, and using masks or gradients to create a glowing effect.
Like this post? Check out more amazing photography content here.