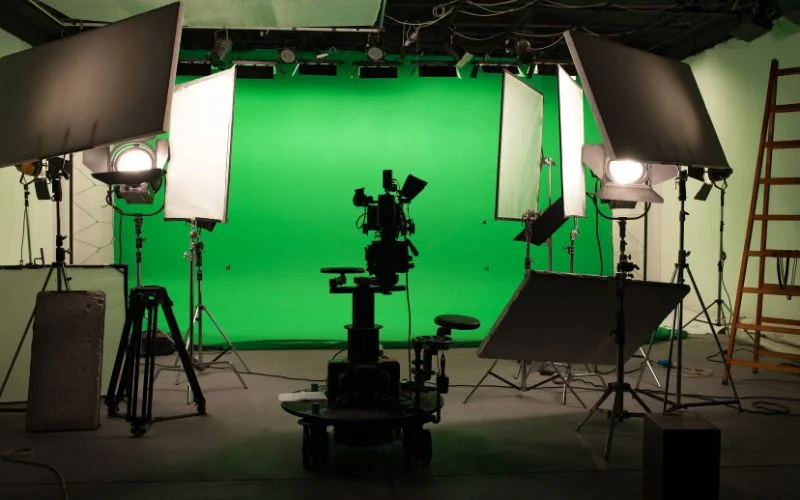
Have you ever wondered how movie stars can appear in exotic locations without leaving the studio? The secret is green screen photography.
It is a technique that allows you to replace the background of your photos with any image you want.

In this blog, you will learn how to use green screen photography to create amazing photos with realistic backgrounds.
You will also discover the best tips and tricks for setting up, lighting, and editing your green screen photos.
Table of contents
What Is Green Screen Photography?
Green screens let you change the background of your photos to any picture you want. First, I will tell you what you need. You need a green screen for photoshoot that is ‘chroma green’. This is a special green color.
There are many kinds of green screens, but I think the paper roll ones are the best. They are very smooth, and smooth green screens are easier to edit.
Check out this blog to learn more about some unique types of photography.
Role Of Green Screen In Photography
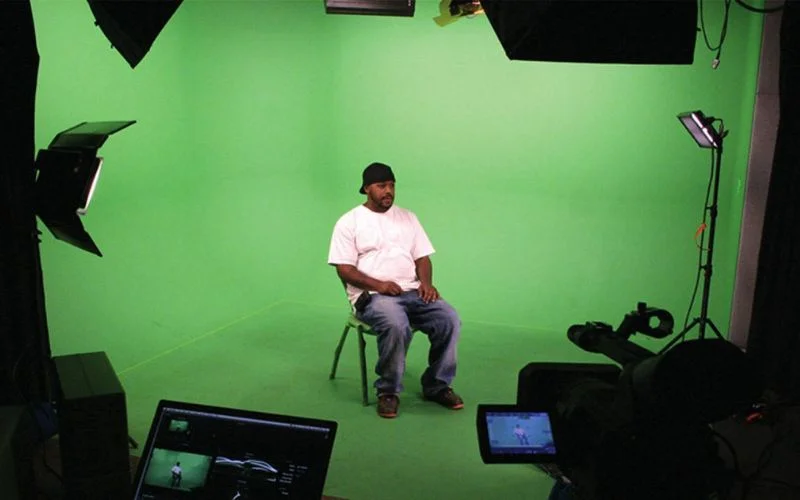
The green screen is like a magic tool in photography that helps create amazing pictures. Imagine a bright green backdrop for photography behind the person or object you want to capture.
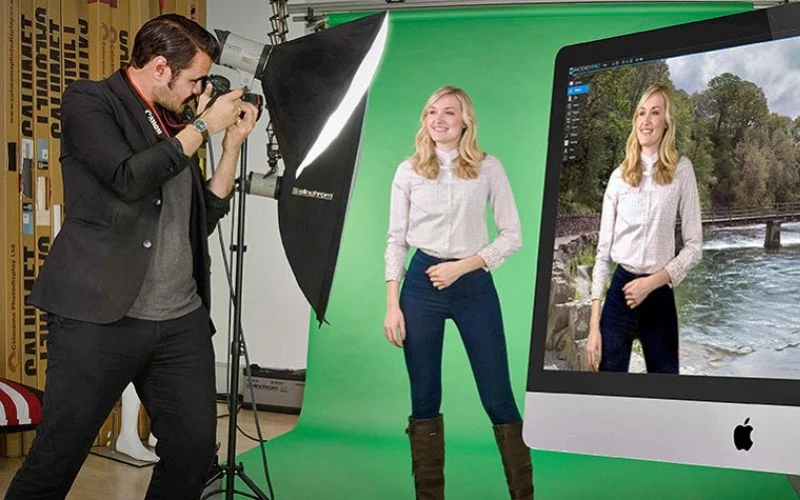
With the help of technology, the green color can be easily replaced with any image you like during the editing process. This allows photographers to transport their subjects to different places, like exotic beaches or outer space, without actually being there.
It’s like a superhero power for photographers, giving them the ability to make cool and imaginative photos by using the green screen as a blank canvas that can be filled with endless possibilities.
What Do You Need To Use A Green Screen?
1. A Green Screen
You can buy a ready-made green screen from online stores or craft shops, or you can make your own using green fabric or paper.
Make sure the green screen is large enough to cover the entire area behind your subject. You also need to hang it or attach it to a flat surface, such as a wall or a frame.
Check out: Best Portrait Photography Online Courses
2. A Camera
You can use any camera that can record video or take photos, such as a smartphone, a webcam, or a DSLR. Make sure the camera has a good resolution and can capture the colors accurately.
3. A Tripod

You need a tripod to stabilize your camera and avoid shaky footage. You can also use a selfie stick, a gimbal, or any other device that can hold your camera steady.
Check out: Mega Posing Bundle – 18 Guides & 1000+ Posing Cards
4. A Lighting Kit
You need to light your green screen and your subject evenly and avoid shadows and reflections. You can use natural light, such as sunlight, or artificial light, such as lamps or LED panels.
Also, you can use reflectors, diffusers, or umbrellas to soften or bounce the light.
5. A Software
You need software that can perform chroma key photography and edit your video or photo. There are many options available, such as Canva, Kapwing, or Adobe Premiere Pro.
Some of them are free and easy to use, while others are more advanced and require a subscription.
How To Use Green Screen In Photography In 4 Steps
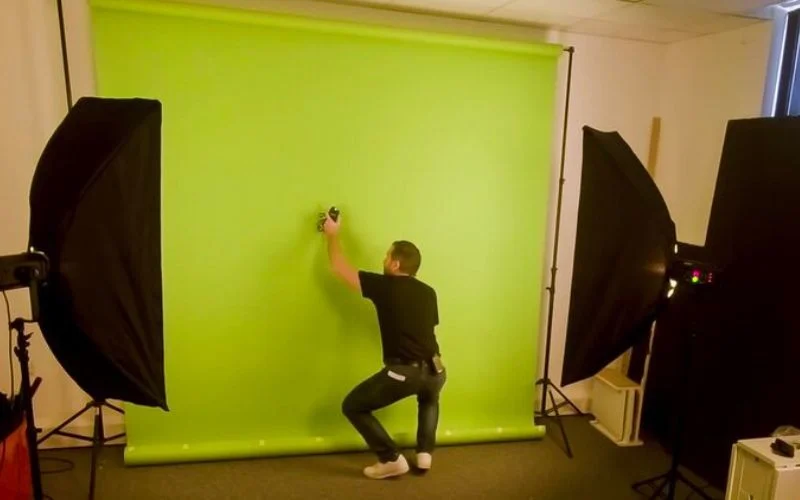
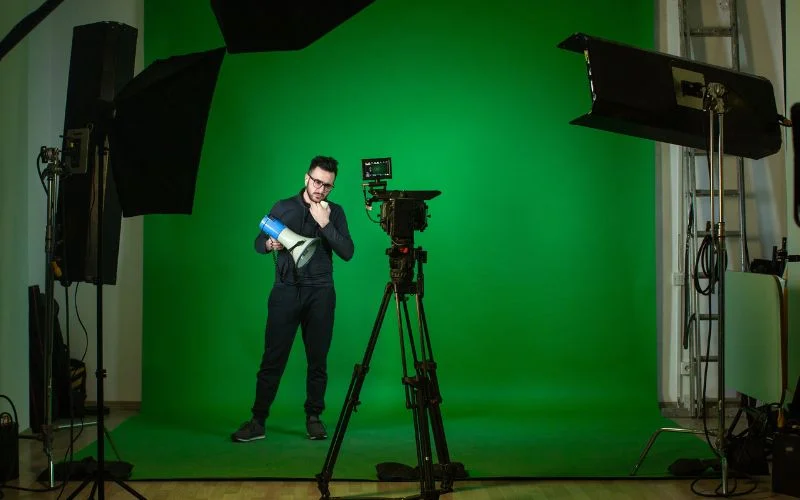
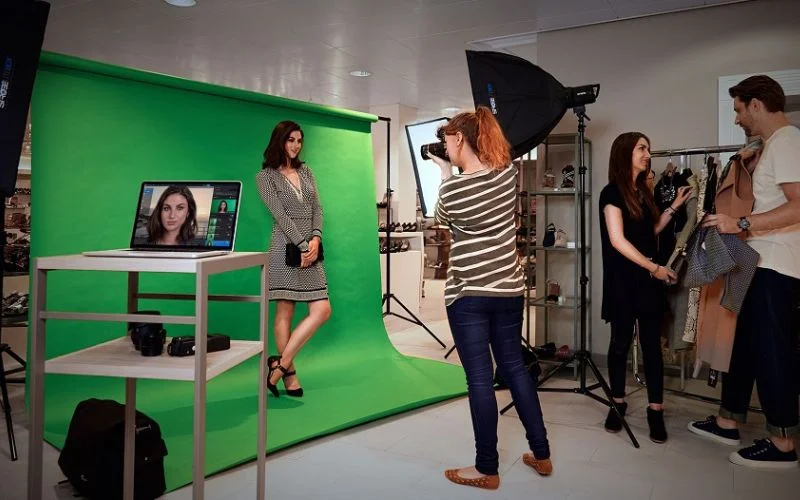
Step 1: Set Up Your Green Screen

Find a suitable location for your green screen, such as a room with enough space and no distractions. Hang or attach your green screen to a flat surface and make sure it is smooth and wrinkle-free.
Adjust the distance between your green screen and your subject, depending on the size of your subject and the angle of your camera.
Ideally, you want to have at least 6 feet (1.8 meters) of space between them to avoid spillage, which is when the green color reflects on your subject.
Check out: Hot New Sitting Poses You Should Try At Your Next Photoshoot
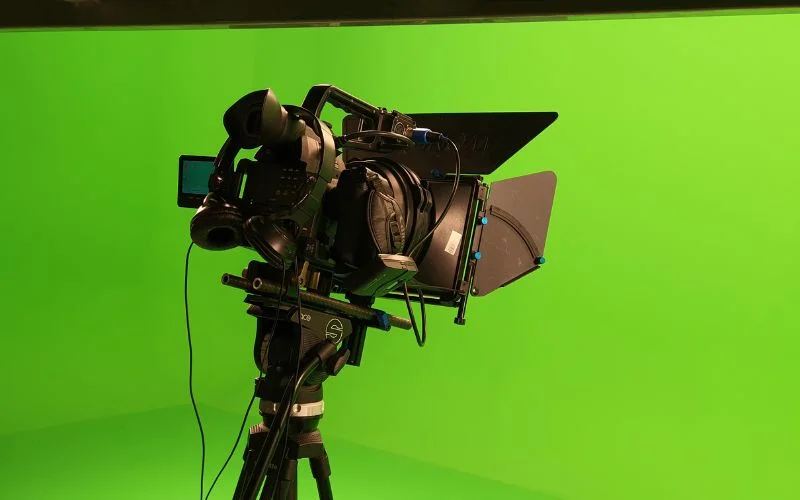
Step 2: Set Up Your Camera & Tripod
Place your camera and tripod in front of your green screen and your subject. Adjust the height and angle of your camera to capture your subject and the green screen completely.
You can use the zoom function or move your camera closer or farther to achieve the desired composition. Make sure your camera is focused and the exposure and white balance are correct.
You can also use the manual mode or the custom settings to fine-tune your camera.
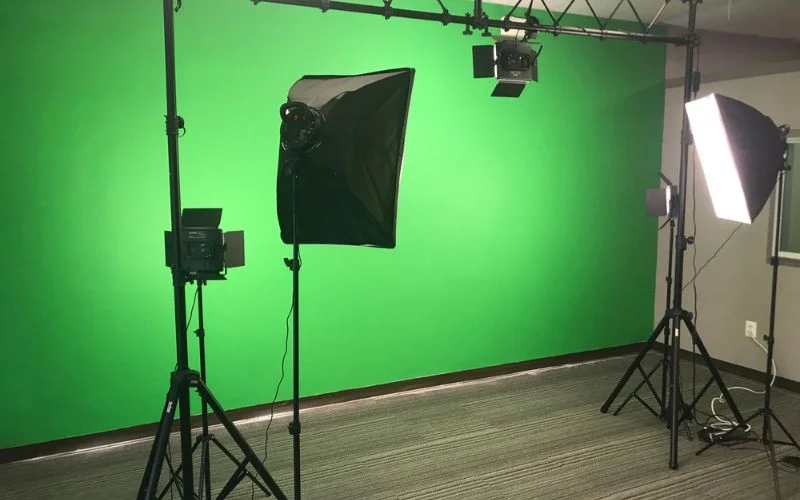
Step 3: Set Up Your Lighting
Place your lighting sources on both sides of your camera and point them at your green screen and your subject. You can also place a light above or behind your subject to create a backlight or a rim light.
The goal is to create a uniform and bright illumination on your green screen and your subject, without creating harsh shadows or reflections.
You can use a light meter or a histogram to check the brightness and contrast of your footage. You can also use a color chart or a gray card to check the color accuracy of your footage.
Check out: Magical Overlays Bundle
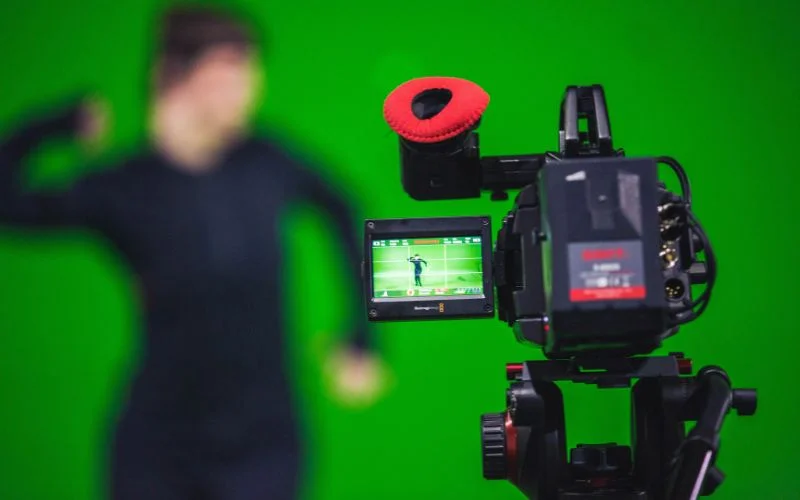
Step 4: Record Your Video Or Take A Photo
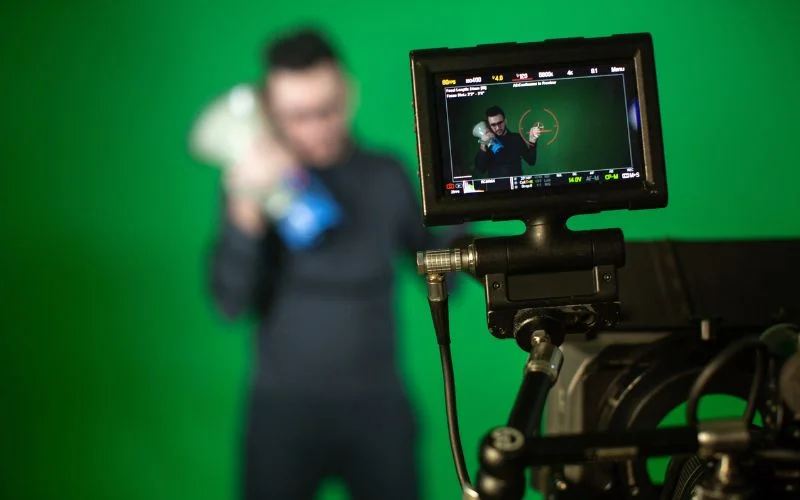
When everything is ready, you can start recording your video or taking your photo. You can use a remote control, a timer, or a voice command to activate your camera.
You can also use a monitor, a laptop, or a smartphone to preview your footage. Make sure your subject is in focus and in the center of the frame.
You can also use props, costumes, or gestures to enhance your performance. You can record multiple takes or shots until you are satisfied with the result.
Pro Green Screen Photography Tips, AKA Chroma Key Photography
1. Smooth & Even Lighting
The first trick up our sleeve is lighting. Make sure your green screen is evenly lit to avoid shadows and wrinkles. Soft, diffused, and powerful lighting works wonders and creates the best green screen for photography and your creative endeavors.
2. Mind Your Distance
Position your subject at a good distance from the green screen photo backdrop to prevent any unwanted color spill. This will make editing a breeze and give your final image a polished and professional look.
3. Sharp Focus Is Key
Ensure your camera is focused sharply on your subject. A crisp image makes the editing process smoother and produces a final product that looks like pure magic.

4. Invest In Quality Editing Software
A magician is only as good as their wand, right? Invest in reliable photo editing software to seamlessly replace the green backdrop for photography with whatever fantastical setting your heart desires. Adobe Photoshop is a classic choice, but there are plenty of user-friendly alternatives out there.
5. Details Make The Difference
Pay attention to the little details. Fine-tune your editing to ensure that your subject seamlessly integrates into the chosen background. A little extra effort goes a long way toward achieving that wow factor.
Check out: Outrageously Useful Tips to Improving Your Portrait Work
Wrap-Up
Green screen photography is a fun and creative way to make your videos and photos more engaging and professional.
You can use it to create amazing visual effects, add realistic locations, or simply spice up your content. All you need is a green screen, a camera, a tripod, a lighting kit, and some software.
Follow the steps above, and you will be able to do chroma key photography like a pro.
Like this post? Check out more amazing photography content on our blog.


One Comment on “Green Screen Photography – How To Ace Your Next Photo Shoot”
what an incredibly insightful and informative blog! The author’s expertise shines through in every word, making complex concepts easy to understand.