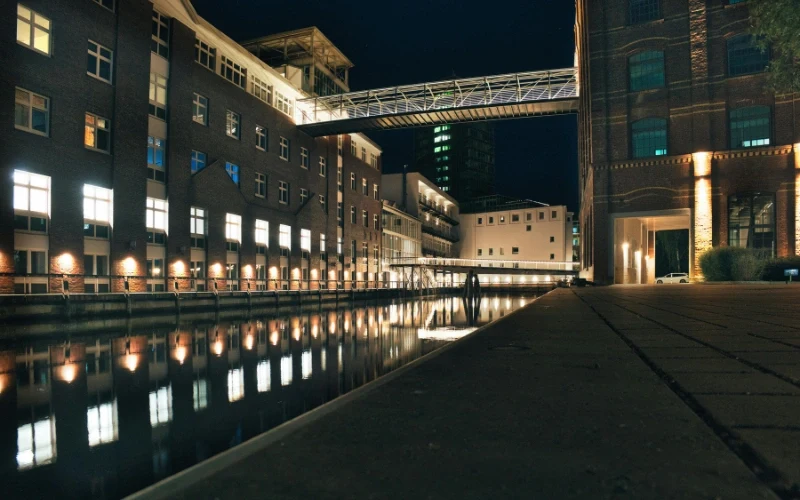
Night landscape or nightscape entails capturing the nighttime essence of the world. If it involves the tourist city lights, stars, or empty streets, then nighttime photography somehow adds a dedicated character to a new style of photographs.
Photography in dim light can be difficult if you do not have proper settings or tools. This blog covers what night photography is, some simple tips and techniques, and gear recommendations.
This guide will get you started in night photography the right way, whether you are just participating for a beginner or really for more insight.
Table of contents
What is night photography?

Night photography is the recording of images in the absence of visible Sunlight. These include capturing city lights or starry landscapes. Shooting with Sunlight during the day requires special settings to allow the light to enter. The photographer may allow for slow shutter speeds, wider apertures, or use a tripod to keep the camera steady.
So, what is night photography all about? It’s about transforming dark places into beautiful images using whatever tools and skills one has. Whether you are photographing softly glowing streets or star-studded skies, night photography offers a new perspective to appreciate the world.
So, do those rewarding night photographs come to anyone who practices with night photography tools? An excellent way is to listen to that sprinkle of creativity in one’s camera while most of the world would have shelved theirs.
Also read: 12 Best Podcasts For Photographers To Listen In 2025
Night Photography Basics
Night photography is a challenging endeavor. However, once you grasp the basics, it becomes pretty simple. It means capturing photographs in low lighting or darkness, generally after sunset. Since the night provides so little light otherwise, your camera may require some assistance to produce clear and bright images.
The first thing you may need is a tripod to stabilize your camera, as even the slightest vibration can cause blurring. Switch your camera to manual mode for more control over the settings. Generally, lower your ISO setting to reduce unwanted grain or noise in your images. Use a large aperture, such as f/2.8, to allow more light to enter. Then, use a back shutter speed that is unusually long; the longer, the better, to allow the camera to gather more light and present the scene correctly.
Once equipped with these basic night photography techniques, you will be able to create crisply detailed images that conjure up a vision of city lights or a night sky.
Night Photography Tips & Gear
Use a sturdy tripod
First and foremost, the key tip regarding night photography is to use a sturdy tripod. At night, the perfect steadiness of the camera is essential due to the slower shutter speeds used to let in more light.
Even the slightest shake can cause blurring of the photographs. Having a good tripod for camera support will keep your camera steady, enabling you to shoot crisp and sharp images in relatively low light.
Whether you are shooting city lights at night or stars, stable support forms a priority in night photography. Ensure that the tripod is sturdy enough to support your camera’s weight without wobbling.
Also read: 20+ Photography Movies That Every Photographer Must Watch
Carry a remote shutter or use a timer
One of the best night photography tips is to minimize camera shake, which can cause your photos to appear blurry. During nighttime, the camera needs to remain very still, as the shutter stays open for a longer time.
A remote shutter release or a timer click can keep the camera steady, allowing for sharper images, especially in intense situations such as prolonged exposure or night sky photography. Although it is a simple tactic, it could bring you easy glory. Anyone learning the basics of night photography should never overlook this tip!
Check out: NIGHT – 50 Lightroom Mobile Presets
Shoot in RAW format
Essentially, when shooting at night, use RAW mode. A RAW file keeps all the image data, whereas JPEGs compress and thereby lose some details. This will give editors more control when editing nighttime pictures regarding brightness, shadowing, and colors.
Night shots tend to pose a little challenge due to dim light, so shoot in RAW to be able to execute corrections later. This is gold advice for photographers to achieve sharp and clear results even in challenging scenarios. Just do it; your night sky photography will show.
Pack extra batteries
A crucial night photography tip is always to carry extra batteries. Since the sensor runs longer during the low-light conditions of night photography, it tends to drain more power. Additionally, the afternoon chill may accelerate battery drainage.
Whenever you’re engaging in long exposure or night sky photography, ask yourself: Do I have enough batteries to capture that one great shot? Always carry some fully charged backups with you. It’s such a simple step, but it has the power to prevent the premature end of your night shoot.
Check out: 80+ Ethereal Night LUTs Presets
Use manual mode
Very commonly said in teaching night photography is to shoot in manual mode. At night, due to low-light conditions, the camera’s automatic settings often fail to produce a photo that is neither too dark nor blurry. In manual mode, the user has complete control over the shutter speed, aperture, and ISO to capture the ideal shot.
For instance, consider slowing down the shutter speed to let more light in or opening the aperture wider. Learning to take manual control is one of the most valuable night photography tips for mastering the art of creating clear and creative images after dark.
Start with a low ISO (100–400)
Starting from a low ISO, generally between 100 and 400, is one of the most significant suggestions in night photography. This is because it reduces the grain or “noise,” which usually accompanies low-light photography. Generally, the lower the ISO, the cleaner and sharper the image, especially when capturing still scenes such as cityscapes or buildings.
Sometimes, with a grainy look, brightening is required; however, you can try to achieve it by smoothing the image, even when it is unnecessary. A tripod can facilitate the use of a low ISO by allowing for longer shutter speeds, which can be particularly helpful for night photography.
Check out: 45 Urban Lightroom Mobile Presets
Use a wide aperture (f/2.8 – f/5.6)
The best tip, of course, is to shoot wide open at any aperture between f/2.8 and f/5.6. Think about having a giant hole to let in light at night while your scene is too dark to be picked up by a tiny light beam coming down from the sky.
Although you can increase the ISO to almost any level and brighten the image, remember that it will produce noise. Wide open also provides a shallower depth of field. The simple technique of defocusing the background lends emphasis to the subject. It is an excellent trick that will help you right from the start of night photography.
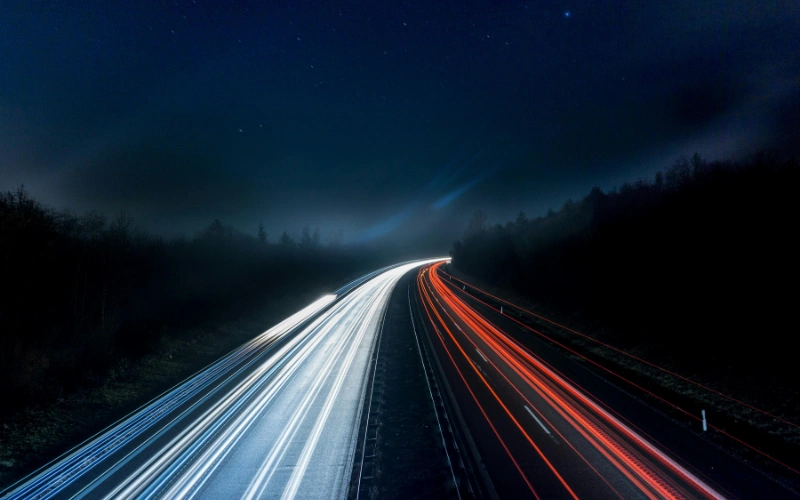
Slow down your shutter speed
One key nighttime photography tip is using a slow shutter speed. Because there is less light, a slow shutter speed allows more light to hit the camera’s sensor. That does mean night pictures will end up brighter and clearer.
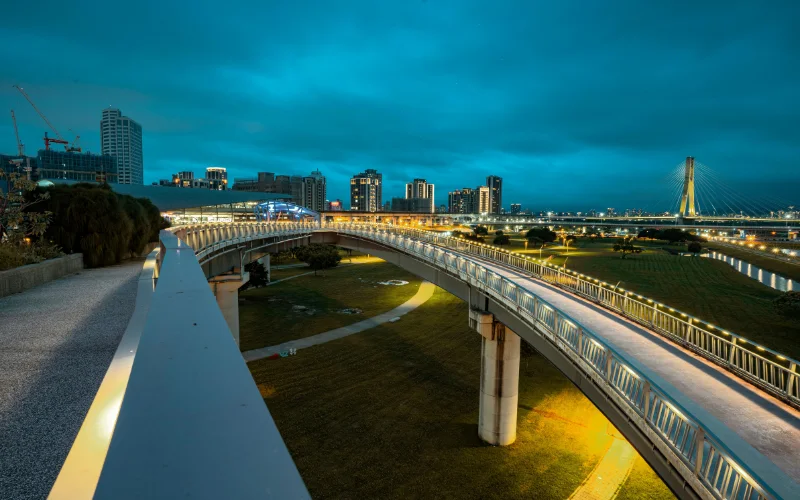
For instance, with city lights or stars, a slow shutter speed can create magical effects, such as streaks of light or a softly glowing night sky. Just remember, since the shutter will be open for long periods, a tripod is mandatory to prevent camera shake or blur. Slowing down the shutter speed is an elegantly simple tactic and a great night photography technique that yields huge results.
Also read: Mikko Lagerstedt Interview: Shooting the Cold Lands & Beautiful Night Skies of Finland
Night Photography Techniques to Try
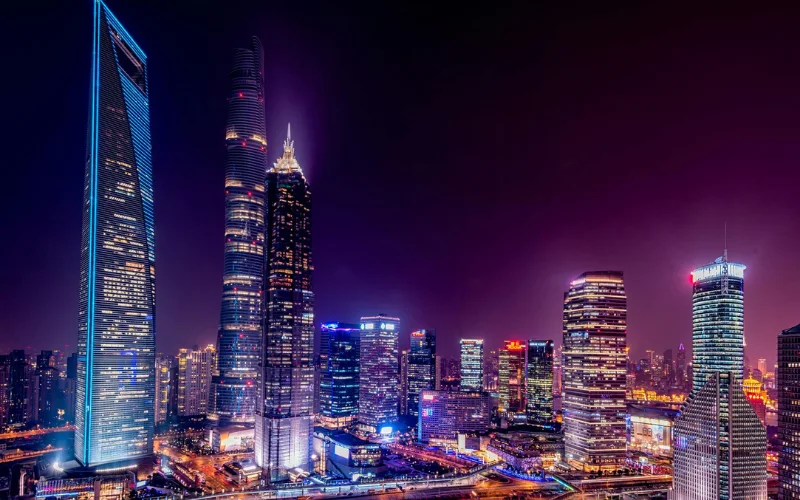
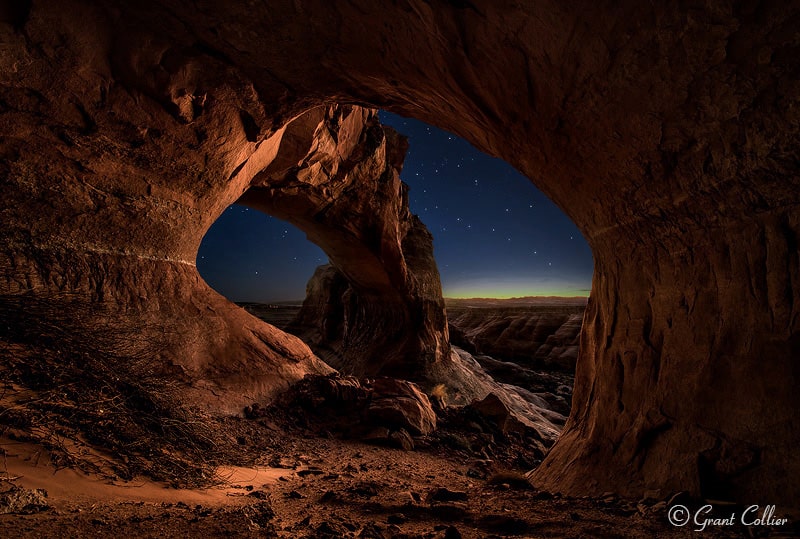
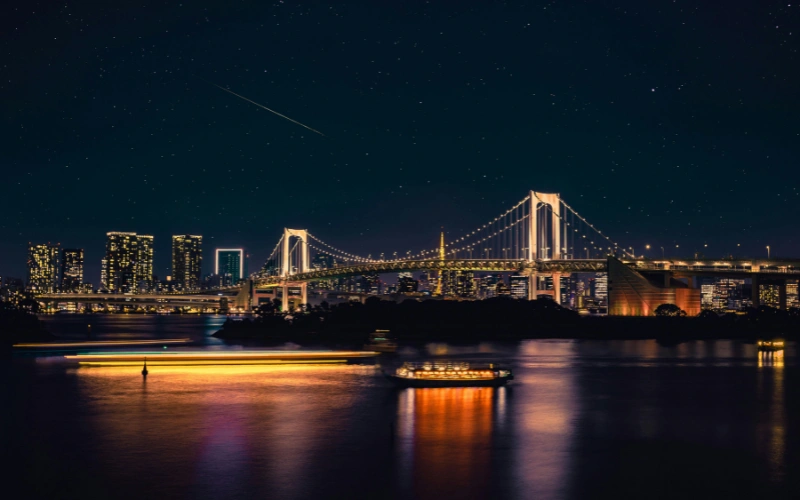
1. Long Exposure Photography
Long exposure is a photograph taken with a shutter time that is significantly longer than usual. The additional light causes the photo to brighten and render finer details, even in low-light conditions, such as at night.
When to use it:
- For cityscape views with burning lights
- Waterfalls and rivers at night
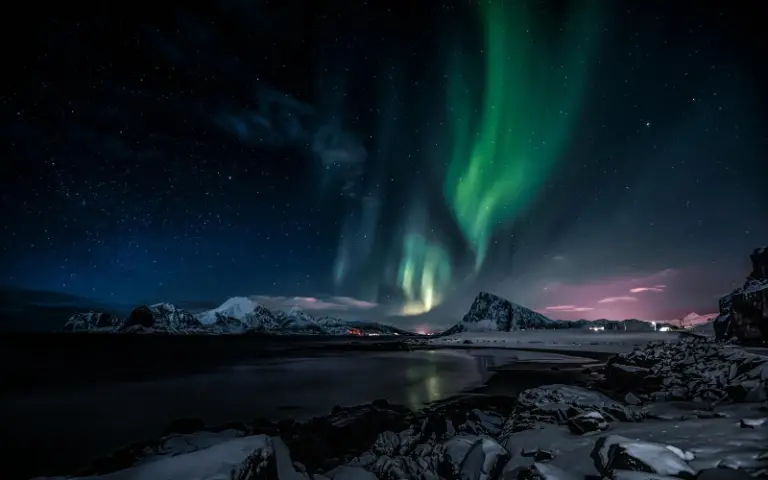
- Sky full of stars
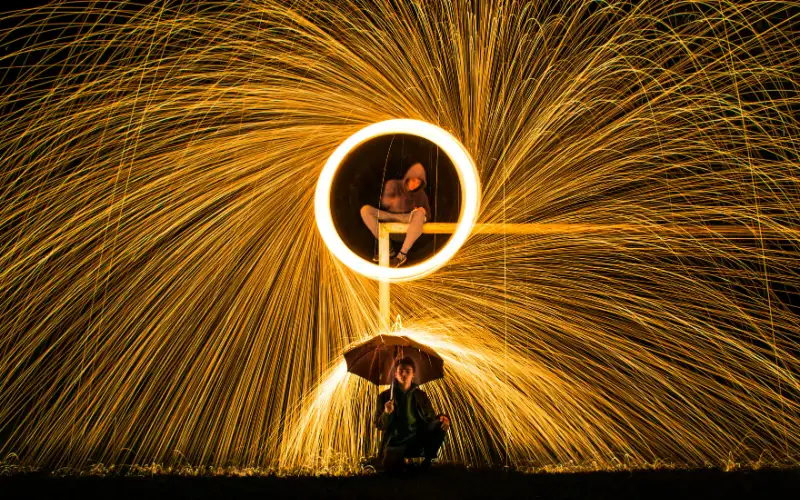
2. Light Painting Photography
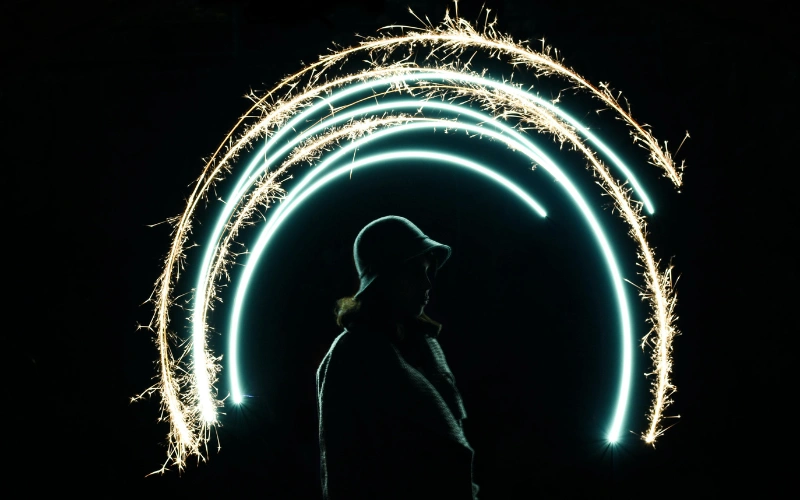
Light painting is an entertaining process in which you use a flashlight or glow stick to draw in the air while the camera captures the photo. The camera registers the light trails and maps up interesting shapes and patterns.
When to use it:
- For artistic portraits
- To write names or symbols in the air
- To make designs on landscapes or empty places
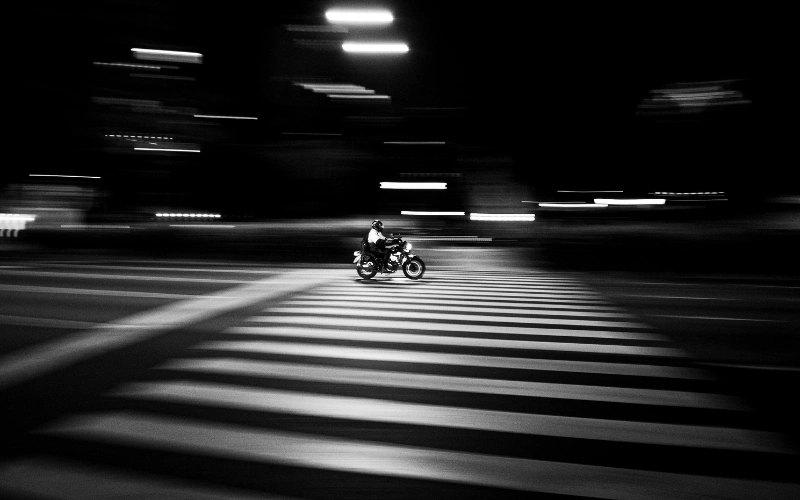
3. Motion Blur & Light Trails
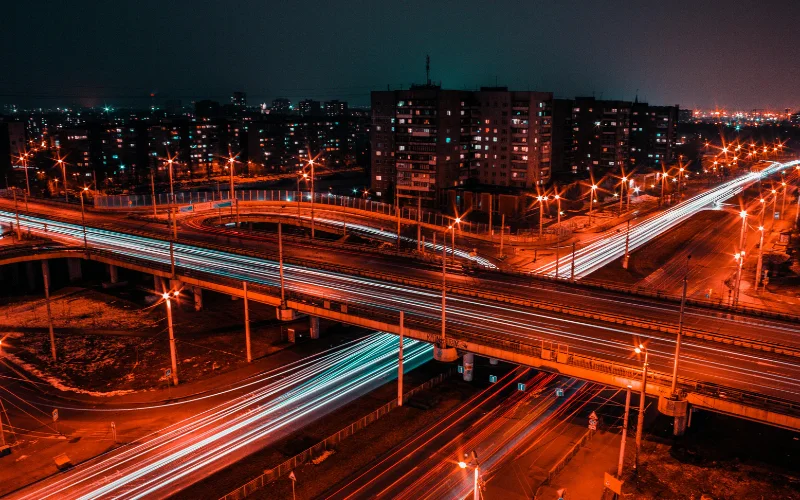
A depiction of movement within the frame: lights from one side to the other through a streetscape, with people looking furtive.
When to use it:
- Busy streets with cars
- Amusement parks at night
- Moving crowds in a lit-up place
4. Starburst Effects from Streetlights
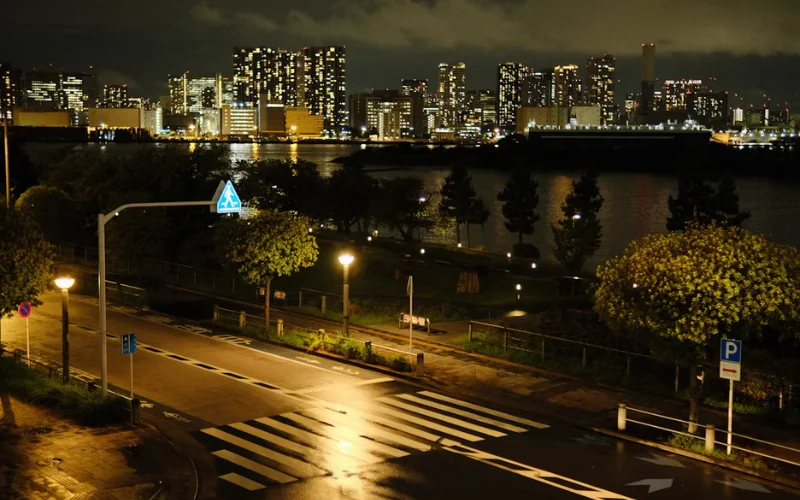
This makes lights, such as streetlights or car headlights, appear to shine like stars in your photos, adding a touch of magic to their dreamlike look.
When to use it:
- Cityscapes
- Parks with lights
- Street scenes
Check out: Grant Collier Interviewed: On Capturing The Northern Night Skies
Top Night Photography Resources from PhotoWhoa
Free Quick Tutorial On Night Photography
Want to seize breathtaking moments at night but don’t know where to start? This free tutorial is a keeper for beginners! Learn the basics of night photography in a straightforward, step-by-step approach, from camera settings to artistic techniques. From city lights to starry skies, this guide will get you sharper, more precise, and altogether stunning nighttime shots. The best part? It’s free for everyone!
500+ Astonishing Night Presets For Camera Raw
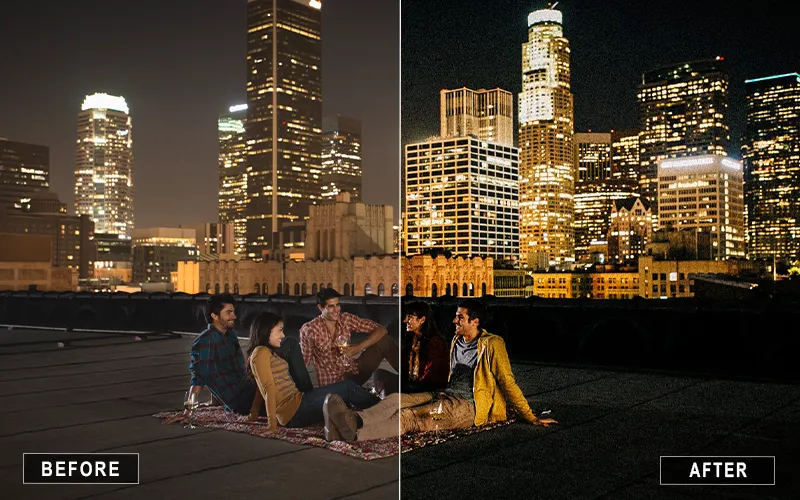
Elevate your nighttime shots with the power of over 500 Camera Raw presets, specifically crafted for low-light and nighttime showcases. Whether it’s a cityscape, a starry sky, or a gloomy street, these presets will pack tons of tones, fine detail, and contrast in a heartbeat. Editing is a fast, smooth, and innovative process for beginners and experts.
700 Majestic Night Lightroom Presets
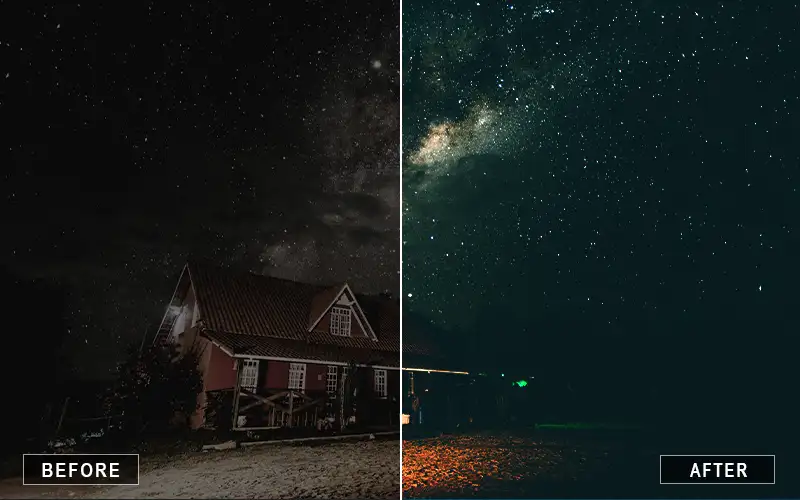
Transform all your low-light images into magnificent works with this colossal collection of 700 Lightroom presets, the ultimate one-stop solution. They are great for low-light and nightscape photography, lighting up those streets or star-lit city nights in one fell swoop. With a single, one-click installation, you can set the mood, enhance colors, or make details stand out.
Night – 50 Lightroom Mobile Presets
Turn night photos into life with Night Lightroom Mobile Presets. The pack is best for editing low-light or after-dark shots. With just one tap, your dark shots achieve lovely tones, heavy contrasts, and a cinematic feel. These presets function within the free Lightroom mobile app, enabling photo editing on the go without relying on a computer. Whether you’re shooting city lights or quiet nighttime scenes, make your pictures stand out easily using these presets.
Common Mistakes to Avoid
1. Overexposing Highlights
Consider bright lights at night, such as street lamps, car headlights, and neon signs. In the photograph, these can easily become too bright, a phenomenon known as overexposed highlights. When it happens, you lose all the details in those bright spots, which now appear as large white areas.
2. Shaky Photos from Handheld Shooting
Holding your camera at night almost always induces blur. Because the camera must use slower shutter speeds to collect the necessary light, even slight movements during exposure will result in blurred images.
3. Ignoring White Balance
White balance ensures that colors appear authentic and natural. However, at night, amber-yellow or overly orange light from street lamps or other light sources can interfere with a correct white balance setting, causing your photos to become significantly off.
4. Underestimating Weather Conditions
Weather is a significant factor at night for photography, including fog, rain, or even gusts of wind. If you’re not prepared, your photos may not turn out as you wanted.
Check out: Learn to Stack Images & Get a Well Exposed Nighttime Photo
FAQs
1. What settings work best for night photography?
Use a low ISO (100–800), a wide aperture (such as f/2.8), and a slow shutter speed (10–30 seconds). Shooting in a manual gives greater control.
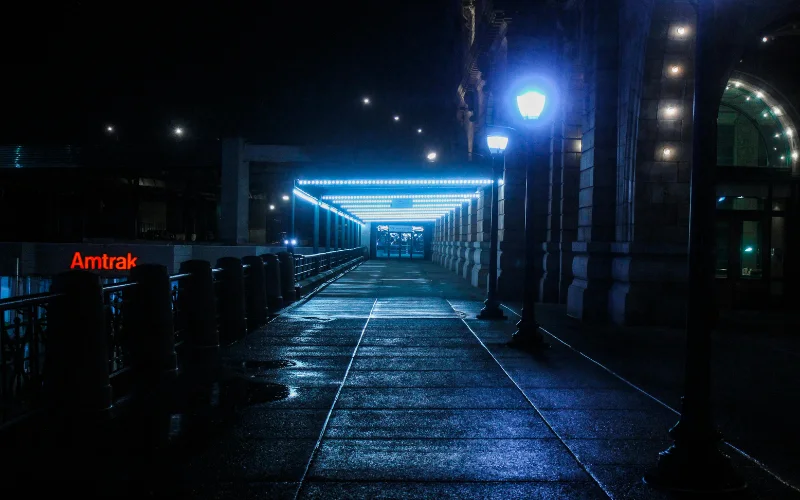
2. How do I shoot street night photography without too much noise?
Keep your ISO as low as possible. Use fast lens l.f.1.8 or f/2.8. And finally, shoot in RAW. You can reduce noise later on with the help of photo editing software.
3. What gear do I need for beginner night photography?
A DSLR or mirrorless camera, a sturdy tripod, a wide-angle lens, a remote shutter, or a self-timer. That will get you through the beginner stage!
4. Can I shoot night photos without a tripod?
You can, but it will be way more complicated. Use image stabilization on your camera lens, bump up your ISO, and place your camera against a wall or table, just anything sturdy to rest it on.
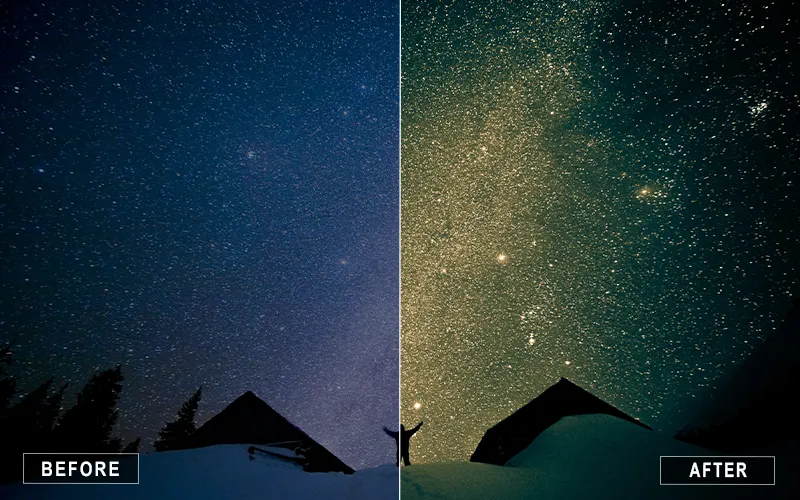
5. How do I photograph stars and the night sky clearly?
Use the tripod, shoot wide open, set your ISO to approximately 1600 and 3200, and use a shutter speed of around 15 to 25 seconds. Focus manually with an infinity set.
Conclusion
Night photography can be intimidating at first, but once you follow some tips and techniques and equip yourself with the right gear, it can become one of the most satisfying and rewarding forms of photography. Whether you are shooting city lights, stars, or the light trails of cars roving down the street, shooting at night helps you look at the world differently.
Starting with the basics and experimenting with that sturdy tripod never hurt anyone; experimentation only fuels creativity. Every night photo is a learning experience. Go ahead with your camera in hand, hit the streets after the sun is down, and try the tips shared here for night shooting. Their success and your progress lie in your practicing utterly.
Have fun shooting!
If you find this blog helpful, check out more: