")
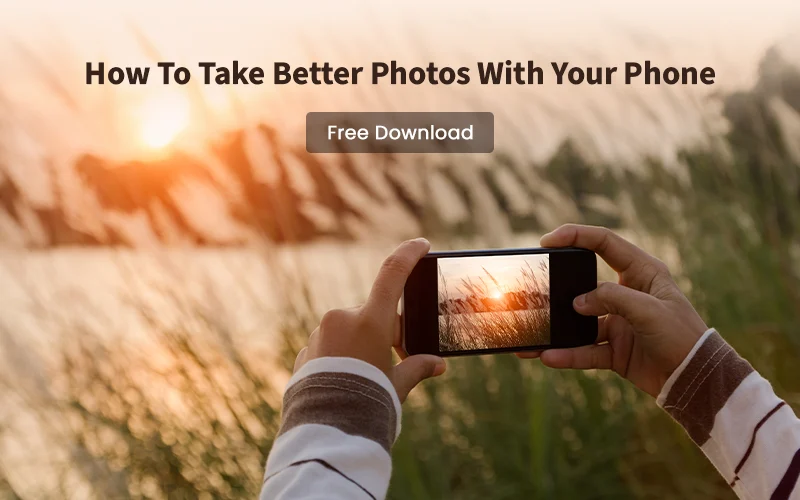
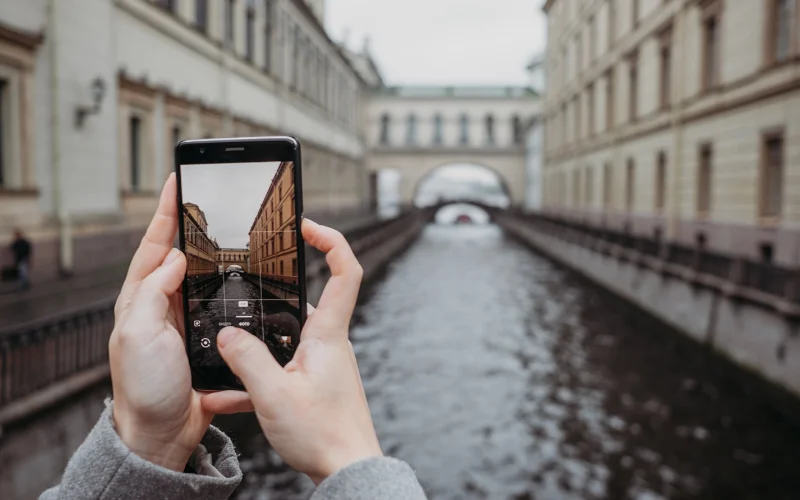
Want to learn how to take professional photos with an iPhone for personal or business purposes?
You’ve come to the right place.
This article covers the basics from learning skills to beginner-friendly iPhone photography tips.
Follow along, these simple iPhone photography tips will completely change how you use your iPhone camera.
15 iPhone Photography Tips For Beginners
- 1. Clean Your iPhone Camera Lens First
- 2. Change The Camera Resolution
- 3. Turn On Grid To Follow The Rule Of Thirds
- 4. Adjust Focus & Exposure Using AE/AF Lock
- 5. Use Portrait Mode For Portraits
- 6. Experiment With Depth Of Field
- 7. Use Soft Lighting
- 8. Create Reflections
- 9. Play With Symmetry
- 10. Use The Camera Timer For Steady Shots
- 11. Take A Burst
- 12. Try Photographic Styles
- 13. Use Photo Editing Software
- 14. Outsource Post Production
- 15. Backup Your Photos Regularly
- Taking The Next Step
- Author’s Bio
1. Clean Your iPhone Camera Lens First
Your iPhone can’t focus if your lens is covered in smudges, dust, or scratches. A quick clean can instantly boost your photo quality. To avoid this, one of the simplest iPhone photography tips is to regularly clean your lenses with a soft cloth and lens cleaner.
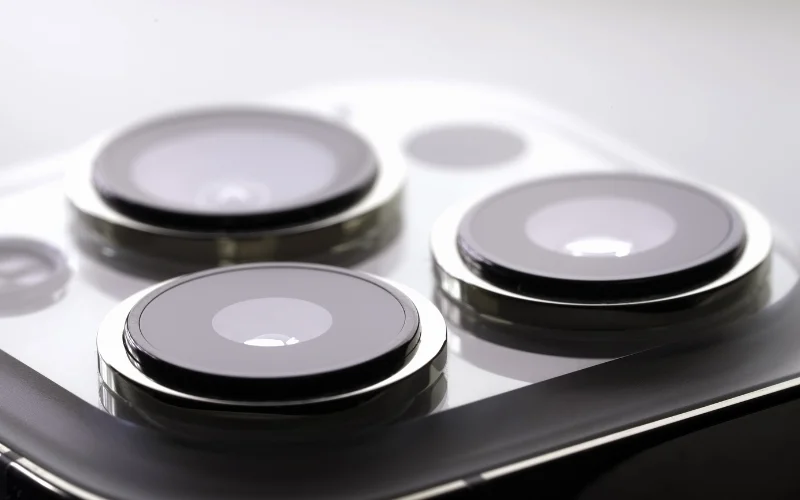
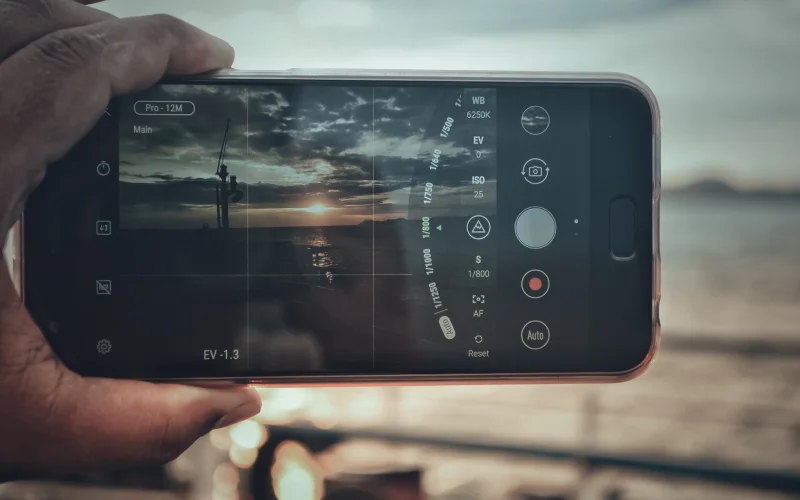
2. Change The Camera Resolution
On supported iPhones, the main camera takes 24 MP photos by default.
You can switch to 12 or 24 MP in Settings > Camera > Formats > Photo Mode.
To use 48 MP, go to Settings > Camera > Formats and turn on Resolution Control or ProRAW & Resolution Control.
Image Resolution
48MP
- Gives the highest resolution
- Provides more detail and allows for more creative flexibility
- Great for editing and zooming.
- Available on iPhone 14 Pro or later
12MP & 24MP
- Good balance of quality and file size
- Also available on supported models
ProRAW & Resolution Control
- On iPhone 15 Pro or later, this lets you pick a default resolution and switch between 12MP and 48MP in the Camera app.
Video Resolution
By default, iPhones record video at 30 frames per second (fps).
For most situations, shooting in HD gives good quality while saving storage space.
If you want more detail or plan to edit your video later, switch to 4K at 24 fps for the highest resolution and a cinematic look.
Depending on your iPhone model, you can also choose 4K at 25, 30, or 60 fps.
A useful part of iPhone photography tips is knowing how to adjust these settings to match your style and purpose.
| Keep in mind: Faster frame rates and higher resolutions result in larger video files. |
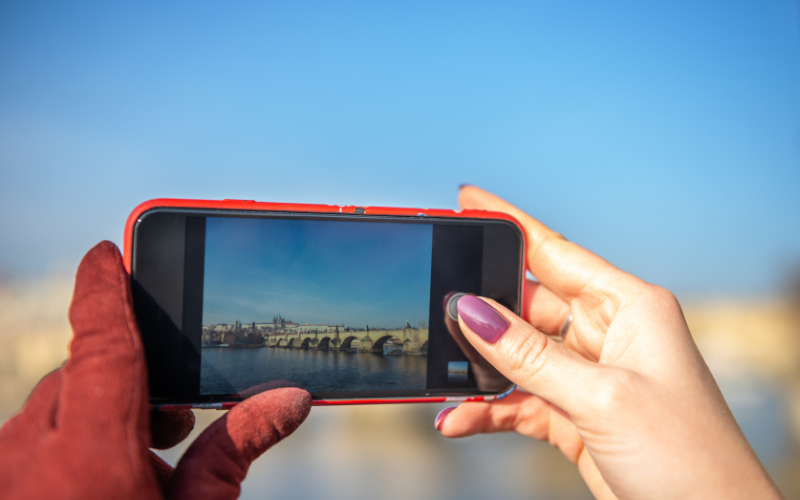
3. Turn On Grid To Follow The Rule Of Thirds
The rule of thirds splits your screen into a 3×3 grid.
Placing your subject on these lines makes photos more balanced and interesting.
As one of the most helpful iPhone photography tips, it teaches you good photo composition, like leading lines or the golden rule ratio.
To turn on the grid, go to Settings > Camera, then switch Grid on.
You might also like: Top Photography Guides, eBooks & PDFs to Sharpen Your Skills
4. Adjust Focus & Exposure Using AE/AF Lock
Your iPhone tries to focus on what it thinks is the subject but it doesn’t always get it right, especially if your subject is moving or the lighting changes.
To Take Control, Use AE/AF Lock
- Tap and hold on your subject in the Camera app.
- Wait until “AE/AF Lock” appears on the screen.
- Slide your finger up or down to adjust brightness.
- Tap anywhere else to turn off the lock.
This is helpful when you want consistent focus and exposure.
It is one of the smart iPhone photography tips to remember when shooting photos in tricky lighting.
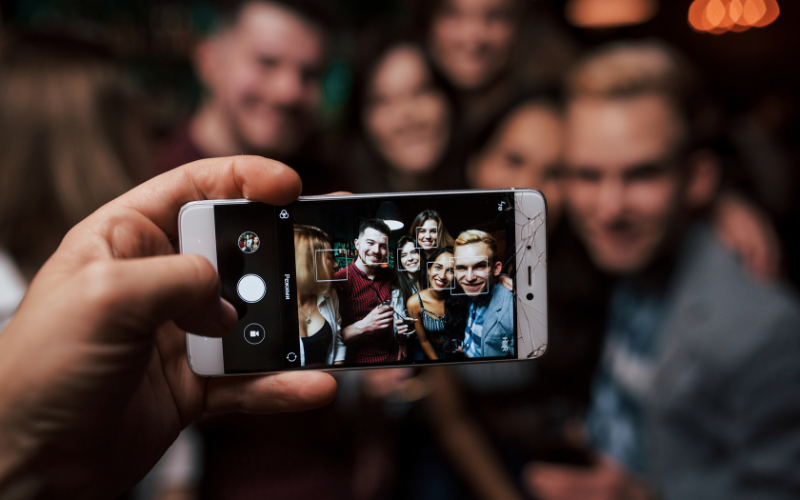
5. Use Portrait Mode For Portraits

Use Portrait mode for portraits with a blurred background, or even on objects to create depth.
- Open the Camera app.
- Select Portrait mode or, on supported models, use Camera Control to adjust Depth.
- Follow the tips onscreen to frame your subject in the yellow portrait box.
- Use 1x, 2x, or 3x to switch zoom levels, or pinch to zoom manually.
- Drag the Portrait Lighting slider to pick a lighting effect:
- Natural Light: Sharp face, blurred background.
- Studio Light: Bright face, clean look.
- Contour Light: Dramatic shadows and highlights.
- Stage Light: Face lit, black background.
- Stage Light Mono: Black-and-white version of Stage Light.
- High-Key Light Mono: Grayscale subject on a white background.
- Tap the Shutter or Camera Control button to take the photo.
| Keep In Mind: On supported models, Night mode activates in low light when using the 1x lens. On iPhone XR, some effects (Stage Light, Stage Light Mono, High-Key Mono) work only with the front camera. |
You might also like: Free Photoshop Plugins For Effortless Editing
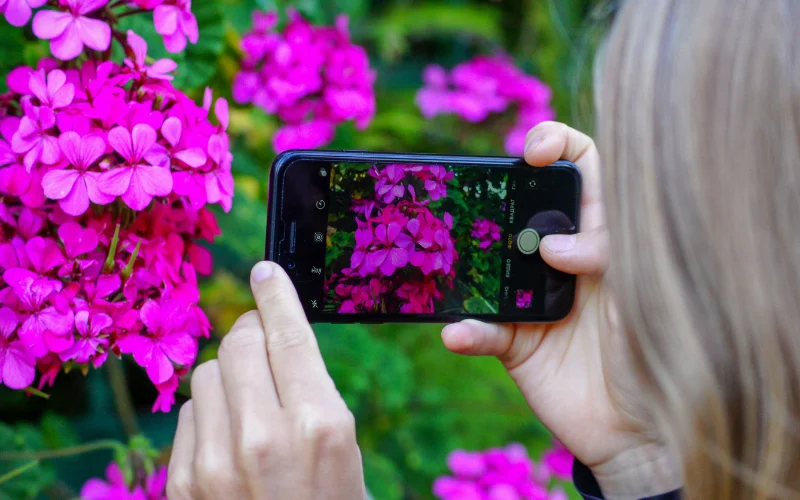
6. Experiment With Depth Of Field

Depth of field (DOF) refers to the area of focus between the nearest and farthest objects in focus in a photograph.
On your iPhone, you can control DOF using Portrait mode. This mode blurs the background but keeps your subject sharp for portraits or highlighting any one object.
After Taking Photos in Portrait Mode
- Open it in the Photos app.
- Tap “Edit” and use the Depth Control slider. This changes the blur effect.
- The lower the f-stop number (like f/1.4), the more blur you get.
- Higher numbers (like f/16) keep more in focus.
To Get More Blur
- Move closer to your subject.
- Use a busy background.
To Get Less Blur
- Step back.
- Use a simple background.
Experiment with these settings for more creative shots and useful iPhone photography tips to keep in mind.
7. Use Soft Lighting
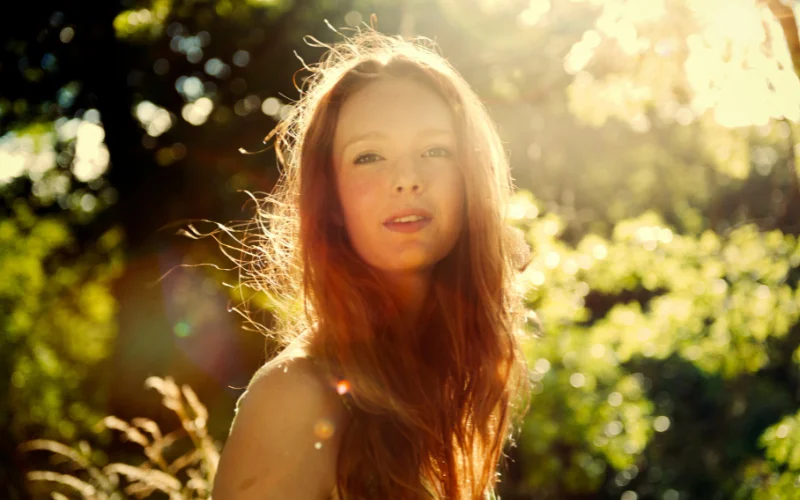
Soft light comes from a big light source close to your subject. The best soft light is during sunrise or sunset.
For example, if you take a photo near a window, the closer your subject is to the window, the softer the light. Cloudy days are perfect because the clouds spread the light. Shade on a sunny day also gives soft light.
Use these fine iPhone photography tips to take better photos at home.
8. Create Reflections
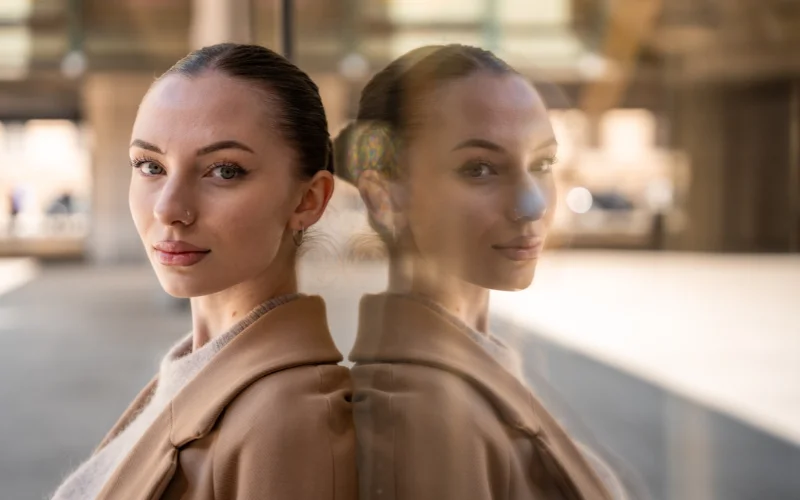
It is one of the creative iPhone photography tips you’ll enjoy doing. Find reflective surfaces like water, glass, or shiny floors.
Remove anything that distracts from the reflection. Then, line up your shot to blend the real and reflection clearly. You can also move closer to the surface for a stronger reflection, like ripples or waves.
| Extra Tip: Use Portrait or Night mode to make reflections stand out more in low light or soft backgrounds. |
You might also like: What is Balance in Photography? Learn the Basics That Make Photos Work
9. Play With Symmetry
Symmetry, where both sides of the photo feel balanced, is a simple trick from iPhone photography tips that makes images more striking.
Think of reflections, patterns, or buildings with the same shape on each side.
Stand right in the center and line things up. It makes your photo look neat and eye-catching.
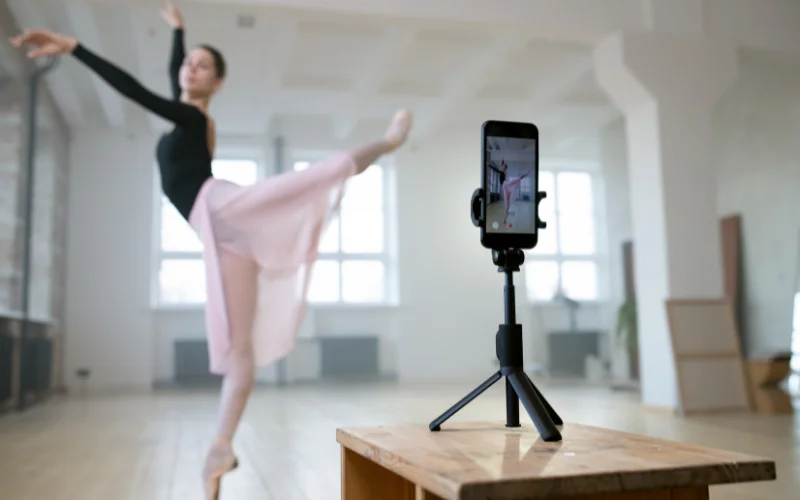
10. Use The Camera Timer For Steady Shots
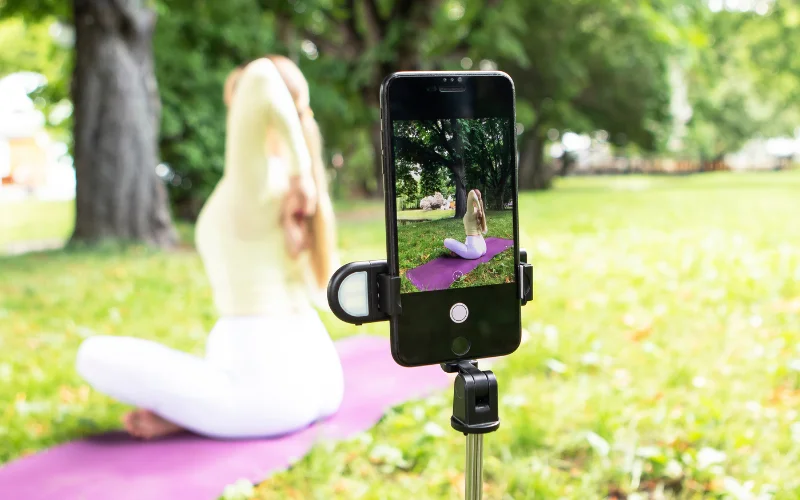
To Access The Timer Option
- Launch the Camera app on your iPhone.
- Mount your iPhone camera on your tripod & press the timer icon on.
- Choose either the 3-second or 10-second timer option.
- Tap and hold on the screen where you want the main focus to be.
- Adjust the brightness by tapping once on the screen and dragging your finger down or up.
- Tap the shutter button to begin the countdown.
- The iPhone will automatically take the photo after the selected delay.
11. Take A Burst
Another useful iPhone photography tip is to use Burst mode when capturing fast-moving subjects.
- Open the Camera app.
- Swipe the shutter button left and hold it to take Burst photos.
- Lift your finger to stop.
To Choose Your Best Shots:
- Tap the Burst photo in your gallery.
- Tap Select.
- Photos with gray dots are suggested picks.
- Tap the ones you want to keep, then tap Done.
- To delete all the Burst photos, tap the set and hit the Delete button.
| Tip: You can also hold the Volume Up button to take Burst photos. First, turn it on in Settings > Camera > Use Volume Up for Burst. |
12. Try Photographic Styles
Photographic Styles are smart, inbuilt filters on iPhones that let you change the mood of your photo right in the Camera app.
They use AI to adjust tone and color based on your scene. This feature is available on the latest iPhone 16 models.
How to Adjust Photographic Styles
- Open the Camera app.
- Tap Camera Control Status on top right screen.
- Drag your finger on Camera Control Status to simultaneously adjust the tone and color.
- Drag again on the slider below Camera Control Status to adjust the intensity level.
As you make adjustments, the values for tone, color, and intensity are shown at the top of the screen.
- Tap the round arrow to reset these values.
- Tap Camera Control Status when you’re finished.
This is one of the great iPhone photography tips to give your photos a professional style.
13. Use Photo Editing Software
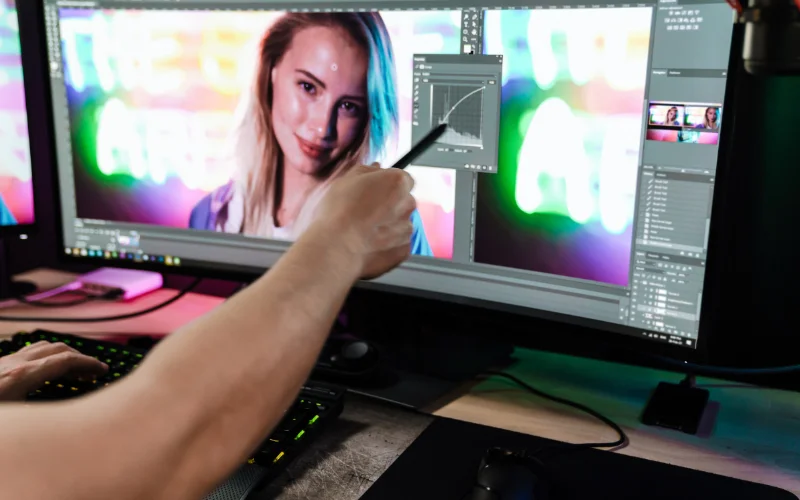
Editing your photos to match the Instagram aesthetic is important iPhone photography tip you shouldn’t skip. No photo is perfect, so you’ll need to fix small issues. You can adjust colors, fix shadows, clean up the background, and set the white balance.
This makes your photos look neat, bright, and professional. Use free apps like Snapseed, Lightroom, Pixelcut or AI background removal tool for easy editing.
14. Outsource Post Production

One smart iPhone photography tips is outsourcing to photo retouching services.
This is helpful if you run an online store, work as a photographer or have many freelance projects with tight deadlines.
Letting experts handle editing saves time and energy.
If you’re doing iPhone photography and don’t have editing skills, outsourcing can help you get better results quickly.
15. Backup Your Photos Regularly

Some iPhone photography tips are optional, but backing up your photos is a must. It keeps your projects safe, even if your phone is lost or damaged.
Use cloud services like iCloud, Google Photos, or Dropbox to store your photos. This also makes it easier to move photos from an iPhone to any other device.
To save time, turn on automatic backup so your photos are always protected.
Taking The Next Step
Now you know all the best iPhone photography tips to capture great photos. It’s time to elevate your photography game with PhotoWhoa.
You’ve learned how to use camera settings, fix lighting, and frame your shots. Pick one of these iPhone photography tips, and your photos will look as good as those taken by professional cameras.
Author’s Bio
Druti Hiran is a content writer at Autophoto AI with two years of experience in content marketing and SEO. She writes for diverse clients, including global ecommerce, photography startups, marketing, fashion brands, and B2B companies. To know more about her, connect with her on LinkedIn.
Like this post? Check out more amazing photography content here.