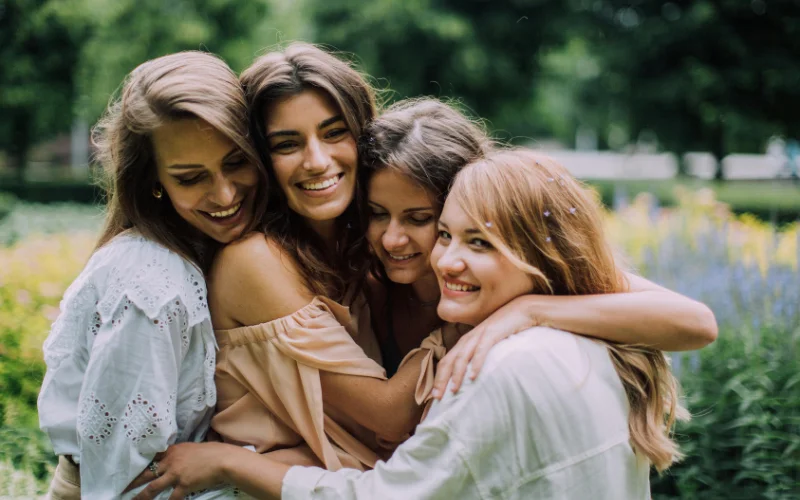
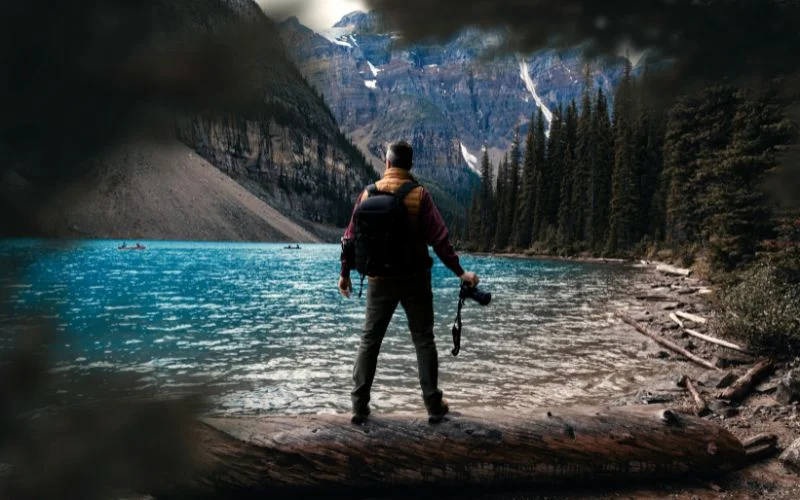
Travel photography is an incredible art form that enables you to capture the heart and soul of a place through your lens. Whether you’re photographing a bustling city, a tranquil landscape, or a momentous experience with locals, your photos should serve as a visual journal of your travels. By mastering a few key travel photography techniques, you can significantly improve the quality of your images and ensure that your photos don’t just capture a place—they tell a story.

In this ultimate guide, we’ll dive deep into the essential travel photography tips and techniques that will help you capture awe-inspiring shots on your travels.
From understanding the right gear to mastering composition and overcoming photography challenges, this travel photography guide will provide everything you need to know to take your travel photos to the next level.
Table of contents
- What is Travel Photography?
- Preparing for Travel Photography
- Mastering Travel Photography Composition Techniques
- Travel Photography Techniques for Different Times of Day
- Capturing Unique Perspectives
- Travel Photography Techniques for Various Styles
- Working With Light Travel Photography Techniques
- Post-Processing for Travel Photos
- Travel Photography Tips and Tricks for Telling Stories
- Overcoming Common Challenges in Travel Photography
- Travel Photography Tips For Different Weather Conditions
- Best Editing Tips For Travel Photography
- Common Travel Photography Mistakes & How To Avoid Them
- FAQs: Travel Photography Techniques
- Wrapping Up Travel Photography Techniques
What is Travel Photography?
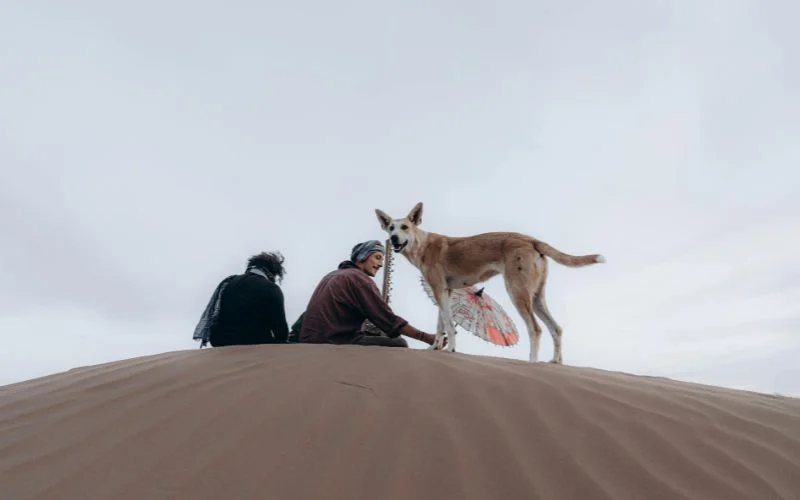
Travel photography is the practice of documenting your travels visually—whether that’s through capturing landscapes, portraits, street scenes, or cultural experiences.
Unlike other forms of photography, travel photography is more focused on conveying a sense of place and emotion. It’s about telling a story and making the viewer feel as though they are experiencing the journey with you.
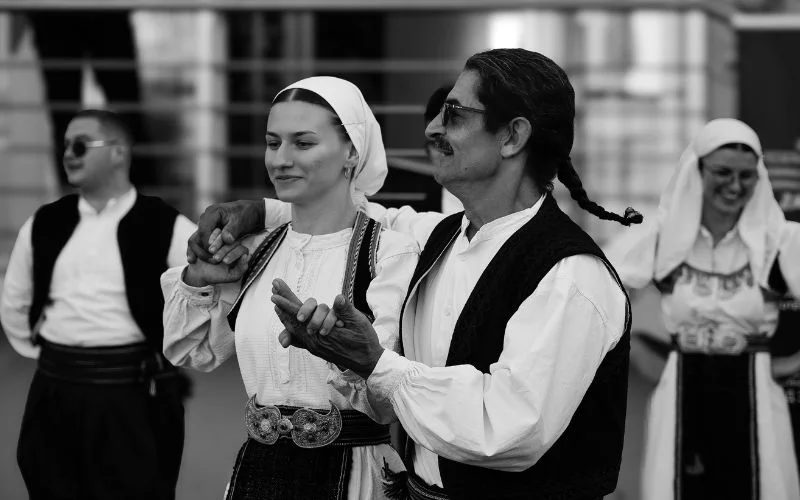
While photos of iconic landmarks are often the first thing people think about when they hear “travel photography,” it’s important to remember that the best travel photos often showcase the people, traditions, and unique moments that make each destination special.
The essence of travel photography lies in capturing the unspoken beauty and stories that unfold when we visit new places. To achieve this, you need to apply the right techniques, gear, and mindset.
You might also like: Creative Shadow Photography Ideas: Tips & Examples
Preparing for Travel Photography
Before you even set foot in a new country or location, preparing for travel photography is crucial. This doesn’t just involve packing the right camera gear—it also means researching your destination and understanding how to capture the essence of the place effectively.
Choosing the Right Gear
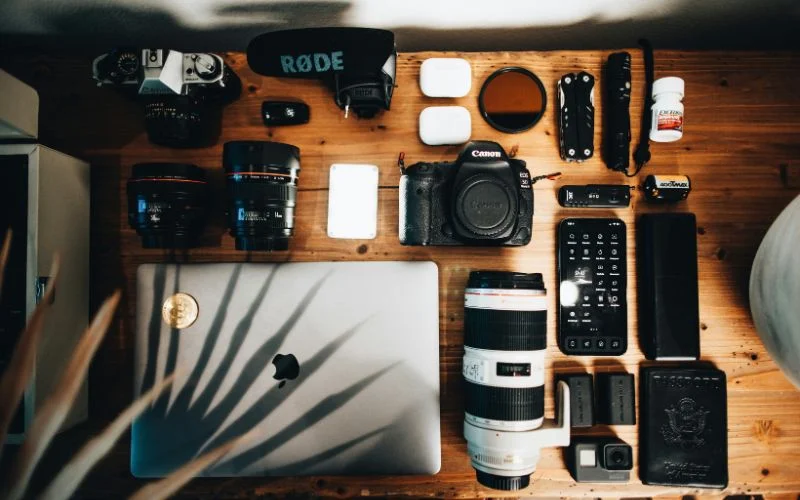
Travel photography requires a balance between portability and image quality. The key is to carry gear that allows you to shoot a wide range of subjects but without overloading yourself. Here are some must-have tools to pack for your travels:
- A versatile camera: A DSLR or mirrorless camera is perfect for travel photography. They offer the flexibility to switch lenses depending on the shot you want, and they produce high-quality images.
- Lenses: A standard zoom lens (18-55mm) will be your workhorse for general shots, while a wide-angle lens (10-20mm) is great for landscapes and architecture. If you’re shooting portraits, a 50mm prime lens is ideal for capturing sharp, beautiful portraits with a blurred background.
- A tripod: This is especially important for long-exposure shots, low-light situations, or group portraits. A lightweight, compact tripod is perfect for travel.
- Extra batteries and memory cards: You never know when you’ll run out of storage or power, so it’s always a good idea to carry additional batteries and memory cards.
- Camera protection: A camera bag with padding will keep your equipment safe while on the move. A rain cover is also handy for protecting your gear in unpredictable weather.
Also check out: Travel Experiences You Need to Add to Your Bucket List
Researching Your Destination
In addition to packing the right gear, researching your destination is essential. Each place offers unique challenges and opportunities for photographers. Research the weather, local landmarks, cultural customs, and lighting conditions. This helps you plan your photography schedule, determine when to shoot for the best light, and understand the types of subjects you may encounter.
If you’re shooting a specific type of travel photography—such as street photography or wildlife—look for tips or notable locations online that fit your style. This planning process allows you to capture the most iconic and compelling shots while also giving you a sense of the atmosphere of the location.
Mastering Travel Photography Composition Techniques
Composition is the art of arranging elements within your frame to create visually pleasing and impactful images. Travel photography composition is vital for telling a compelling visual story. Using the right composition techniques will help you capture more dynamic, balanced, and interesting images.
You might also like Masterclass: Travel & Nature Photography Techniques
Rule of Thirds: A Simple Yet Effective Technique
One of the most basic and commonly used composition techniques is the rule of thirds. This technique involves dividing your frame into nine equal sections using two horizontal and two vertical lines.
By placing the most critical elements of your photo along these lines or at their intersections, you create a more balanced and aesthetically pleasing image. This simple technique can make your travel photos more engaging, rather than simply centering the subject.
When framing a landscape, you can place the horizon along the top or bottom horizontal line, leaving the other space for the subject or scenery. This technique works wonders for architecture, street photography, or even portraits.
Also check out: Circular Studio Tool For Mac
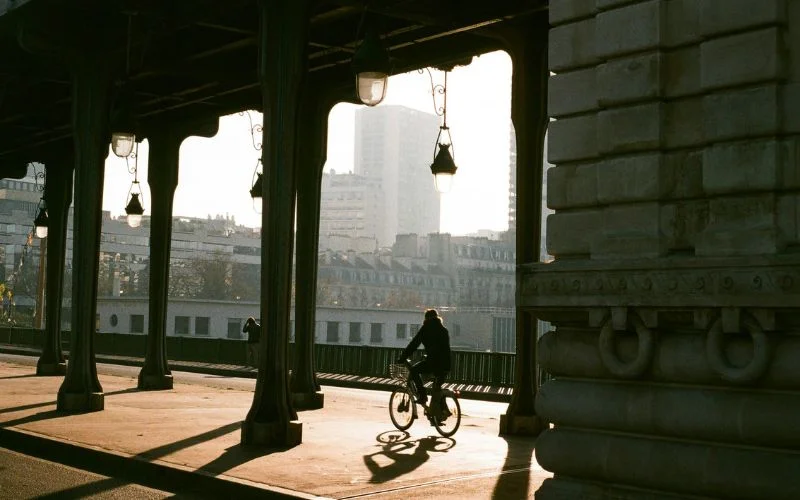
Leading Lines: Drawing the Eye
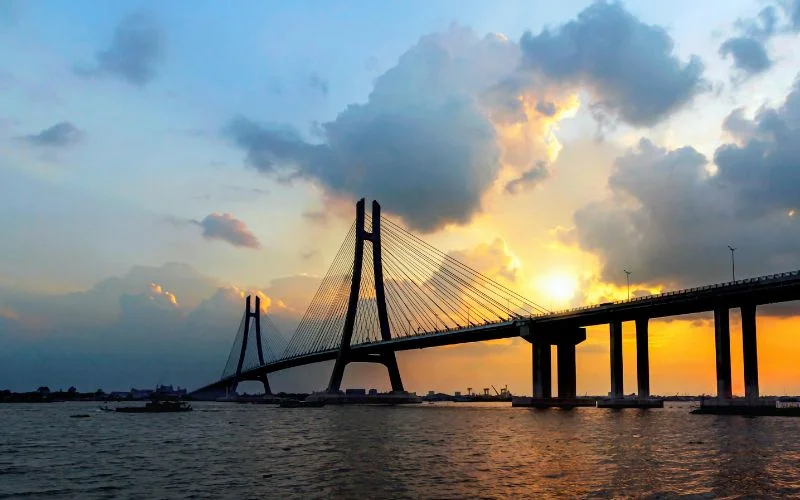
Another powerful travel photography technique is using leading lines. Whether natural (a river, road, or path) or man-made (railroads, fences, or bridges), leading lines direct the viewer toward a specific part of your composition. This technique helps add depth to your images and can turn a simple scene into something visually captivating.
If you’re photographing a busy street, use the sidewalk or the buildings to create natural lines that lead to your subject. When shooting landscapes, look for roads, rivers, or trails that naturally draw the viewer’s attention to the horizon or a focal point in the distance.
Framing Your Shot
Framing is another composition technique that adds a sense of context to your photos. This involves using elements from the scene to frame the subject. For example, you can use an archway, tree branches, windows, or doors to create a “frame within the frame.” Not only does this technique draw the viewer’s eye to the subject, but it also adds an element of storytelling to the photo.
This is especially useful in travel photography, where you might want to emphasize the surrounding environment or the relationship between the subject and the location. For example, if you’re photographing a local market, you might frame the vendor within the market’s entrance, giving context to the photo.
You might also like: Best Photoshop Resources You Need In Your Editing Toolkit
Travel Photography Techniques for Different Times of Day
The time of day plays a huge role in the type of light you’ll be working with and the mood of your photos. Travel photography tips often emphasize shooting at specific times of day to take advantage of the best light.
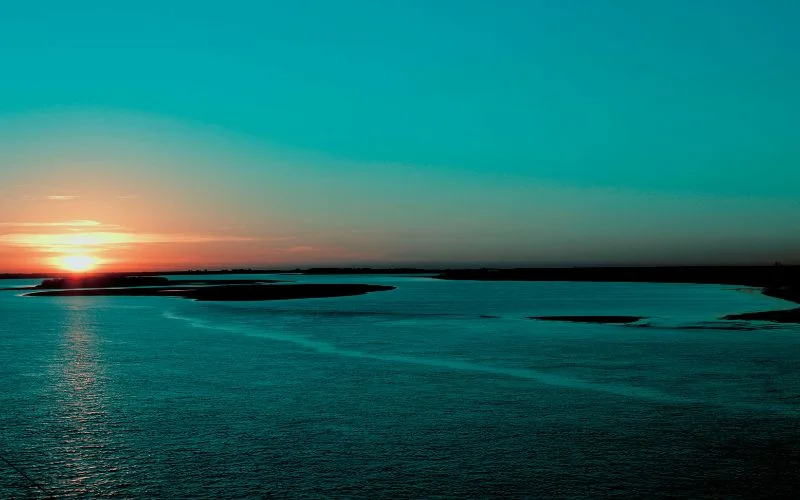
Golden Hour: The Magic of Soft Light
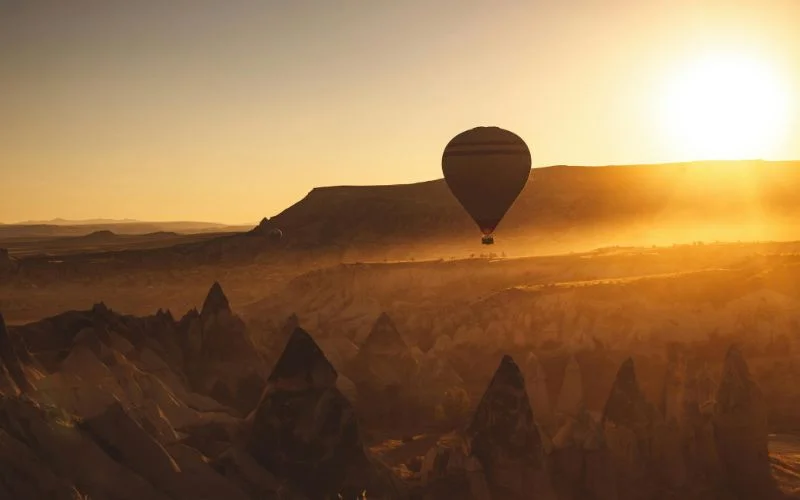
One of the best times to shoot is during golden hour, which occurs shortly after sunrise or just before sunset. During this time, the sunlight is warm, soft, and diffused, creating a dreamy, almost magical quality to your photos. The golden light adds depth and richness to landscapes and portraits, making everything look more flattering and visually appealing.
For landscape photography, golden hour light is ideal for capturing the stunning colors of nature. If you’re photographing people, it softens the shadows and highlights, providing a natural glow to your subject.
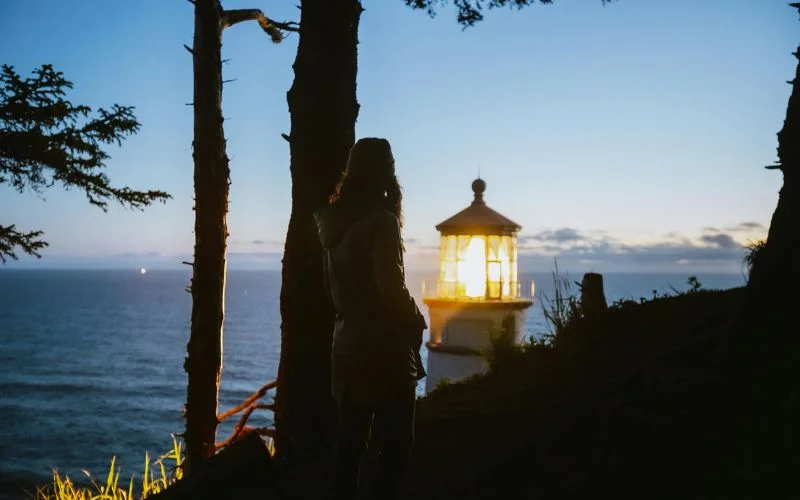
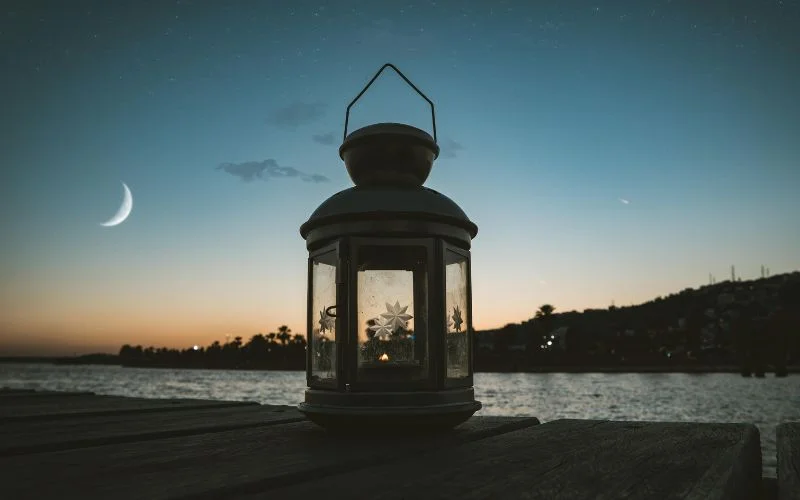
Blue Hour: After the Sunset
While many photographers focus on the golden hour, the blue hour (the period right after sunset or before sunrise) is equally magical. During this time, the sky turns a deep blue and the light becomes diffused and even. The contrast between natural and artificial city lights creates stunning, atmospheric photos.
Cityscapes or nighttime travel photography are perfect for shooting during the blue hour, where you can capture glowing buildings, streetlights, and neon signs against the tranquil backdrop of a fading sky. If you’re shooting portraits, the cool light can add a moody feel to the image, enhancing its storytelling quality.
Midday Photography: Making the Most of Harsh Light
Midday is often considered the least favorable time for photography due to harsh light and strong shadows. However, you can still use it by adjusting your approach. One trick is finding shaded areas to soften the light or using a polarizer filter to reduce glare and boost contrast.
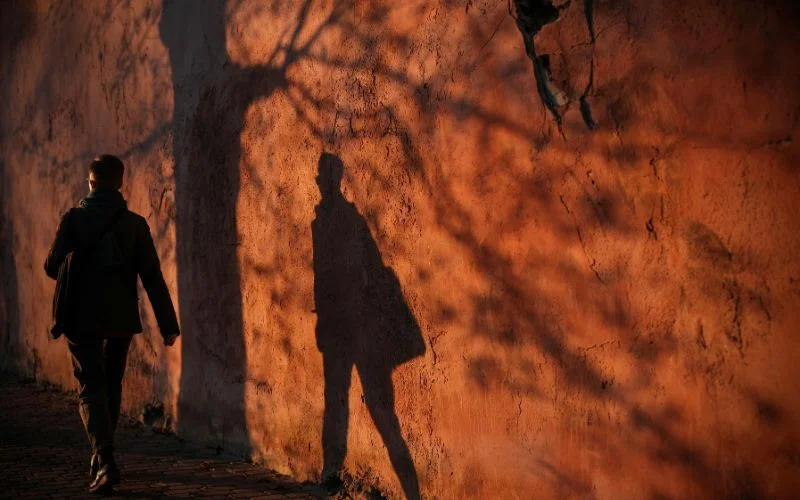
If you’re shooting in a city or a densely populated area, you can use the midday sun to create strong contrasts and shadows that add drama to your photos. Experiment with silhouette shots, where the harsh light highlights the outline of your subject against a bright sky.
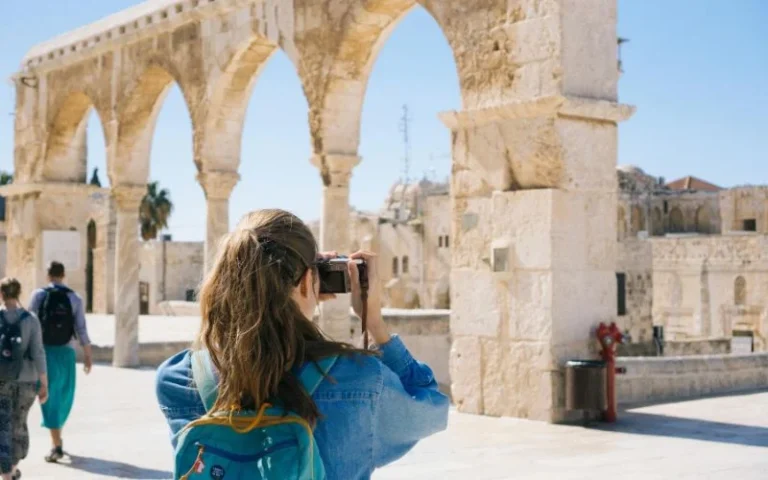
Capturing Unique Perspectives
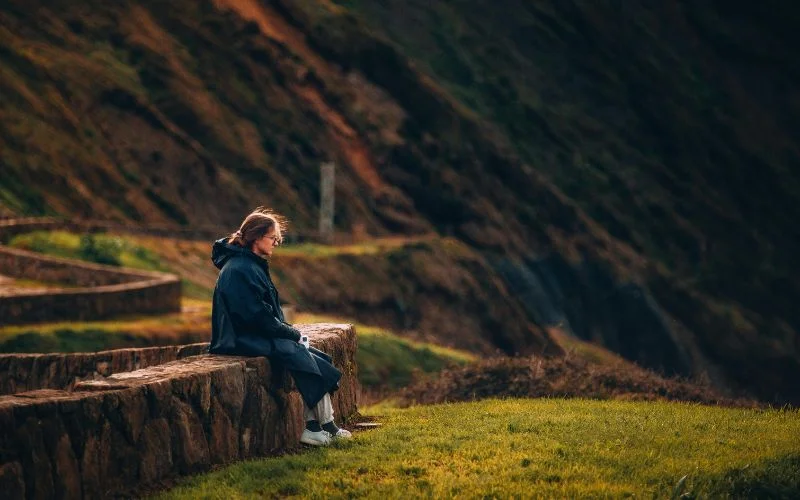
To stand out in your travel photography, finding unique perspectives that make your photos different from the typical tourist shots is essential. Rather than photographing a subject from eye level, try looking for ways to add depth and drama through various angles.
Shoot from High Vantage Points
When traveling, always look for elevated spots that offer panoramic views of the surroundings. Whether it’s a hill, a rooftop, or a lookout point, capturing a scene from above gives your photos a unique perspective and adds a sense of scale to landscapes or cityscapes.
Taking photos from a high vantage point also works well for street photography or group shots, where you can capture the flow of people or an overall scene in an organized, dynamic way.
You might also like: Aesthetic Profile Picture Ideas for Every Platform + Bonus DP Inspirations
Low-Angle Shots for Drama
Low-angle shots are another way to create visually stunning travel photos. Shooting from below, looking up at your subject, can make them appear larger-than-life, adding drama and a sense of power to the image. Whether it’s a towering building or a person walking along the street, shooting from a low angle makes the subject more dominant and adds an exciting dimension to the photo.
Using Reflections to Enhance Your Shots
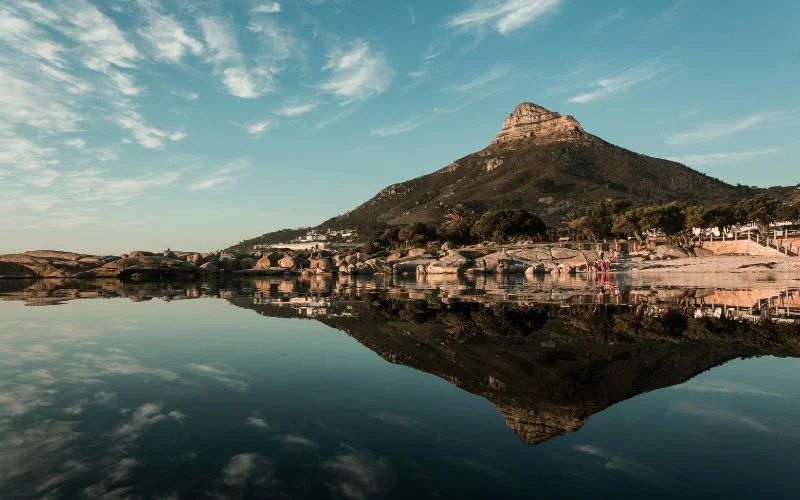
Reflections are a great way to add a creative element to your photos. Water bodies, puddles, mirrors, or glass surfaces often create perfect reflections, and you can use these to add symmetry and depth to your images. Whether it’s a landscape mirrored in a calm lake or the reflections of people in shop windows, this technique adds a fresh, artistic touch to your travel photos.
Travel Photography Techniques for Various Styles
Every photographer has a different approach depending on what kind of travel photography they enjoy most. Knowing the proper techniques for each style can help you get the best results, whether it’s landscapes, street photography, portraits, or wildlife.
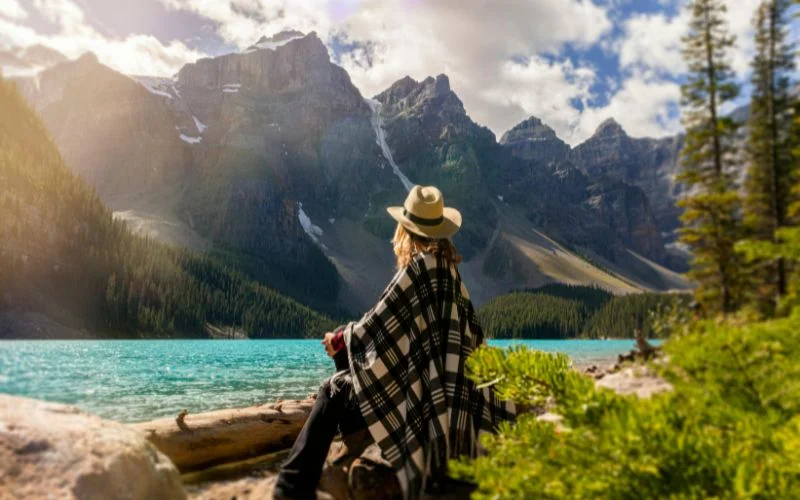
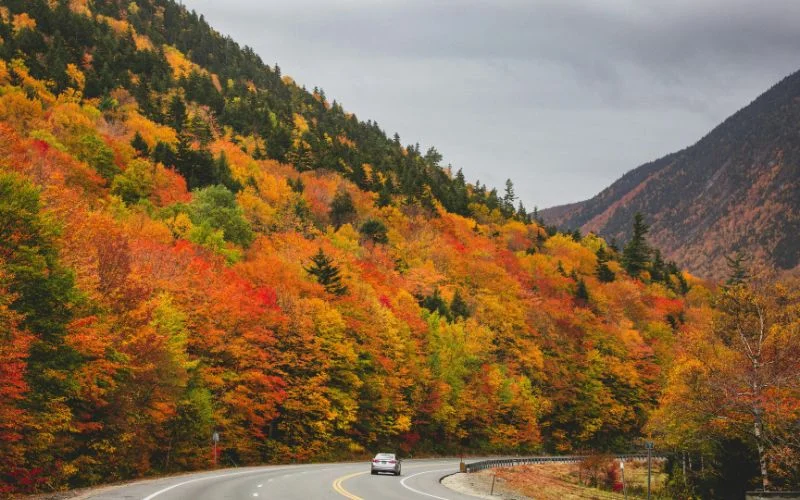
Landscape Travel Photo Tips
For landscape photography, use wide-angle lenses to capture as much of the scene as possible. Pay attention to composition by using the rule of thirds and leading lines. Also, don’t forget to shoot for the most flattering light during the golden hour. A tripod is a must when shooting long exposures, especially if you’re photographing waterfalls, rivers, or other moving elements in the landscape.
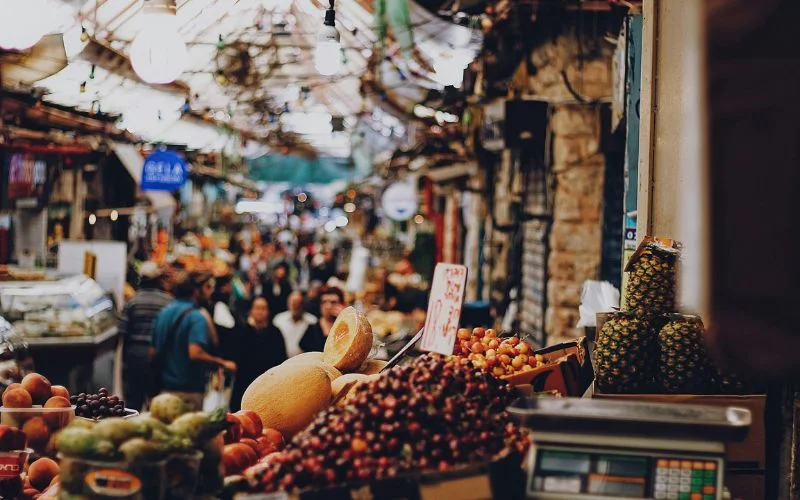
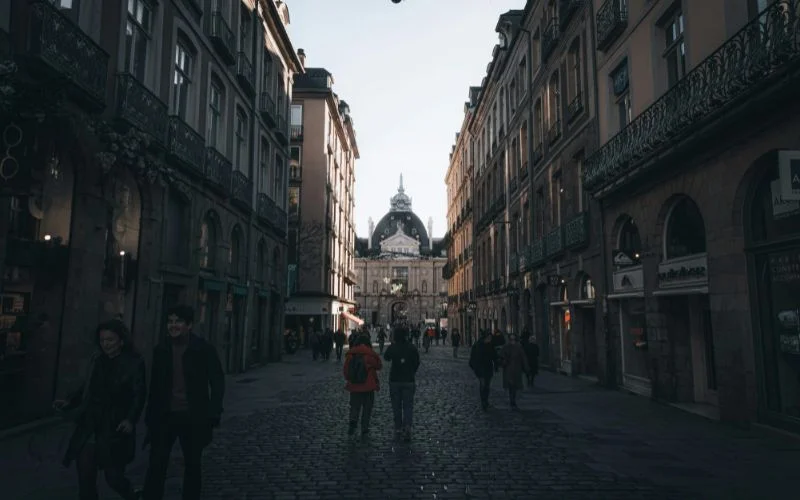
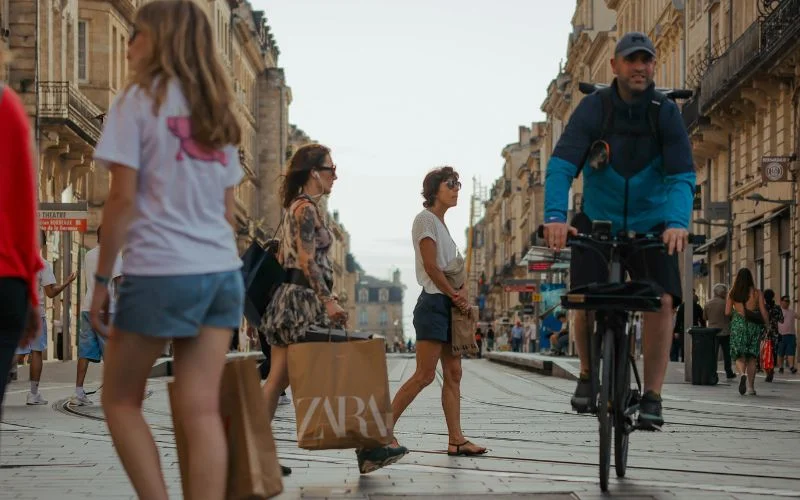
Street Travel Photo Tips
Street photography focuses on capturing candid moments of everyday life. To excel in this genre, you need to be quick and unobtrusive. Use a fast shutter speed to freeze movement, and always be aware of your surroundings. Consider shooting from the hip or at unconventional angles to create more intimate and raw moments. Try to capture the energy and vibrancy of a location through its people.
Portrait Travel Photo Tips
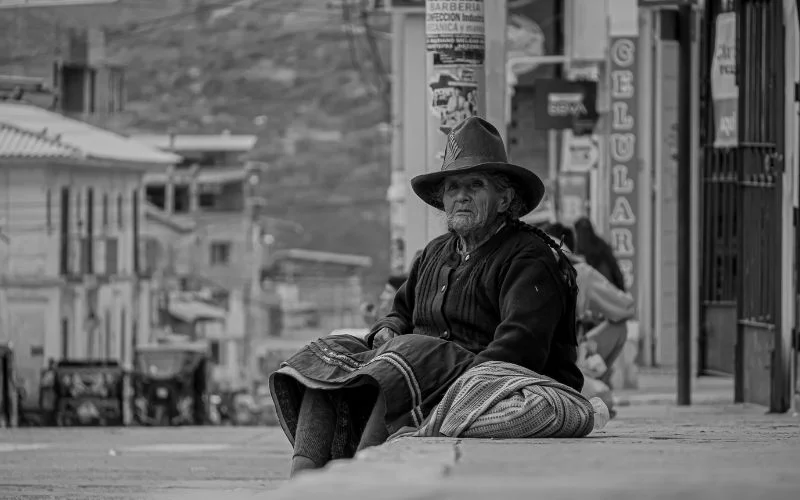
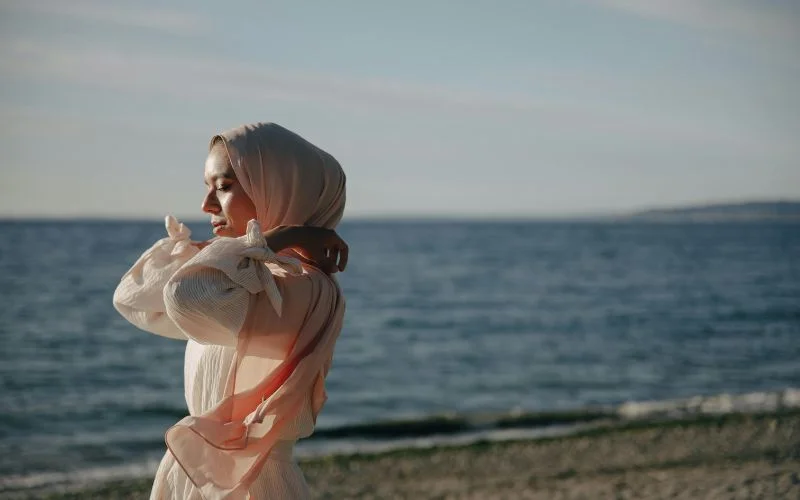
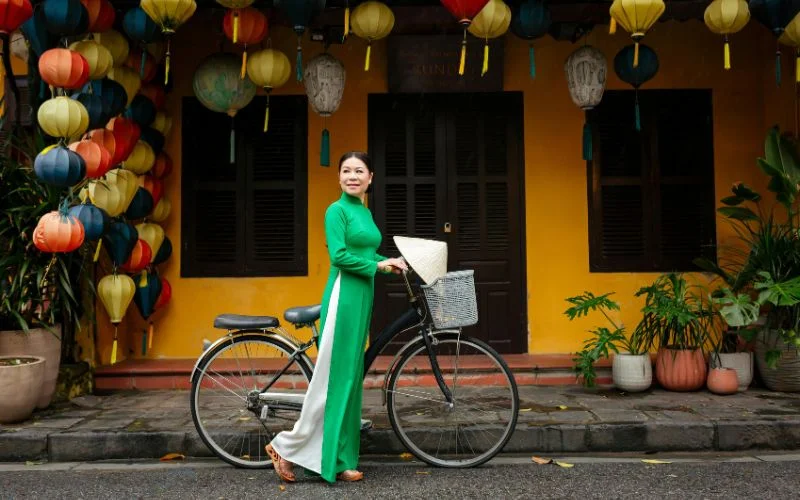
When capturing portraits, especially of locals, always try to connect with your subject. Natural light works best, but you can enhance your portraits using a reflector to soften shadows. A shallow depth of field (using a wide aperture) ensures your subject stands out from the background. Focus on the eyes to create compelling and engaging portraits. Having said that, you might want to check out our best-selling collection of portrait photography posing cards.
Wildlife Travel Photo Tips
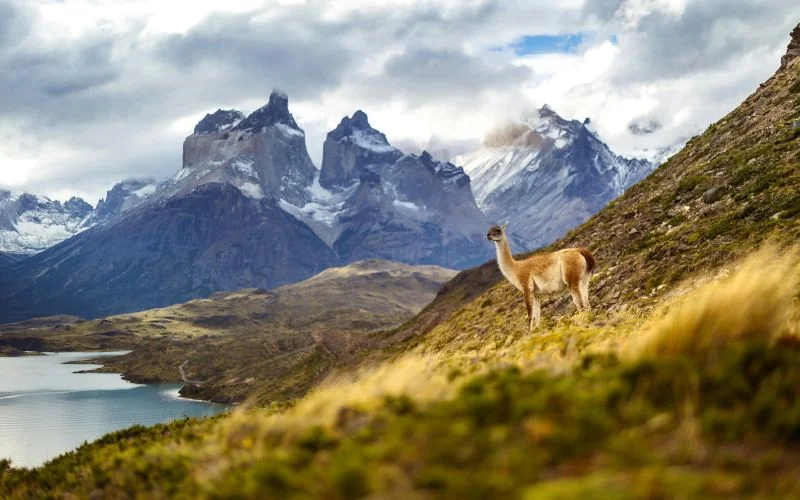
For wildlife photography, patience is critical. Animals are unpredictable, so waiting for the perfect moment often leads to rewarding results. A telephoto lens is invaluable for capturing subjects from a safe distance without disturbing them. Understanding animal behavior beforehand can also help you anticipate movements and frame your shots effectively.
Food Travel Photo Tips
Food photography, another travel favorite, thrives on details and ambiance. Natural light is ideal for showcasing the textures and colors of dishes. Props like local tableware or ingredients can add cultural context, while focusing on specific details like steam or glistening sauces makes the food appear more appetizing.
Working With Light Travel Photography Techniques
Light is the heart of photography, and working with it correctly can completely transform your photos. Understanding how to use both natural and artificial light is essential for capturing the best shots.
Natural Light vs. Artificial Light
Natural light is often the preferred choice for travel photography due to its warmth and the way it enhances the textures and details in the environment. However, don’t shy away from using artificial light in creative ways, especially when shooting at night or in dimly lit spaces. Neon lights, street lamps, and window lights can create unique atmospheres in your images.
You might also like: Easy Yet Powerful Studio Lighting Tutorial
Using Flash: When and How to Use It
While many photographers avoid using flash, it can be helpful in certain situations, especially in low-light conditions. If you need to use flash, consider using a diffuser to soften the light and create more flattering illumination. Flash can also help fill in shadows in portraits or indoor settings, adding depth and dimension to your photos.
Post-Processing for Travel Photos
Post-processing is an essential step in bringing your travel photos to life. While getting the shot right in-camera is essential, editing your photos can enhance their mood, color, and overall quality.
Basic Editing Techniques
Start by adjusting the exposure, contrast, and white balance. Fine-tune the saturation to bring out the natural colors and enhance the details. A bit of sharpening can make your photos crisp and clear, especially for landscapes or architectural shots.
Advanced Editing Tips
For more advanced edits, consider using tools like Adobe Lightroom or Photoshop to adjust highlights and shadows, remove distractions, or apply specific filters to create a cohesive look for your travel photos. However, be mindful not to over-edit. The goal is to enhance the natural beauty of your images without making them look overly processed.
Travel Photography Techniques Of Color Enhancement
Color enhancement is another vital step. Boosting saturation and vibrance subtly can make landscapes pop without making them look artificial. You can also selectively enhance specific colors, like emphasizing the blues in a sky or the greens in a forest. These adjustments make the photo feel vivid and alive.
Creating A Cohesive Look
Creating a cohesive look across your photos is essential if you’re presenting them as a series. Lightroom presets can help maintain consistency, and experimenting with different editing styles—such as moody, vintage, or cinematic—can add a unique flair to your travel photography. Be mindful not to over-edit; the goal is to enhance the natural beauty of the images while preserving their authenticity.
Travel Photography Tips and Tricks for Telling Stories
The ultimate goal of travel photography is to tell a story. Each photo should evoke an emotion and transport the viewer to the place you’ve captured.
Creating a Photo Series
Creating a photo series can help convey a broader story. For example, you can document a day in the life of locals, a journey through different locations, or a series of portraits showcasing the culture and diversity of a place. Photo stories bring a sense of continuity and allow your audience to experience the journey through your lens.
Capture Candid Moments
While posed shots have their place, candid images often reveal the most authentic aspects of a destination. Look for unguarded smiles, interactions, or people engrossed in their daily lives.
Showcase Contrasts
Contrast tells a story within a single frame. For example, juxtapose ancient ruins against modern buildings or capture a bustling market beside a quiet alley.
Include People in Your Shots
Incorporating people adds relatability and a human connection to your photos. Whether it’s a portrait or a figure in the distance, human elements often make travel photos more impactful.
Keep an Eye on Details
Small elements—like weathered doors, colorful patterns, or street signs—can add layers of depth to your travel photo series.
You might also like: Must-Read Photography Quotes for Creatives
Overcoming Common Challenges in Travel Photography
While travel photography is rewarding, it comes with its challenges. The more prepared you are, the better you’ll handle these hurdles and capture great photos along the way.
Dealing with Bad Weather
Bad weather doesn’t necessarily mean bad photos! In fact, rain, fog, or storms can add drama and emotion to your images. Bring protective gear for your camera, like a weather-resistant cover, and don’t be afraid to shoot in the rain. Use the unique weather conditions to your advantage, creating moody or atmospheric photos that stand out from the typical sunny day shots.
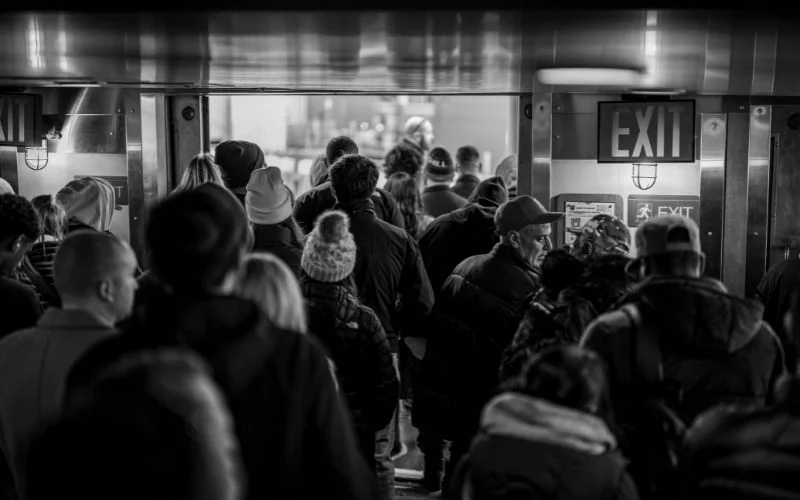
Managing Crowds
Busy tourist spots can make it challenging to get the perfect shot, especially if you’re trying to capture a location without people. To avoid crowds, shoot early in the morning or later in the evening when the area is quieter. Alternatively, use longer exposure times to blur moving crowds and create a sense of movement without distracting from your subject.
Protecting Your Gear
Protecting your gear is crucial, especially when traveling in diverse climates. Weatherproof your equipment with covers and keep silica gel packs in your camera bag to prevent moisture damage. Having a backup camera or lens can also be a lifesaver if your primary gear fails.
You might also like: Top Photography Trends That Are Worth Following
Staying Inspired on Long Trips
Finally, staying inspired during long trips can be a challenge. Assign yourself mini-projects, like capturing a specific color theme or shooting only in black and white for a day. Taking occasional breaks to enjoy the moment can also recharge your creativity and help you see new photographic opportunities.
Travel Photography Tips For Different Weather Conditions
- Sunny Days: Bright light can be tricky! Use a polarizing filter to cut glare and make colors pop. Shoot during early morning or late afternoon to avoid harsh shadows.
- Cloudy or Overcast: This is actually great for soft, even lighting! Perfect for portraits and street photography. Add warmth in post-editing if the scene looks dull.
- Rainy Weather: Waterproof your gear with a rain cover or a plastic bag. Use reflections in puddles for creative shots. Moody skies can make landscapes dramatic!
- Snowy Scenes: Overexposed snow can ruin details. Adjust your exposure compensation to +1 or +2. Wear touchscreen-friendly gloves so your hands don’t freeze!
- Fog & Mist: Amazing for dreamy, mysterious shots. Use manual focus if autofocus struggles. Try silhouettes for extra drama!
- Windy Conditions: Secure your tripod if you’re using one. Capture the movement of flowing dresses, waving flags, or trees swaying. This can add storytelling elements.
Best Editing Tips For Travel Photography
- Keep It Natural: Don’t overdo the saturation. Your blues shouldn’t glow like neon signs! Keep colors rich but realistic.
- Fix Exposure First: Adjust brightness and contrast before tweaking colors. A well-exposed photo saves time in editing.
- Use Presets, but Customize: Lightroom presets are great for consistency, but always tweak them to suit each image.
- Sharpen Selectively: Sharpen details like eyes and textures, but don’t over-sharpen skies or smooth areas.
- Remove Unwanted Distractions: Use the healing tool to erase trash, stray objects, or photobombers.
- Enhance the Sky: If the sky looks dull, adjust the dehaze slider or boost the blues slightly for a subtle pop.
- Crop for Impact: Sometimes, a tighter crop can make a photo more powerful. Experiment with framing!
- Don’t Go Overboard with HDR: Over-processed HDR can look fake. Aim for a balanced, realistic look.
Common Travel Photography Mistakes & How To Avoid Them
- Shooting Everything at Eye Level: Change your perspective. Get low, shoot from above, or experiment with angles.
- Forgetting to Check Camera Settings: Always double-check your ISO, shutter speed, and white balance before shooting.
- Overpacking Gear: Heavy bags slow you down. Stick to the essentials: a versatile lens, extra batteries, and a lightweight tripod.
- Ignoring Composition: Think about framing, leading lines, and negative space. A well-composed shot beats a random snapshot.
- Skipping the Locals: Capture the culture by photographing people (with permission!). Street portraits tell powerful stories.
- Not Backing Up Photos: Use cloud storage or external drives to avoid the heartbreak of lost memories.
- Shooting Only the Obvious Spots: Explore beyond the tourist attractions. Hidden alleys and quiet streets often hold the best surprises.
- Being Too Focused on the Camera: Don’t forget to enjoy the moment! Sometimes, the best memories don’t need a lens.
FAQs: Travel Photography Techniques
1. What is the best time of the day for travel photography?
Ans. The best times are Golden Hour (just after sunrise and before sunset) for warm, soft light and Blue Hour (before sunrise and after sunset) for cool, dreamy tones. Midday can be harsh, but it works for architecture and high-contrast shots.
2. What camera settings should I use for travel photography?
Ans. It depends on what you’re shooting! For landscapes, use a low ISO (100-200) and a narrow aperture (f/8-f/16) for sharpness. For street photography, a faster shutter speed (1/250s or more) helps freeze movement.
3. What’s the best lens for travel photography?
Ans. A versatile zoom lens (like 24-70mm or 18-135mm) is great for all-around shooting. A prime lens (like 35mm or 50mm) is lightweight and perfect for portraits and low-light scenes.
4. How do I take great travel photos with a phone?
Ans. Use HDR mode for balanced exposure, clean your lens, shoot in natural light, and experiment with different angles. Editing apps like Lightroom Mobile can enhance your shots.
Wrapping Up Travel Photography Techniques
By following these travel photography techniques and tips, you’ll be able to capture the essence of your travels and create visually stunning photos that tell a powerful story. Whether you’re shooting iconic landmarks, bustling streets, or tranquil landscapes, mastering these travel photography techniques will ensure that your photos stand out. Happy travels, and happy shooting!
Like this post? Check out more amazing photography content here.