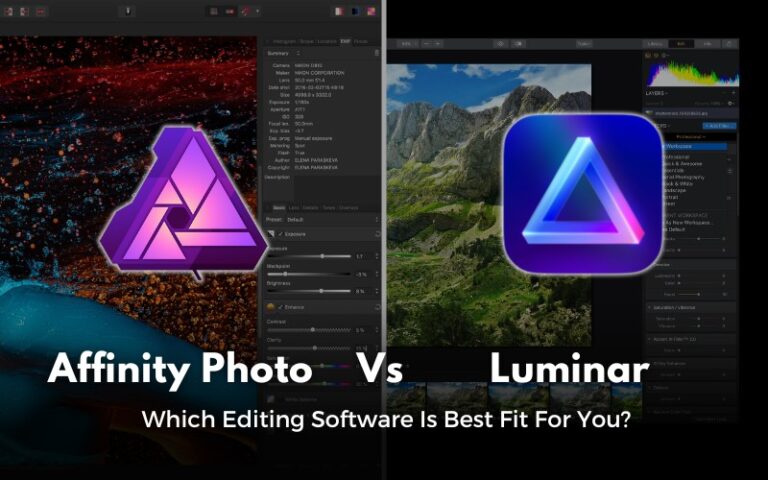
To make sure your photos stand out, you need the best photo editing software to help your imagination become a reality. And there are plenty of software to choose from. Affinity Photo vs Luminar Neo are the choices of many. But wait, which should be your first choice?
While both of these applications offer powerful editing tools and features, they each have benefits and drawbacks that make them better suited to certain types of photographers.

In this blog post, we’ll compare Affinity Photo vs Luminar to help you decide which editing software best fits you. Check out our Affinity Photo product category for more products.
Table of contents
Overview
Affinity Photo
Affinity Photo is a graphic design tool that helps creative professionals edit images on a centralized platform. It is very similar to Photoshop and Lightroom.
In another review, we compared Photoshop vs Affinity in more detail.
Like Photoshop, Affinity provides more than just image editing software.
Artists can blend high dynamic range (HDR) photographs, add copyright information, change metadata, and render images.
Gain more insight about the Affinity Photo software in this Affinity Photo review.

Luminar Neo

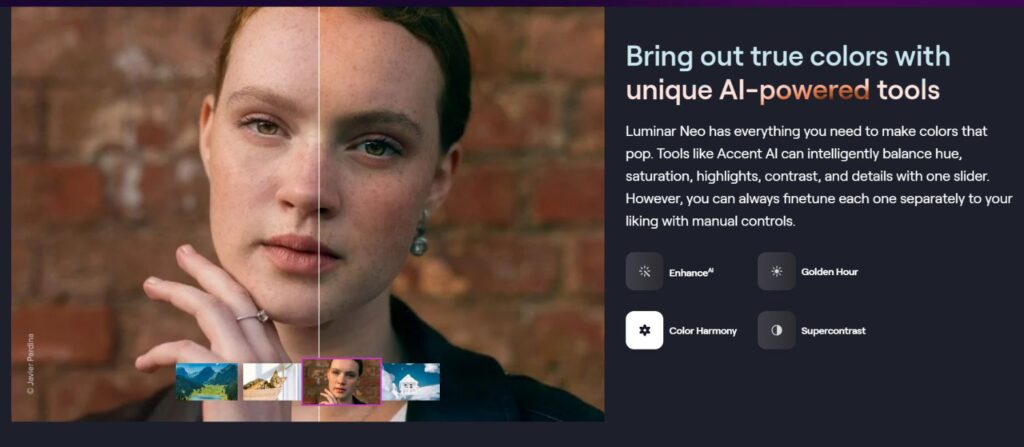
Luminar Neo has powerful AI tools that are not available in Lightroom or even Photoshop.
The features in Luminar are so pretty that one can add sun rays can be added in place of skies.
By enhancing face characteristics and softening skin, the Portrait AI assists in editing portraits. It is comparable to Photoshop’s Liquify tool.
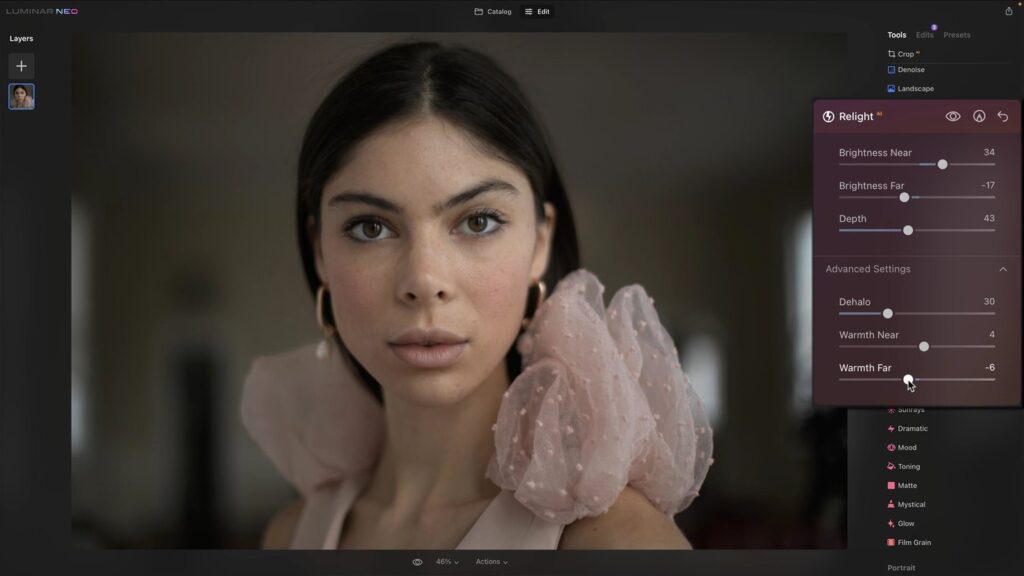
Relighting a scene is one of Luminar NEO’s newest AI features.
Difference between Affinity Photo & Luminar, you need to know
| Particulars | Affinity Photo | Luminar |
|---|---|---|
| Developed by | Serif Ltd | Skylum (formerly Macphun) |
| Performance | Quite responsive and stable overall | Tends to lag, especially the Windows version |
| Pricing | Less expensive | More expensive |
| Ease of Use | Import only one image at a time. | Easily import multiple images at a time |
| User-friendly | Less user-friendly | User-friendly and best for beginners. |
| Persona | Includes different personas | Does not have personas |
| System Requirements | Minimum 8GB RAM | Minimum 8GB RAM memory |
Check out 24 Free Affinity Photo Presets
For more detailed insights scroll down and see which software is the best fit for you
Which One Is Easy To Use? Affinity Photo vs Luminar Neo?
Affinity Photo features plenty of versatile tools. As you become familiar with each device, there is a learning curve. For example, how to alter a brush stroke’s color took time to be apparent. After that, you could change the size, opacity, flow, hardness, etc. Then we found out.
The key takeaway is that the user interface of Affinity Photo is sometimes complicated. Additionally, obscuring the meaning is Affinity Photo’s particular terminology. The Inpainting tool, for instance, eliminates things.
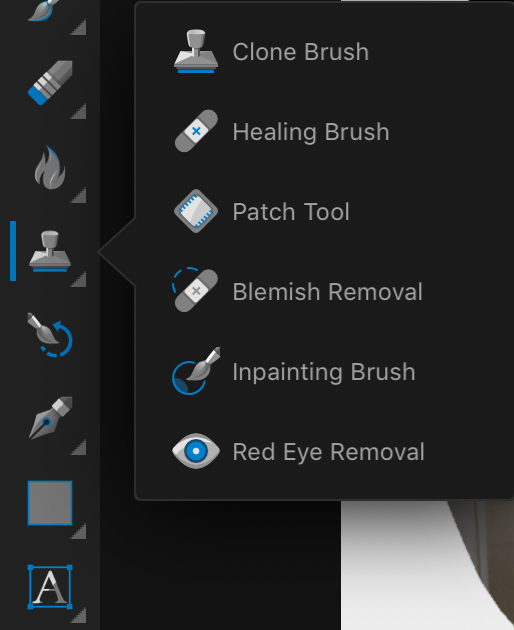
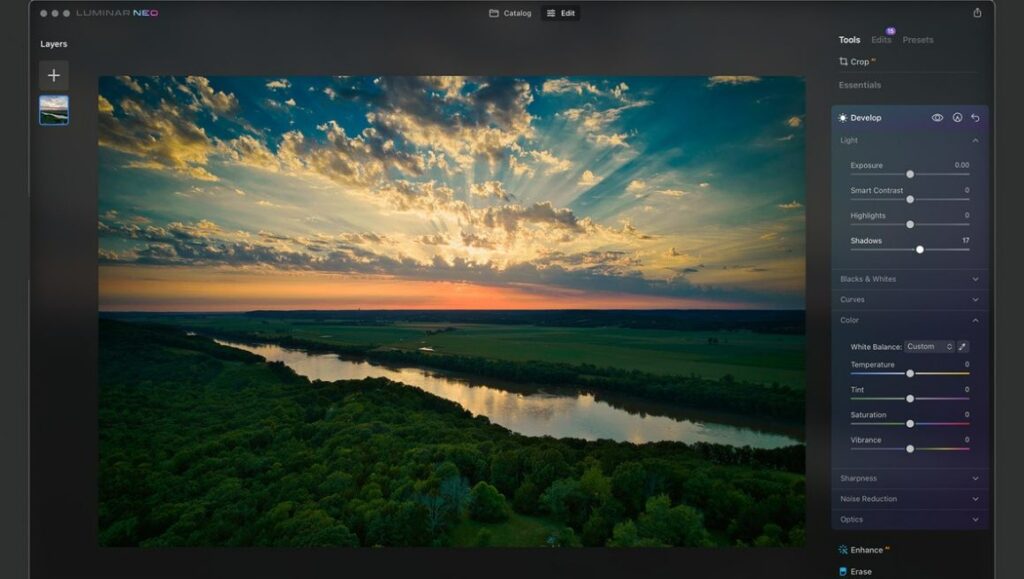
The Luminar Neo interface is user-friendly and straightforward. The program should open and allow you to make modifications right immediately. Then, the program begins to operate. For example, you press the button to remove electricity lines.
Check Out The Affinity Photo Presets Bundle
Performance
Unfortunately, both Luminar and Affinity Photo are flawed in terms of performance. Although there will always be some trade-off between powerful features and performance, both software could improve processing power, stability, and speed.
In this aspect, Luminar requires more improvement than Affinity. As a result, it occasionally lags, and the Windows edition, in particular, has spells of inactivity. When editing smaller file types (like JPEG), Affinity breezes along without a hitch, but it struggles to handle larger RAW files.
However, Affinity Photo is more stable overall, and editing in the app is generally quite responsive.
The fact that updates are abundant and Skylum regularly fixes performance issues is Luminar 4’s one redeeming grace.
Workspace
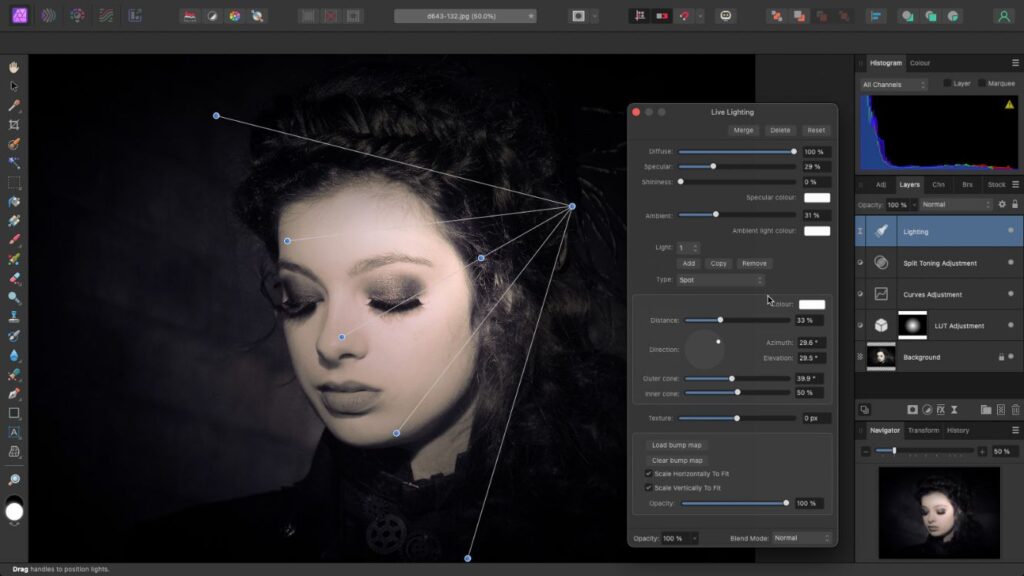
There are some general layout and design aesthetic similarities between Affinity Photo vs Luminar. For example, control panels are located on the top or sides of the workspace, while the image you are working on is in the center.
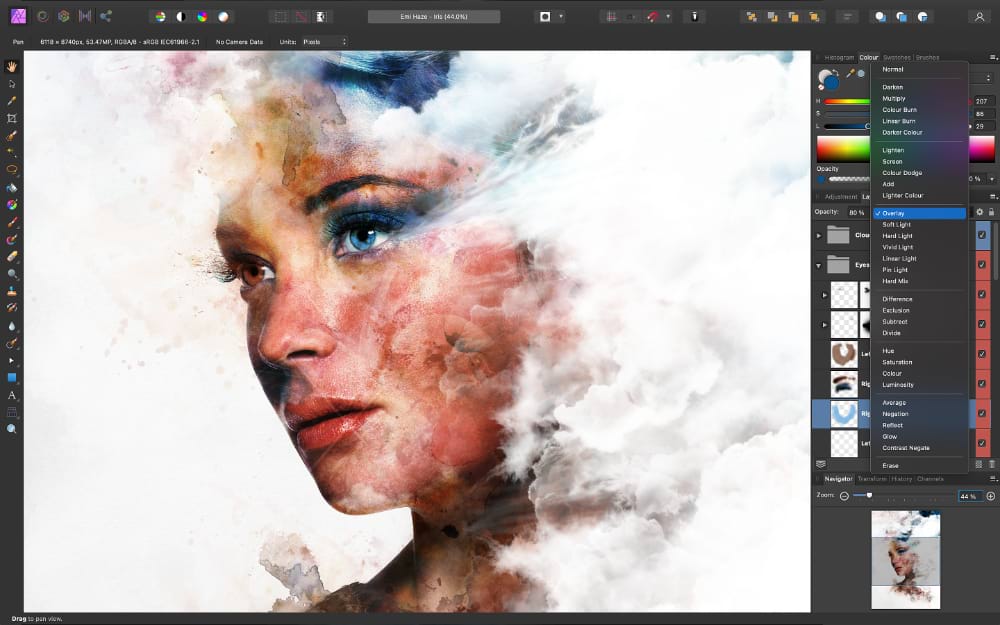
Personas are different workstations that are available in Affinity Photo. The interface of Photo Persona resembles that of Photoshop and Adobe Camera Raw. A panel contains the changes needed for basic photo post-processing.
Luminar NEO’s workspace, in comparison, is divided into Catalogue, Edit, and Presets that you can try. You can access the editing tools by clicking the Edit tab. Then, in the left column, add layers.
Essential, Creative, Portrait, and Professional panels organize the edit tools. With Lightroom and Affinity, there is some overlap. Others, however, such as Atmosphere and Landscape, are exclusive to Luminar.
In most tools, both programs start with simple options and reveal more detailed choices when you want them. For example, the Brightness/Contrast tool in Affinity gives you five picks, including Lighter and Increase Contrast. Next, click an option to reveal manual controls.
In Luminar Neo, opening a panel reveals the basic set of choices. Then, click the Advanced Settings button, and you get more options.
Check out amazing overlays and presets:
Editing Capabilities
The Basic Editing Tools
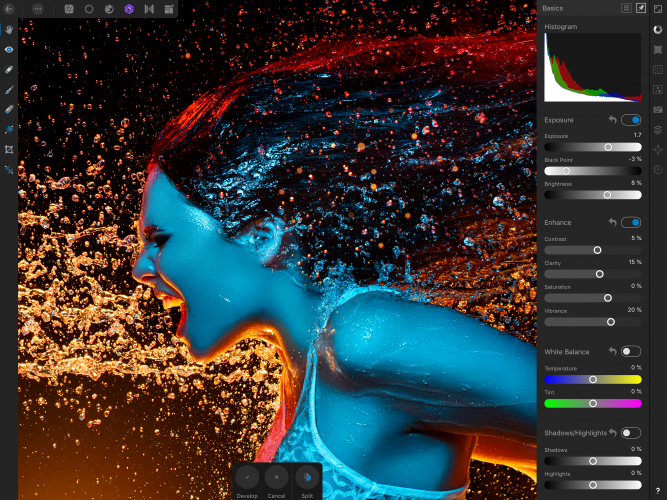
There are standard photo editing features in Luminar NEO and Affinity Photo. Both make it simple to adjust your image’s exposure and color. In addition, both program tools are simple to operate.
When you make changes in Affinity Photo, adjustment layers are created. It operates in the background. As a result, there are fewer presets, overlays, and LUTs in Affinity Photo.
These one-click post-processing options abound in Luminar NEO. Additionally, you can add favorites to the tools that you frequently use.
The tool organization varies between programs. However, everything you require to make simple photo adjustments is present.
AI Tools and Advanced Photo Editing Process
The programs diverge when you start using advanced tools instead of basic editing.
Luminar Neo uses artificial intelligence to assist in producing the finest image. The program makes cropping and image-improving suggestions. You can instantly create a little ambiance or structure.
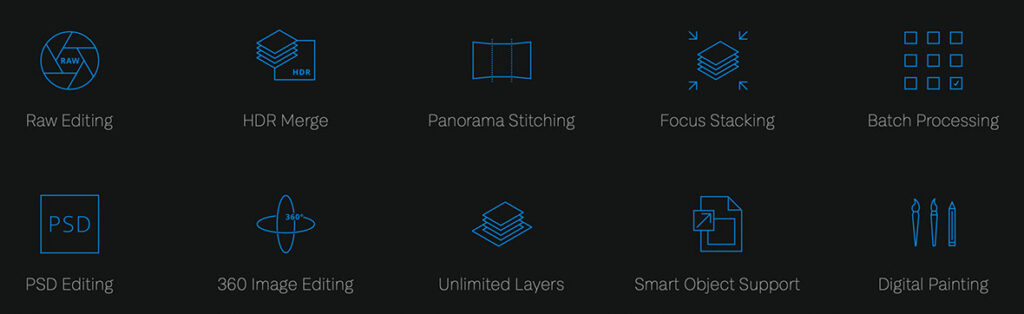
Affinity Photo allows you to do graphic design and digital painting. The capacity to integrate photos is significant. For example, panoramas can be combined and bracketed HDR merging. There is no requirement for other programs.
Stacking with Affinity Photo is more straightforward in many ways. For example, the swish resize tool in Affinity Photo is simple to ignore.
Learn how to use these tools efficiently with The Ultimate Luminar Mastery Course.
Pricing

Luminar Neo and Affinity Photo attract photographers wanting to own the software. As we discuss Affinity Photo vs Luminar, let’s understand the pricing for each and see what fits best.
Luminar Neo is available for a one-time fee or via a compatible subscription plan. Periodically, the creator will run sales and discounts, allowing you to purchase this practical program for less.
- Luminar Neo Explore — $9.95/mo
- Luminar Neo Pro — $14.95/mo
- Luminar Neo Lifetime — $99
If we compare the prices of Photo Affinity vs Luminar, Affinity Photo is less expensive. However, it is essential to note that Affinity must be purchased separately for each operating system.
- Mac: Affinity Photo for Mac — $69.99
- Windows: Affinity Photo for Windows — $69.99
- iPad: Affinity Photo for iPad — $19.99
Additional Features
Affinity Photo and Luminar have many different helpful features that will act as your savior. Let’s dive into the features for both and see who wins Luminar vs Affinity Photo in terms of features
The Affinity Photo offers extra features like
- Panorama stitching
- Focus stacking
- Frequency separation,
- Typography
- Non-Destructive RAW Develop.
- Compound Masks
- Live Mesh Warp
- Normals Adjustment
- Live Masks
- Hue Range
And Luminar Offers:
- Magic Light AI
- Supersharp AI
- Focus Stacking
- Upscale AI Pixel-perfect
- Background Removal
- Noiseless AI

System Requirements

Further considering system requirement is an essential parameter when we discuss Luminar vs Affinity Photo.
Affinity Photo System Requirements
| Requirements | Windows | Mac |
|---|---|---|
| Memory | 2GB RAM minimum | 2GB RAM minimum |
| Graphics | DirectX 10-compatible or better | Direct3D level 12.0-capable card |
| Display | 1280×768 display size or larger | 1280×768 display size or larger |
| HDD | 670MB of storage space | Up to 2.8GB of available hard drive space ( more during installation) |
Luminar Neo System Requirements
| Requirements | Windows | Mac |
|---|---|---|
| Hardware | Windows PC with a mouse or similar input device | Early 2010 or newer MacBook, MacBook Air, MacBook Pro, iMac, iMac Pro, Mac Pro, or Mac Mini |
| Processor | Intel® Core™ i5 or better, AMD Ryzen™ 5 or better | Intel® Core™ i5 or better, Apple M1 chip |
| OS version | Windows 10 version 1909 or higher (only 64-bit OS) | macOS 10.14.6 or higher |
| Memory | 8 GB or more (16+ GB recommended) | 8 GB (16+ GB recommended) |
| Disk space | 10 GB free space; SSD for best performance | 10 GB free space; SSD for best performance |
| Display | 1280×768 or higher resolution | 1280×768 or higher resolution |
Affinity Photo Review
Affinity Photo works really well on its own and is almost as close as you can get to Photoshop. It’s made for fancy, detailed editing of pictures, just like Photoshop, but you can also use it for quick and easy touch-ups.
Affinity Photo isn’t ideal for beginners. It lacks features for organizing and browsing photos, and it doesn’t provide instant one-click styles for social media. It’s like an old-fashioned photo editor, similar to Photoshop, but without needing to pay a lot or subscribe. Unlike Adobe’s Creative Cloud, Affinity doesn’t have any cloud-based system, although there is an iPad version. Affinity Photo has five workspaces for various tasks, each with its own unique tools used at different stages of editing.
Luminar Neo Review
When you buy Luminar Neo once, you get the software and all updates for that only version, but not for future versions. You can add more features by buying “Extensions.” If you get a Pro subscription, you get Luminar Neo, all future updates and versions, plus all extensions released while you have the subscription.
Luminar Neo has special AI photo editing tools that can make it easy to clean up your photos. It can remove power wire lines from street scenes and get rid of dust spots on digital photos. Besides these handy tools, it also offers a wide range of effects and adjustments that you can use to enhance your pictures. All these features are presented in a clear and user-friendly interface.
Luminar Vs Affinity Photo: Who Wins?
Affinity Photo and Luminar NEO are very effective photo editing software with unique features.
Every tool has advantages and disadvantages; therefore, comparing these tools and answering the question of Affinity Photo vs Luminar depends on the photographers and their requirements.
Here’s some good news: Luminar offers a 30-day money-back guarantee, and Affinity provides a free 10-day trial.
If you’re looking for a cost-efficient, stable, and responsive tool, Affinity Photo is the one for you.
And if you are a beginner looking for easy-to-use software, Luminar is indeed the right fit for you.
Did you find this blog insightful? Feel free to reach out to us if you have any suggestions, questions, comments, or reviews.
To see more of our blog content, visit our BLOG PAGE!