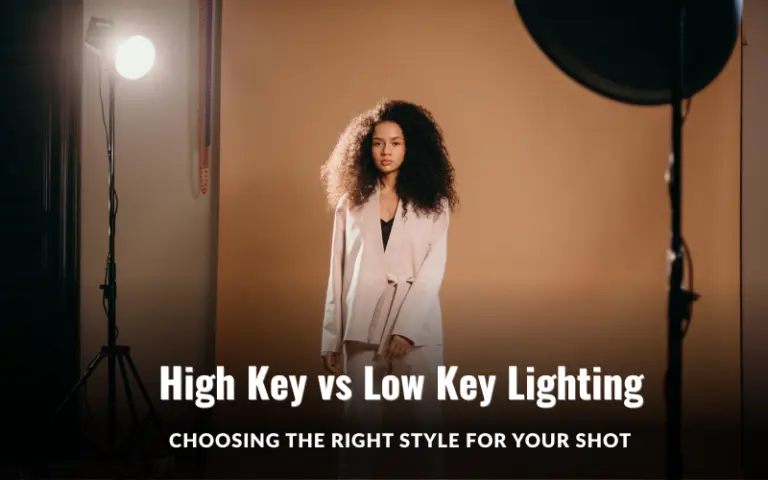
The concept of lighting can feel tricky. Why does one photo feel bright, happy, and inviting, while another looks moody, intense, and cinematic? The secret lies in the choice between high key vs low key lighting.
Once you understand the difference, you can start using light intentionally to create exactly the effect you want. Let’s break it down in a simple, easy-to-follow guide.

Table of contents
- What Is High-Key Lighting In Photography?
- What Is Low-Key Lighting In Photography?
- What’s The Difference Between High Key vs Low Key Lighting?
- When To Use High Key vs Low Key Lighting?
- How To Create The Two Styles Of Lighting?
- High-Key Lighting Photography Tips
- Low-Key Lighting Photography Tips
- Final Thoughts
- Frequently Asked Questions
What Is High-Key Lighting In Photography?
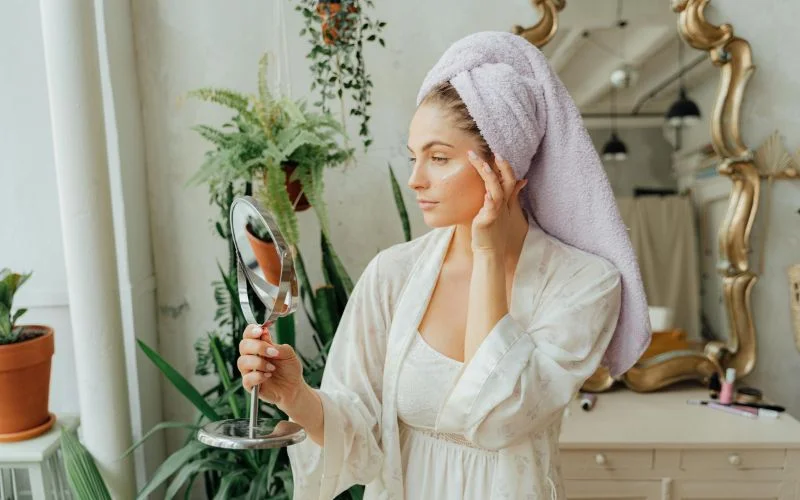
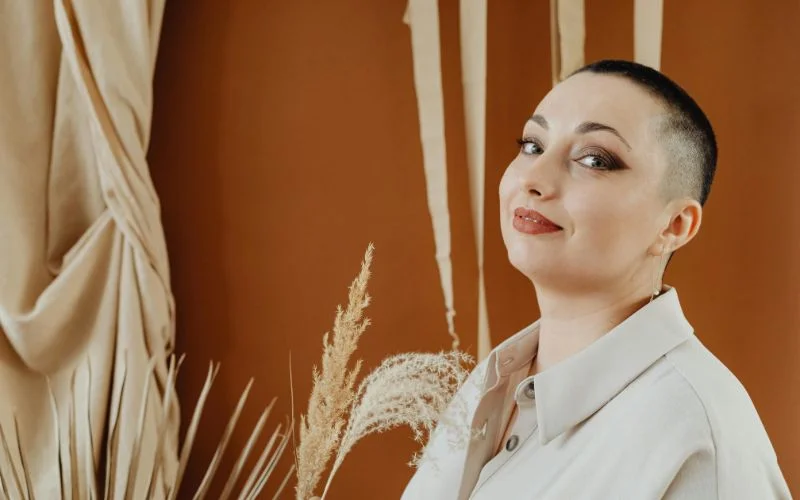
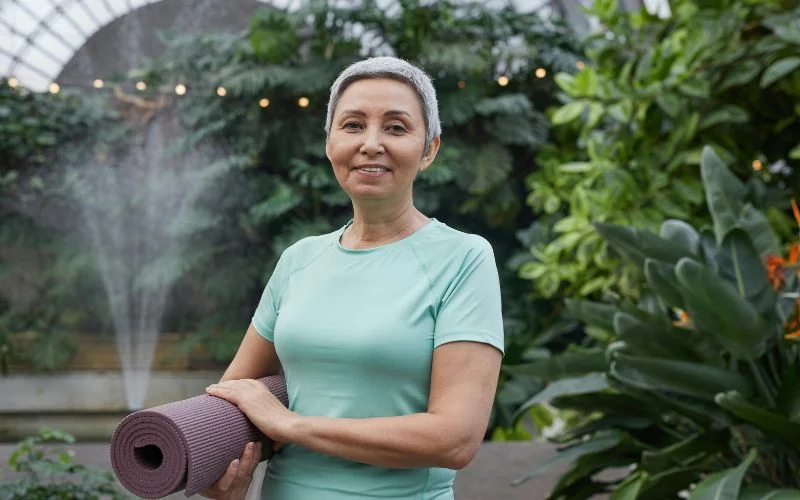
High-key lighting is a lighting style that produces a well-lit frame with soft light. It minimizes shadows and creates a low-contrast look. This lighting style is similar in photography, film, and television. It features mostly highlighted areas with little to no shadowed portions in the frame.
This is the complete opposite of low-key lighting, which creates an intentionally high contrast lighting, with deeper shadows. The effect of high-key lighting is bright, fun, and happy. It is desirable for use in sitcoms, at a commercial level, or in comedy.
What Is Low-Key Lighting In Photography?
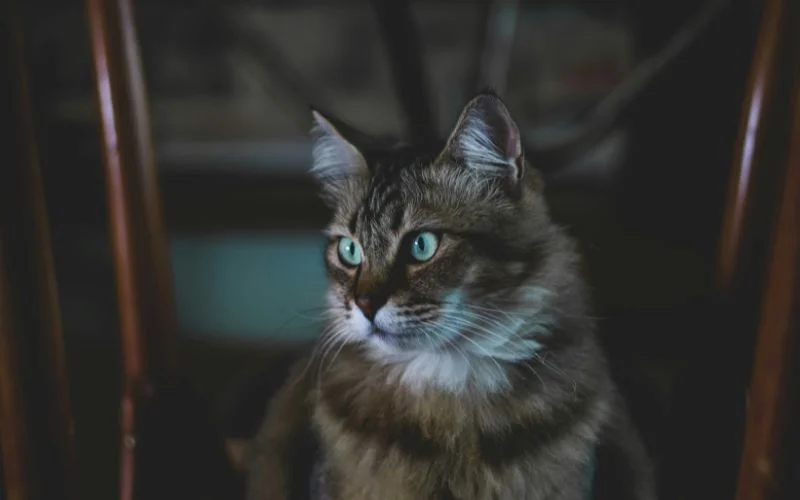
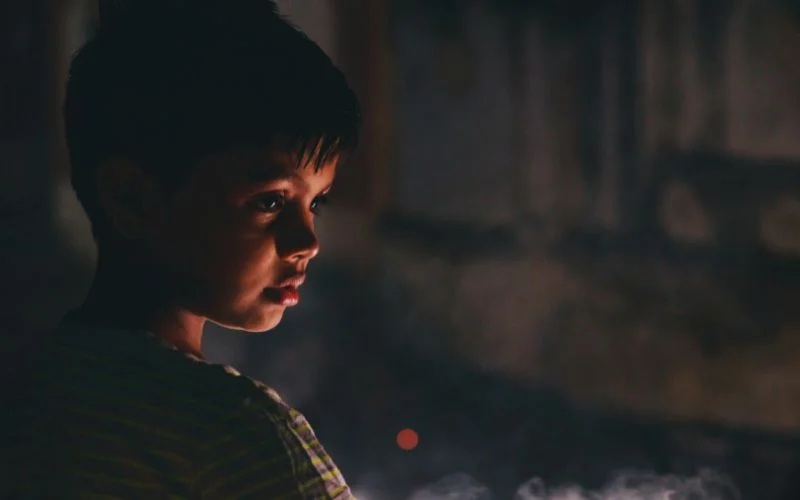
Low-key lighting is a lighting style applied in photography, television, and film that emphasizes shadows, dark tones, and high contrast.
The visual style of low key lighting is usually achieved using hard sources or key lights with little-to-no fill light. Low-key lighting is often utilized in thrillers, horrors, and dramas, as low-key lighting projects a dark, mysterious, and dramatic atmosphere.
What’s The Difference Between High Key vs Low Key Lighting?
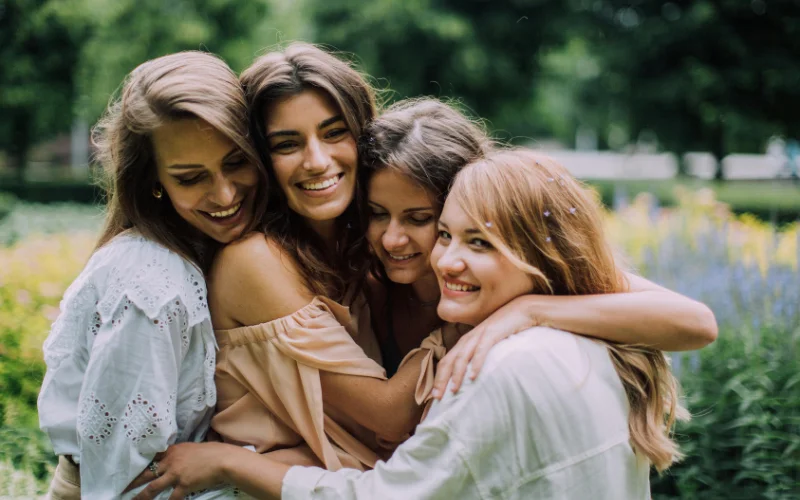
High key lighting diminishes the contrast and darker tones in your photo or video, resulting in a bright and friendly-looking end product. To produce high key lighting, you can utilize fill lights to not only reduce the contrast even further, but to add ambient lighting to your shots as well. There’s a greater emphasis on white and softer, warm colors with high-key lighting utilized.
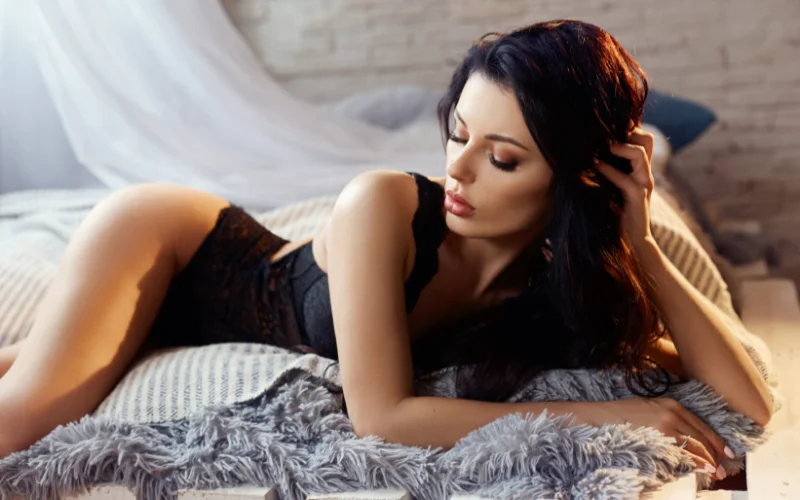
Low key lighting is about darkness, shadows, low tones, and the color black. The contrast between black, and even slightly lighter colors, is far more severe. It creates a more dramatic image than you would take when utilizing high key lighting.
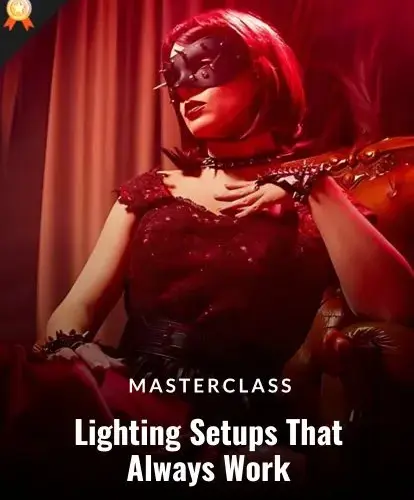
Check out our masterclass: Lighting Setups That Always Work
When To Use High Key vs Low Key Lighting?
Here are some examples of when you can use high key lighting and situations where low key photography are perfect:
High-Key Lighting
- Portrait Photography: High key lighting is a go-to choice for portraits that need to feel fresh and lively. It’s perfect for business professionals, babies and newborns, fashion shoots, pre-nuptial and bridal shots, lifestyle portraits, etc.
- Professional Portfolios: It is ideal for creating polished, professional images that stand out in a portfolio
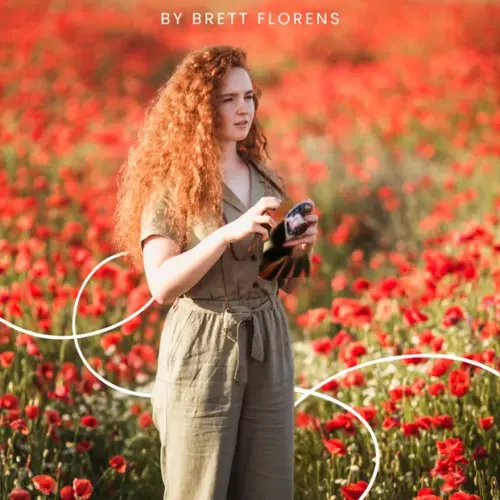
- Nature Photography: When photographing flowers, plants, or light-filled outdoor scenes, high key lighting can emphasize colors and details, creating vibrant, airy compositions.
- Cinematic Shots: Not all cinematic shots are dark and moody. High key lighting works beautifully in films or videos where the mood needs to feel light, joyful, or uplifting.
- Advertising & Commercial Photography: High-key lighting is a favorite in the advertising world because it draws attention to the subject and keeps visuals clean and distraction-free. Perfect use cases include brochures, catalogues, posters, billboards, etc
Also check out: What Is Aperture in Photography?
Low-Key Lighting
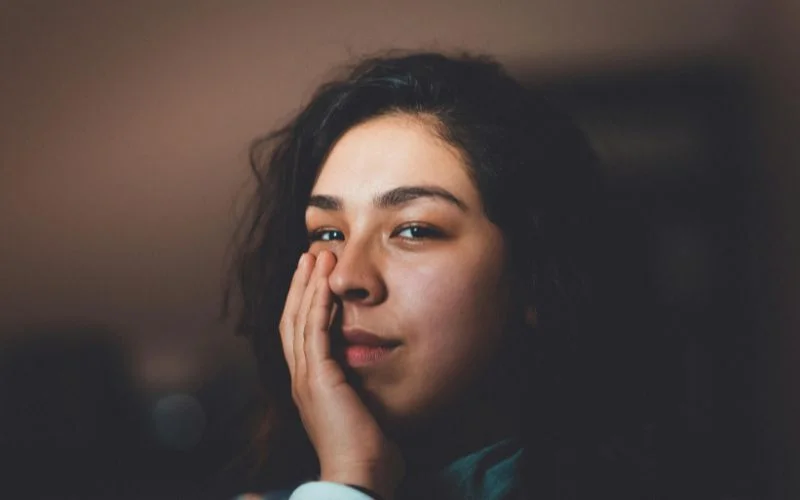
- Dramatic close-ups, like when you’re trying to capture emotion. A close-up of someone crying is a good example. Journalism and documentary photography would be a good example of this.
- When you’re trying to emphasize part of a subject’s face or body, for instance the subject’s blue green eyes.
- If you want your subject to look dramatic in black & white.
- When there is intense action, such as two people in a shouting match or two soccer players holding onto one ball.
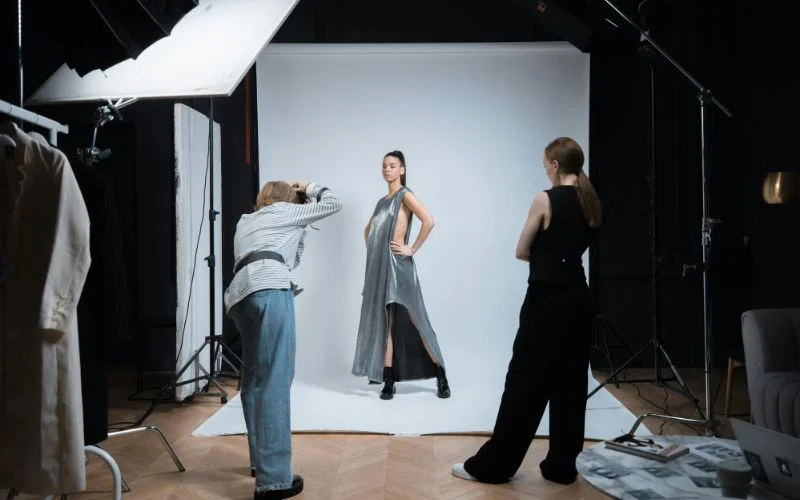
How To Create The Two Styles Of Lighting?
High-Key Lighting
To achieve high-key lighting for your movie, first familiarize yourself with the three-point lighting system. Increasing the luminance of each of these lights creates a brighter image:
- Key light: This is your primary light that is functioning to illuminate the form and shape of the subject of a shot.
- Fill light: This is the secondary light that is focused on the subject. It is often used to fill in the shadows created by the key light. This can often be done through creative placement of practicals (light sources that are props) in the scene.
- Backlight: These lights are placed behind and above subjects in order to separate the subjects from their background.
You might also like: How to Smile for Pictures: 17 Tips to Look Natural Every Time
Low-Key Lighting
If you’re going for low-key lighting, you’ll use less sources. These include:
- Small light sources: Using tight and strong light sources isolates certain parts of the shot and shadows that can be valued more.
- Fewer light sources: With low-key lighting, less is more – you will often be using only a key light. With fewer light sources, the light that is used will have more impact because there is less of it for your viewer to process. You can also utilize motivated lighting, or the light source that exists in the space. This will create a visual style that is grounded in the reality of the film.
- Bounce lighting: If the goal is softer shadows for the shot, try using reflectors to bounce the key light around the subject.
High-Key Lighting Photography Tips
Light Sources:
- You’ll need a key light (main light), a fill light, and two background lights.
- Background lights should be about one stop brighter than the key light, and the key light should be at least twice as bright as the fill light.
Backgrounds:
- White is the most common choice.
- Pastel-colored backgrounds can also create beautiful, soft effects.
Outfits:
- Light-colored or white clothing works best.
- The outfit doesn’t drastically affect lighting but helps keep the high key feel.
Natural light alternative:
- If you don’t have studio lights, you can use natural light.
- Overcast days are ideal for a soft, even light.
- Avoid thunderstorms or rain while shooting outdoors.
Preparation and testing:
- Take test shots to check the background and lighting before your main shoot.
- Avoid backgrounds with dark tones, deep blacks, or heavy shadows.
Watch the shadows:
- Too many dark shadows can ruin the high key effect.
- Keep the lighting soft and even for a clean, airy look.
You might also like: AI Tools for Photographers to Save Time and Boost Creativity
Low-Key Lighting Photography Tips
Studio setup:
- Use just one light source instead of the multiple lights used in high key photography.
- Position the light carefully to highlight your subject while keeping shadows deep.
Backgrounds:
- Avoid bright or white backgrounds.
- Use deep black or very dark backgrounds to enhance the moody effect.
Lighting tips:
- Make sure most of the background and some parts of the subject remain in shadow.
- The contrast between light and dark is what gives low key photos their dramatic look.
Using natural light:
- Nighttime is ideal for natural low key photography.
- Look for strong, focused light sources like:
- Car headlights
- Street lamps
- Campfires
Daytime low key shooting:
- Position your subject so they get direct sunlight on certain areas while keeping the background in shadow.
- You may need to create your own dark background. For example, using a black cloth or any deep-colored material.
Experiment & test:
- Try different light angles and intensities to enhance shadows without losing important details.
- The goal is mood and drama, not complete darkness.
You might also like: How To Make Photos Look Like Film: Tips & Tricks
Final Thoughts
Understanding high key vs low key lighting is like learning the language of light. Once you master it, you can set the mood, highlight your subject, and elevate your photography.
So grab your camera, play with shadows and light, and see which style tells your story best. Whether you go bright or moody, every shot becomes more intentional and powerful when you understand how to use light.
Frequently Asked Questions
Q.1 What is high-key lighting best for?
Ans. High-key lighting is best for creating an upbeat, positive, and clean aesthetic, making it ideal for commercials, comedies, and portraits where you want to reduce shadows and contrast.
Q.2 Is low-key lighting good for beginners?
Ans. No, low-key lighting isn’t good for beginners because it can be difficult to master. It requires precise control of shadows and highlights, and many beginners find it challenging to get right without practice.
Q.3 Does high key lighting hide blemishes?
Ans. Yes, high-key lighting helps hide blemishes by using soft, bright light that minimizes shadows, smoothing out skin imperfections and creating a more flattering, high-contrast look.
Q.4 How many lights do I need for high key?
Ans. You need a minimum of two lights for a basic high-key setup, but three or four lights are ideal for better control and a more professional look.
Q.5 What is 3 key lighting?
Ans. Three-point lighting is a standard method for illuminating a subject in visual media using three light sources: a key light, a fill light, and a backlight
Like this post? Check out more amazing photography content here.