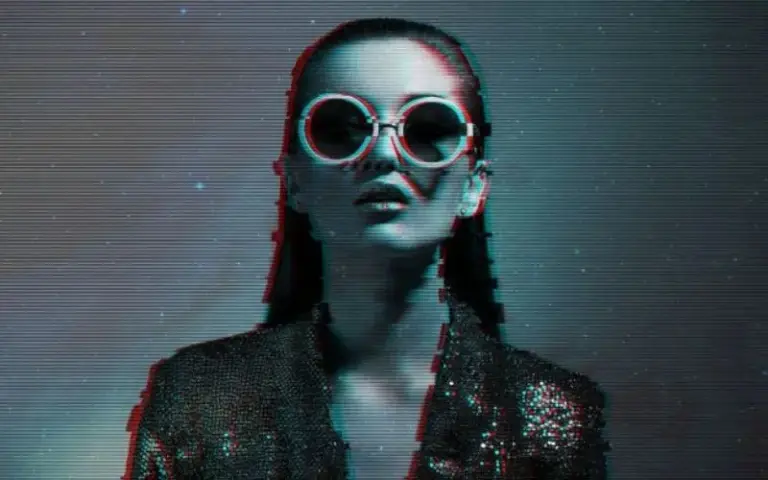
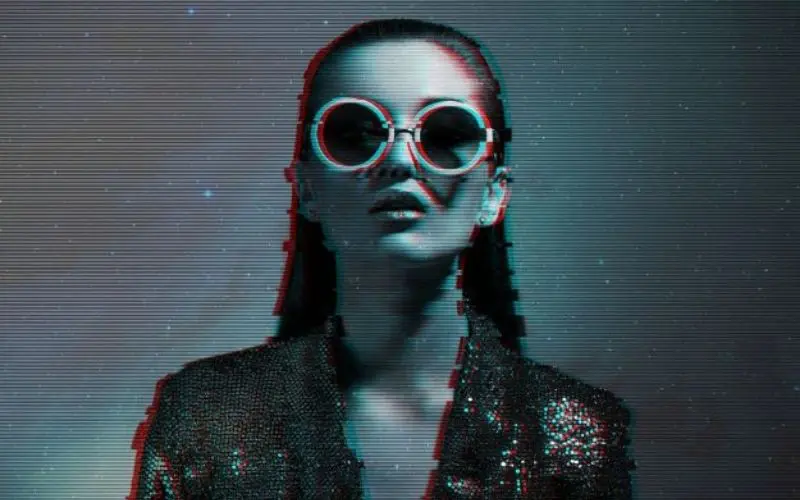
Adobe Photoshop allows photographers to create all kinds of cool effects in their photos that they might never have imagined before. The glitch effect is one of them.
What is a glitch effect, you ask? You might remember the frozen images and wavy lines that resulted from watching an out-of-tune TV station.

A glitch effect recreates that same surreal look in your photography. When done well, a glitch effect can make the most ordinary photo look striking and unique.
It’s sure to grab attention when you post it on your website or social media. And best of all, it’s not as hard to do as you might think. Here’s everything you need to know about how to create a glitch effect in Photoshop.
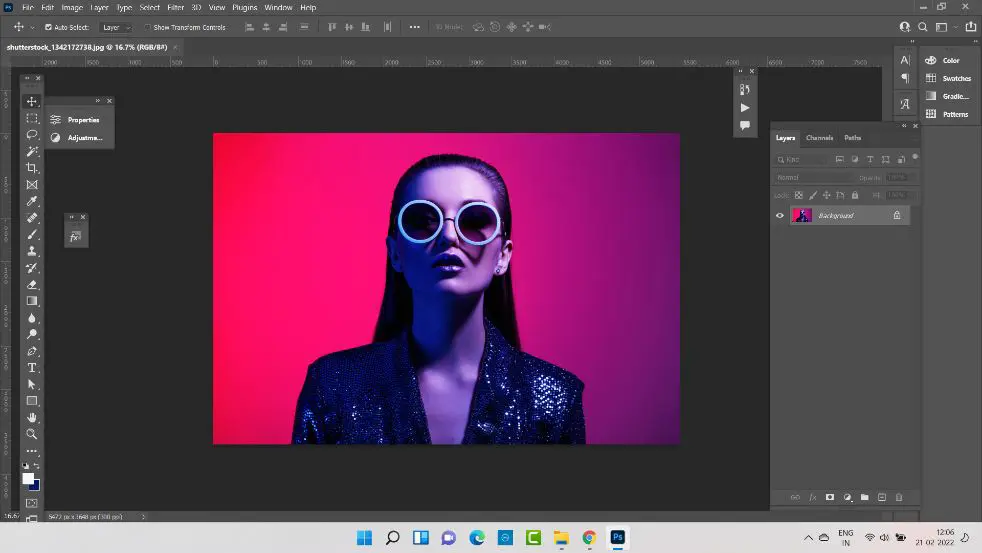
Step 1 : Choose The Right Photo
Not every photo is a good candidate for the glitch effect. You’ll want a photo with clear, sharp edges to make the effect really pop.
Once you’ve found the perfect photo, go ahead and open it in Photoshop.
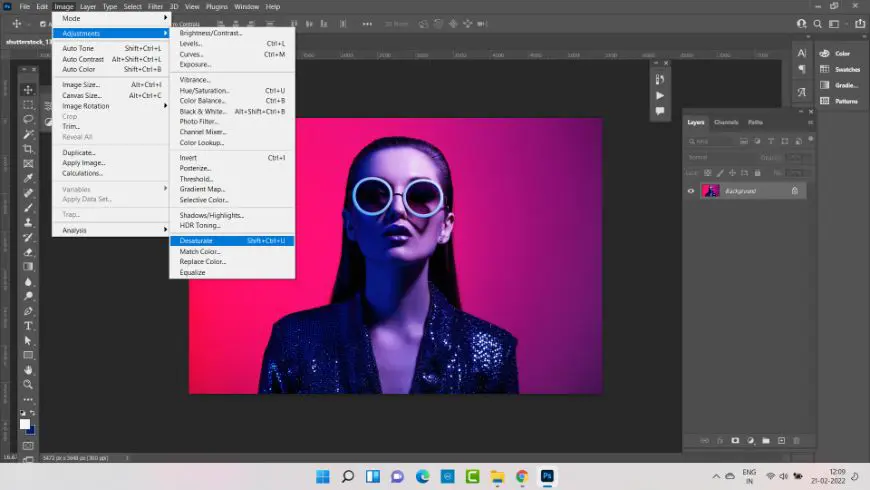
Step 2 – Convert The Image To Black & White
Use the “Desaturate” option in Adjustments or press Shift+ctrl+U to convert your image to black & white.
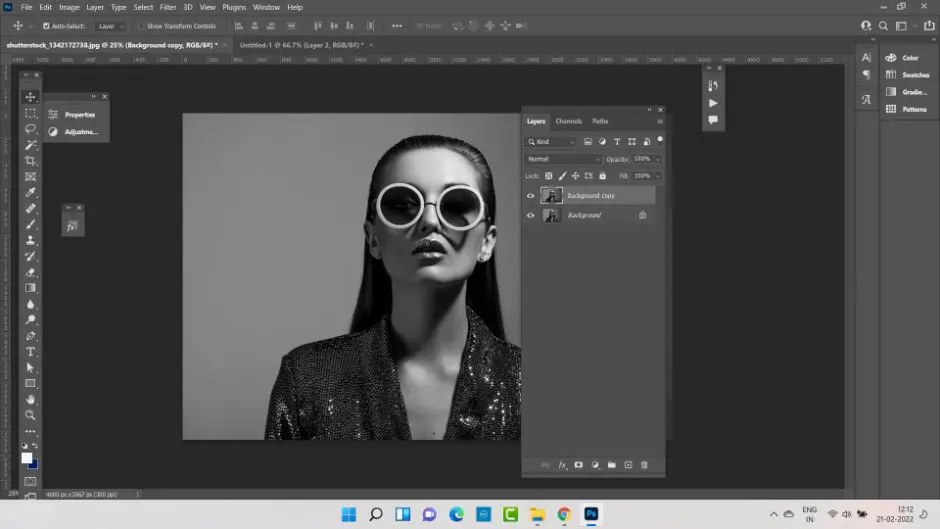
Step 3: Duplicate The Layer
Duplicate the layer by dragging the layer into the new layer.
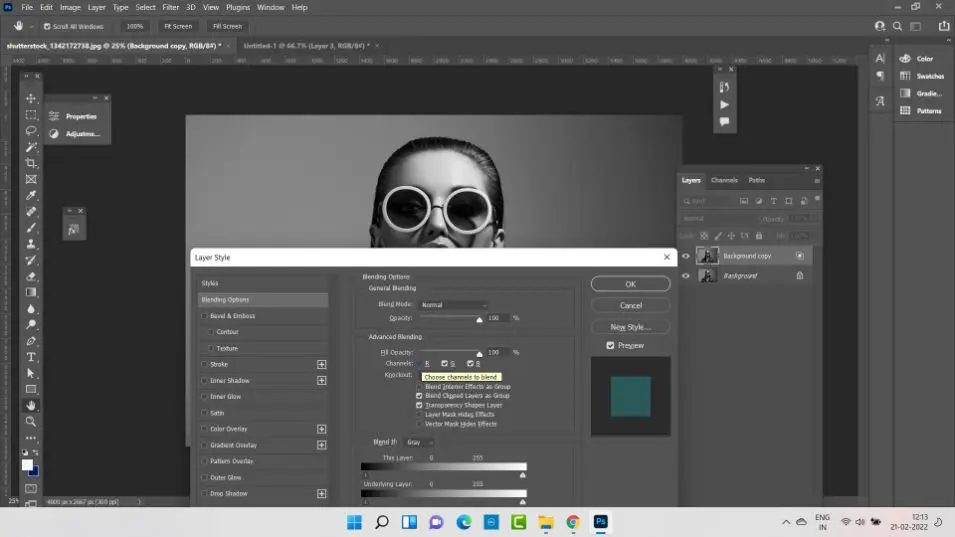
Step 4: Double Click To Make The Layer Pop
Double click on the new layer to see Layer style popup. Click on the red channel to uncheck.
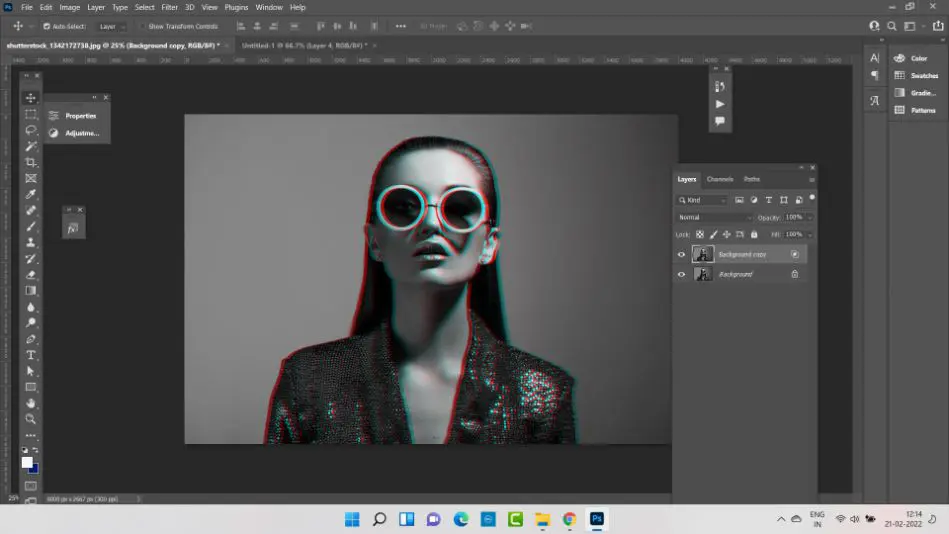
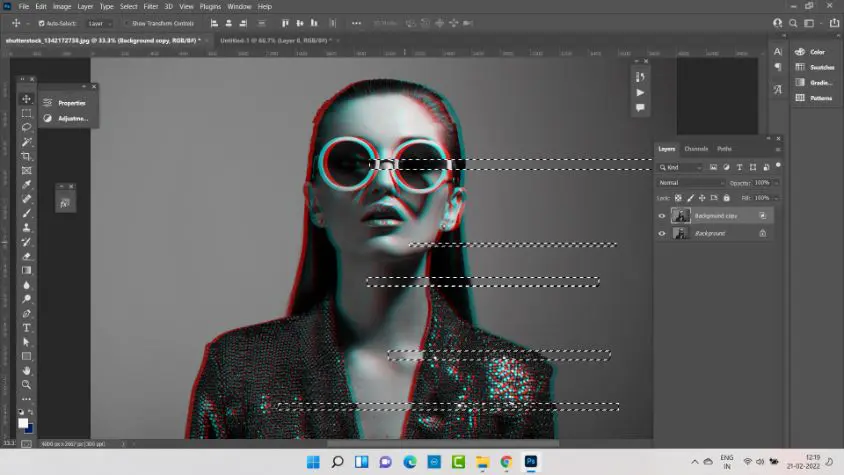
Step 5: Create A Anaglyph Effect
Hold the Shift key and nudge or move the layer to left or right using cursor left & right keys. You will see an anaglyph effect.
Step 6: Select The Marquee Tool
Select the Marquee tool(M) & draw a wide rectangle across a portion of the image
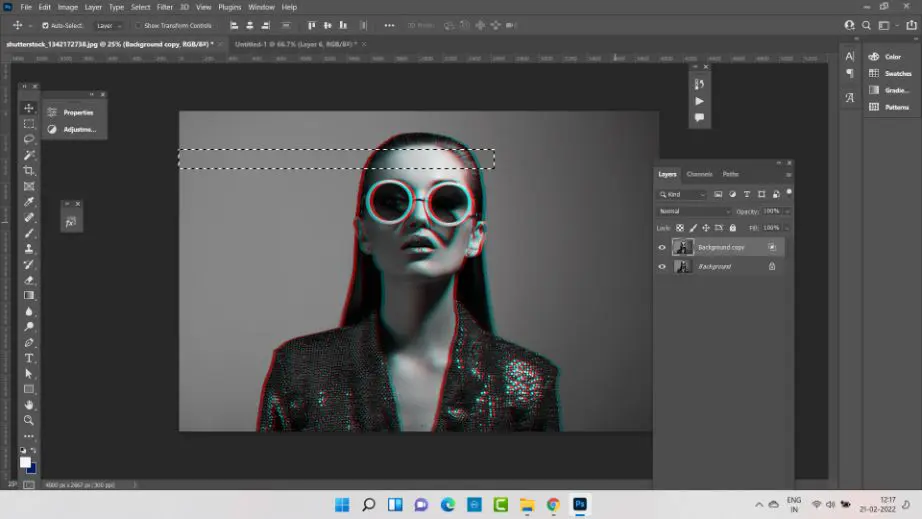
Step 7: Select The Move Tool
Select move tool (V) nudge or move the selection from left to right or right to left.
Next go to Select > Deselect to remove the selection and repeat this process elsewhere.
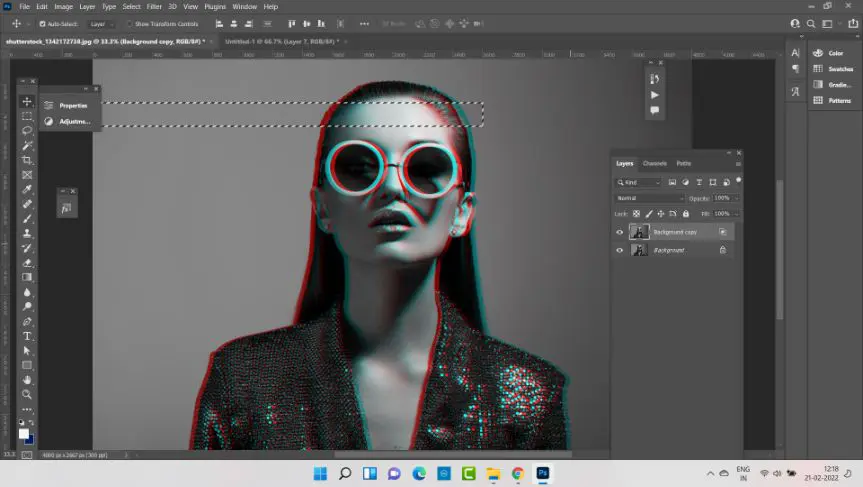
Step 8: Remove The Selection
Continue with this process of selection and nudging to right & left directions haphazardly all over. You can use bigger & small selections for better results.
Stop this process when you are satisfied with the results.
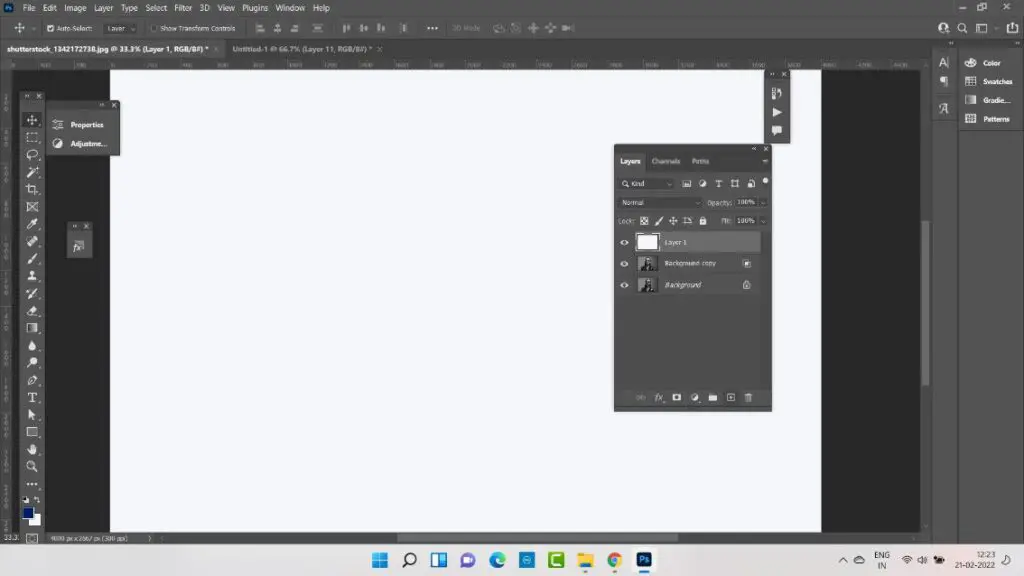
Step 9: Add A New Layer
Add a new layer and fill it with white color.
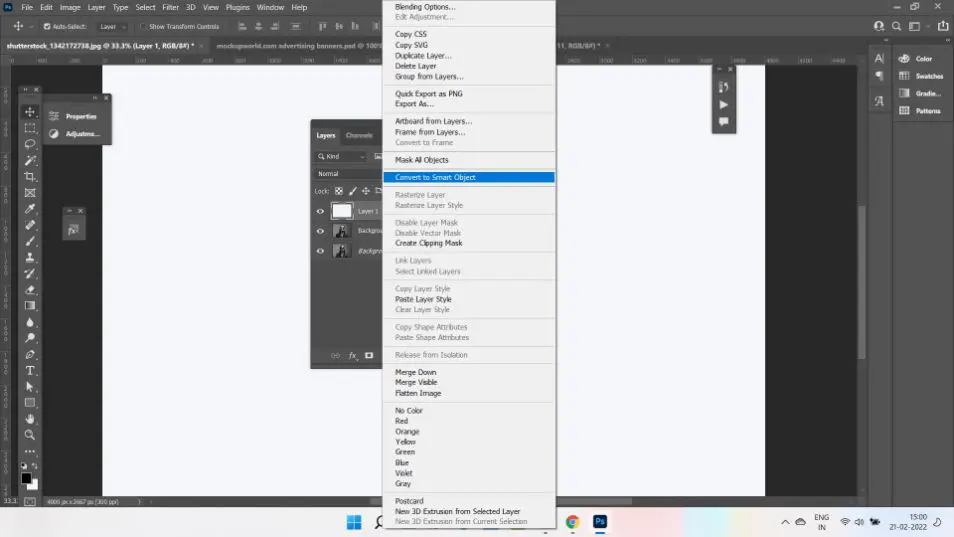
Right click on the layer & convert it to Smart Object.
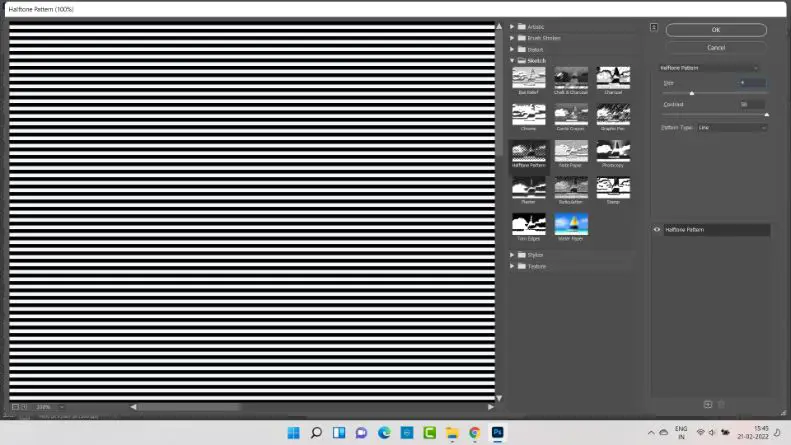
Step 10: Create A Line Pattern
Now goto filter > filter gallery. Under the Sketch category choose halftone effect. Next change the Pattern type to Line. Max out the Contrast level to full and reduce the size however required.
Because we converted the layer to a smart object, you can always edit the size till you reach the desired results.
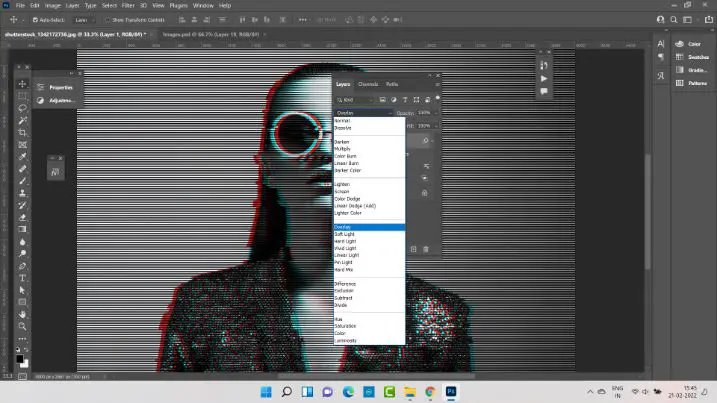
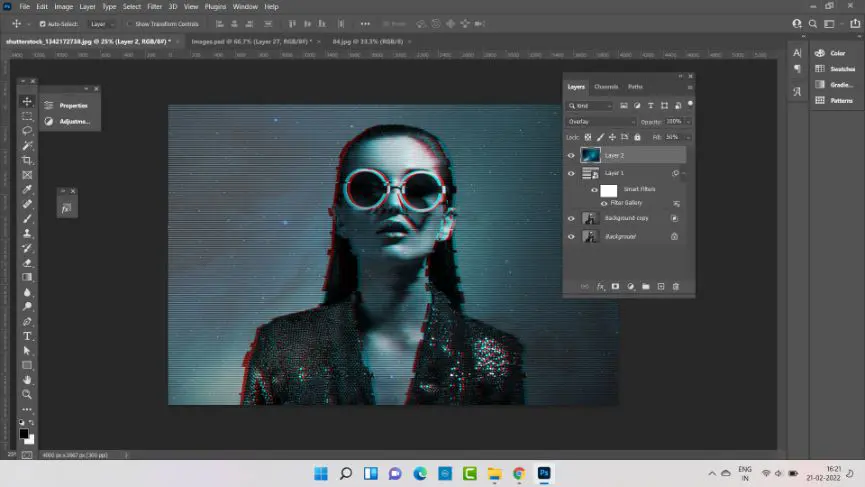
Step 11: Change Blending Mode To Overlay
Change this layer’s blending mode to overlay. So that the layer becomes show through. You can reduce the fill layer so that lines are less prominent.
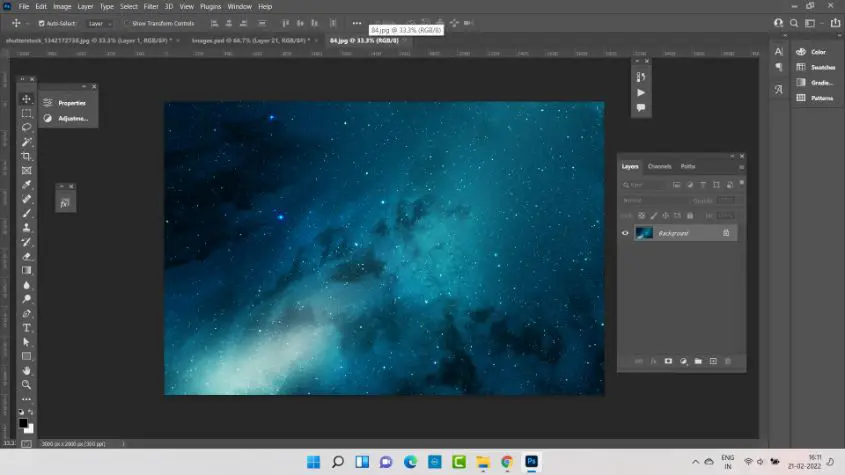
Step 13: Import Any Image Of Your Choice
To add some color to the image. Import any gradient type or color background or textures.
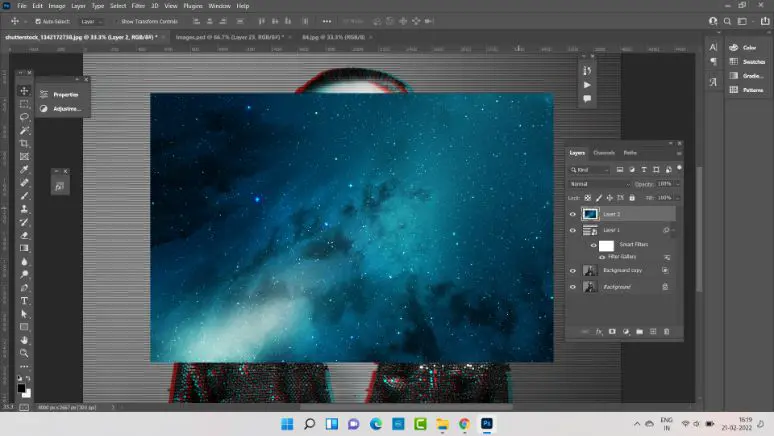
Step 14: Cover The Image With Gradient
Select the entire image & copy it. Paste the image on the effect image. Select the image & transform it to cover the entire image. Using Ctrl+T.
You will see the entire canvas covered now with the new image.
Step 15: Cover The Image With Gradient
Change the Blending Mode of this layer to “Overlay”.
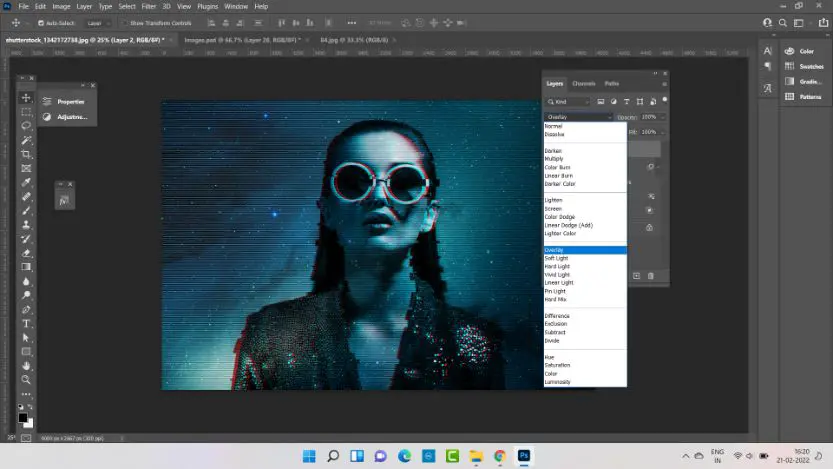
Choose the fill value of this layer and reduce it.
Choose the fill value of this layer and reduce it.
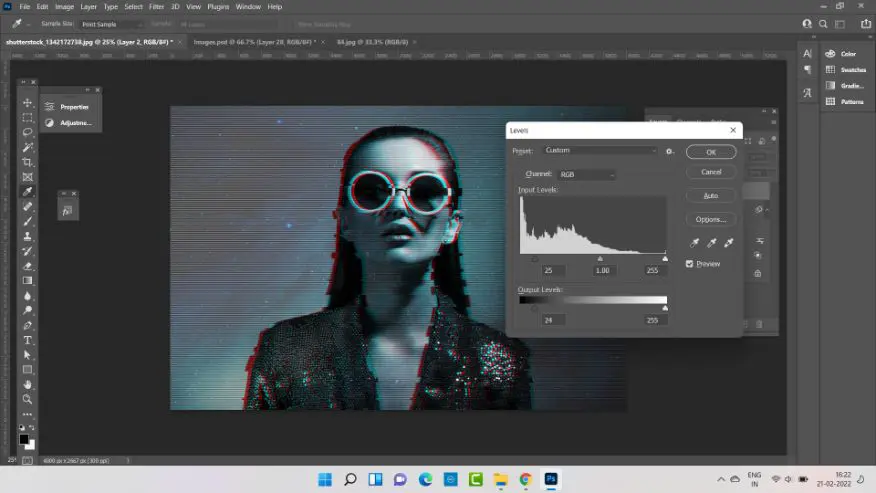
Step 16: Adjust Shadows
Goto level adjustment layer. Adjust the Shadow levels into a darker gray. Your final glitch effect is ready.


1 Comment on “How To Create A Glitch Effect In Photoshop”
This is a very cool result, the process kind of reminds me of the dual exposure blending